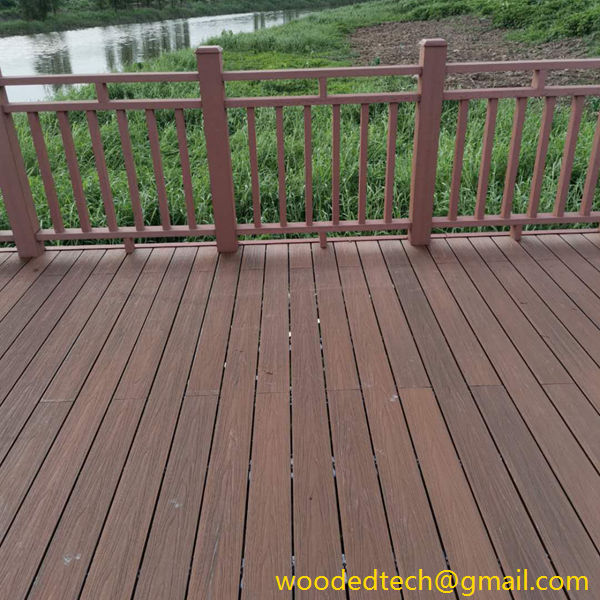
Guia passo-a-passo para a instalação do deck composto Veranda para um acabamento profissional
Guia passo a passo para a instalação do deck de compósito Veranda para um acabamento profissional À medida que a vida ao ar livre continua a ganhar popularidade, os proprietários estão a recorrer cada vez mais ao deck de compósito como uma alternativa duradoura e de baixa manutenção à madeira tradicional. Entre as várias opções disponíveis, o deck composto Veranda destaca-se pela sua mistura de apelo estético e desempenho duradouro. Este guia tem como objetivo...
Guia passo-a-passo para a instalação do deck composto Veranda para um acabamento profissional
As outdoor living continues to gain popularity, homeowners are increasingly turning to composite decking as a durable, low-maintenance alternative to traditional wood. Among the various options available, Veranda composite decking stands out for its blend of aesthetic appeal and long-lasting performance. This guide aims to provide a detailed step-by-step approach to installing Veranda composite decking, ensuring a professional finish that enhances your outdoor space.
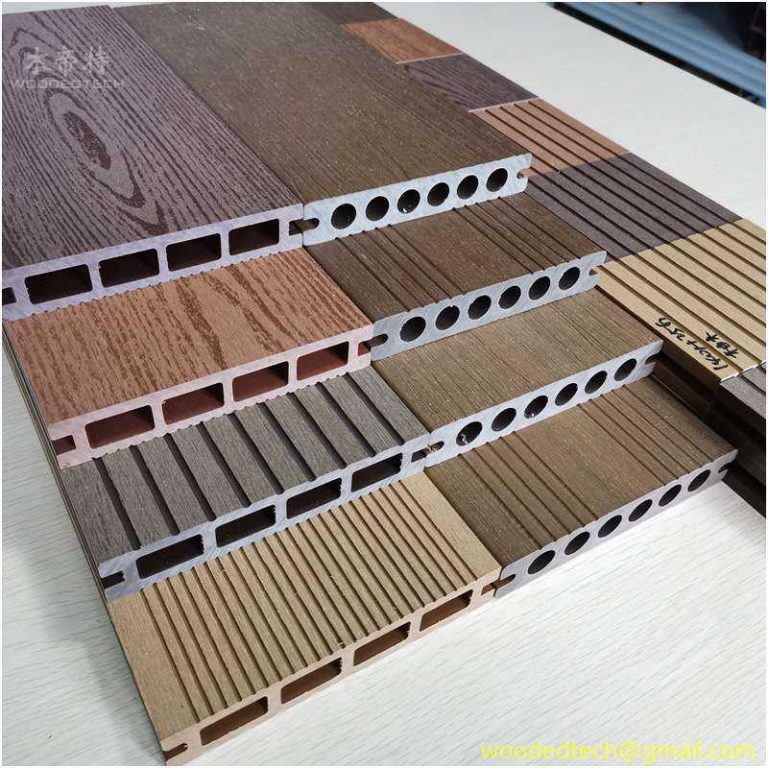
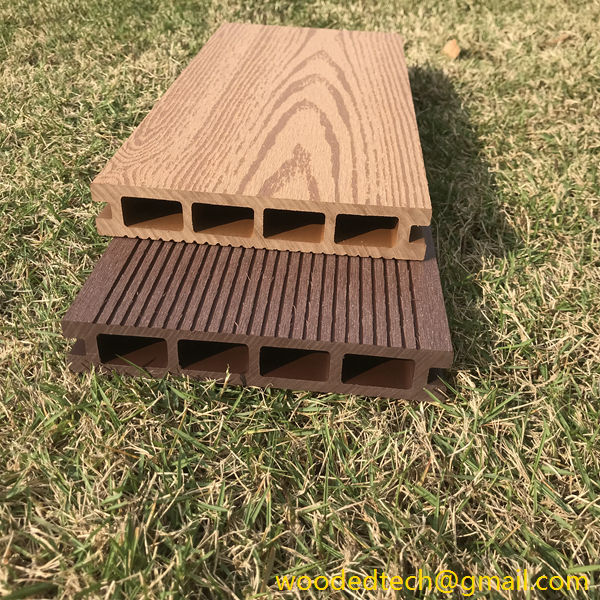
Before diving into the installation process, it is essential to understand what Veranda composite decking is and why it is a preferred choice for many homeowners. Veranda decking is made from a combination of wood fibers and recycled plastic, creating a material that resists fading, scratching, and moisture damage. It is available in various colors and textures, allowing for customization to suit any outdoor aesthetic.
To ensure a smooth installation process, gather the following tools and materials before starting the project:
1. Veranda composite decking boards
2. Composite decking screws
3. A saw (circular or miter saw)
4. A drill
5. A measuring tape
6. A level
7. A chalk line
8. A framing square
9. Safety goggles
10. Work gloves
11. A straight edge
The first step in any decking project is to plan the layout. Determine the size and shape of your deck and mark the area on the ground. Use stakes and string or a chalk line to outline the perimeter. Ensure that the design complements your home and landscape. Consider factors such as sun exposure, privacy, and accessibility when selecting the location.
Once you have marked the layout, prepare the ground for installation. This involves removing any sod, rocks, or debris from the area. If necessary, use a shovel or a backhoe to level the ground. It is crucial to have a stable and even surface to prevent any future issues with your decking.
The next step is to build the frame of your deck. Use pressure-treated lumber for the framing to ensure durability and resistance to rot. Start by laying out the perimeter of the deck, ensuring that corners are square. Once you have the perimeter in place, install the joists every 16 inches on center, securing them with screws. Use a level to ensure that the frame is even.
If your deck is elevated or larger than 10 feet in any direction, you may need to add support beams. These beams should run perpendicular to the joists and provide additional stability. Secure them with screws, and make sure they are level and properly aligned.
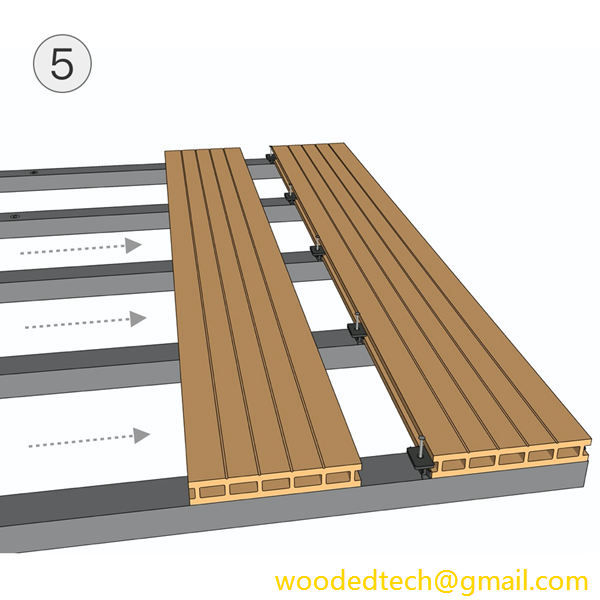
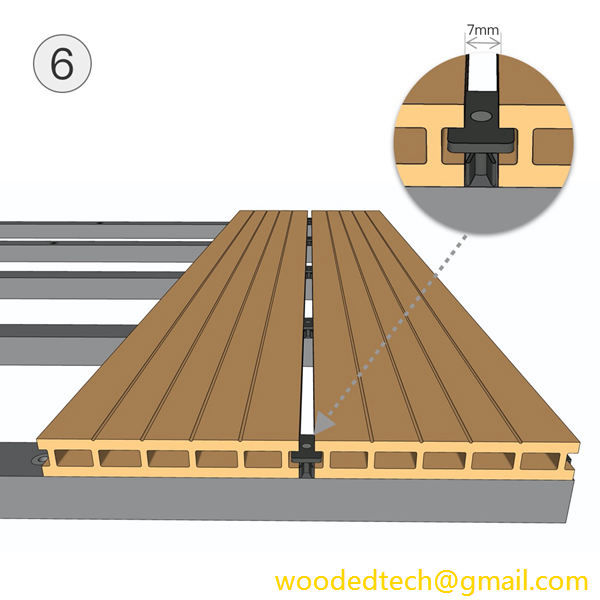
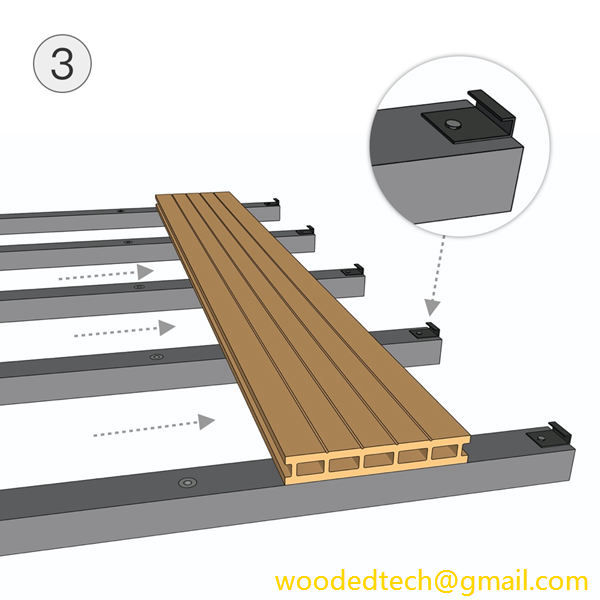
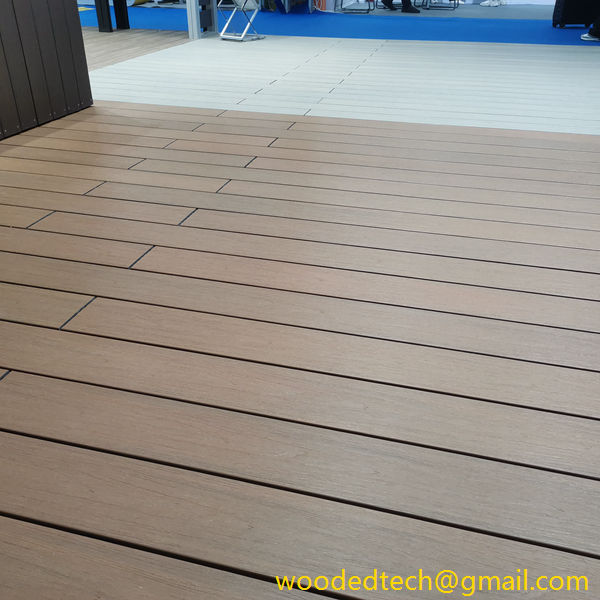
With the frame in place, it is time to install the Veranda composite decking boards. Begin at one end of the deck and work your way across. Use a measuring tape to determine the length of each board, cutting them as necessary with a saw. Leave a small gap (approximately 1/4 inch) between each board to allow for expansion and drainage.
When fastening the boards, use composite decking screws designed for use with Veranda materials. These screws will blend seamlessly with the decking and provide a clean finish. Drill the screws into the pre-drilled holes of the boards, ensuring they are flush with the surface.
To achieve a professional finish, pay attention to the details. Trim any excess board lengths for a neat edge, and consider installing fascia boards around the perimeter of the deck to cover any exposed edges. This not only adds to the aesthetic appeal but also protects the underlying structure from moisture.
If you plan to add handrails or stairs, ensure they are built according to local building codes. Handrails should be securely fastened and sturdy enough to provide support, while stairs should be wide and deep enough for safety.
After the installation is complete, clean the decking surface with a mild detergent and water to remove any dust or debris. Regular maintenance of your Veranda composite decking includes periodic cleaning and inspections for any signs of wear or damage. While composite decking is low-maintenance, keeping it clean will ensure it remains beautiful for years to come.
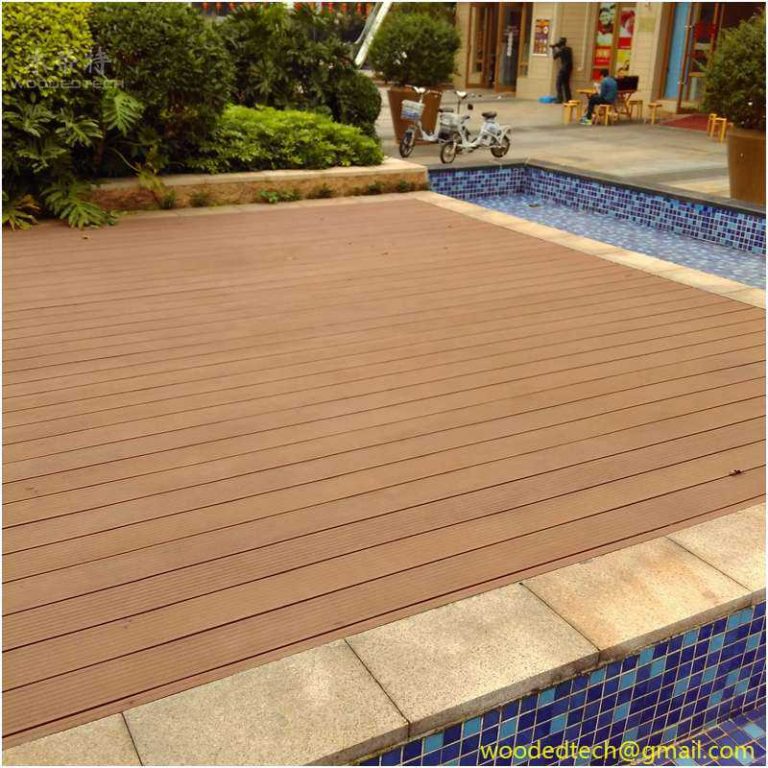
Installing Veranda composite decking can transform your outdoor space into an inviting oasis for relaxation and entertainment. By following this step-by-step guide, you can achieve a professional finish that enhances the look and functionality of your deck. Whether you are a seasoned DIYer or taking on your first project, the durability and beauty of Veranda composite decking will provide lasting satisfaction for years to come. Enjoy your new outdoor living space, and relish in the knowledge that you have created a beautiful, functional area for family and friends to gather.

