Como instalar tábuas de deck compostas para o seu projeto
Como instalar tábuas de deck compostas para o seu projeto A instalação de tábuas de deck compostas pode ser um projeto de bricolage gratificante que melhora o valor estético e funcional do seu espaço exterior. O deck em compósito oferece inúmeras vantagens em relação à madeira tradicional, incluindo durabilidade, baixa manutenção e resistência à podridão e aos insectos. Para garantir uma instalação bem sucedida, é...
Como instalar tábuas de deck compostas para o seu projeto
Installing composite deck boards can be a rewarding DIY project that enhances the aesthetic and functional value of your outdoor space. Composite decking offers numerous advantages over traditional wood, including durability, low maintenance, and resistance to rot and insects. To ensure a successful installation, it is essential to follow a systematic approach. In this guide, we will walk you through the steps needed to install composite deck boards for your project, focusing on aspects that make the process easier and more efficient.
Before diving into the installation, it is crucial to gather the necessary materials and tools. You will need composite deck boards, deck screws or hidden fasteners, a saw (preferably a miter saw or circular saw), a measuring tape, a level, and a drill. Additionally, having safety gear such as gloves and goggles is recommended to protect yourself during the installation process.
Once you have assembled your materials, the first step is to prepare the deck frame. If you are building a new deck, ensure that the frame is sturdy and level. The frame should be constructed from pressure-treated lumber or another suitable material that can support the weight of the composite boards. If you are replacing an existing wooden deck, inspect the frame for any damage or rot. Any compromised sections should be repaired or replaced before proceeding.
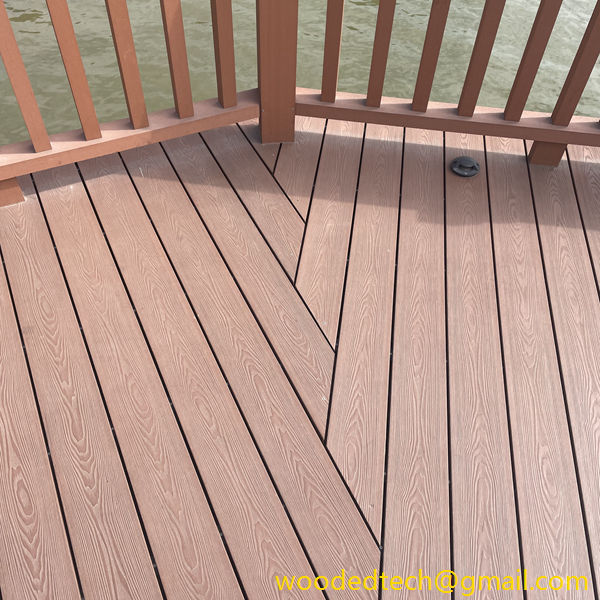
After ensuring that the frame is ready, it is time to determine the layout of the composite deck boards. Begin by measuring the dimensions of the deck area and calculating how many boards you will need based on their length and width. Composite boards typically come in standard lengths, so you may need to cut some boards to fit your specific dimensions. To achieve a clean and professional look, consider staggering the joints of the boards. This means that the ends of the boards should not line up in a straight line but instead be offset from one another. Staggering the joints adds structural integrity and visual appeal to your deck.
Next, start with the installation of the first board. Place the board at one end of the frame, ensuring that it is flush with the edge. Use a level to check that the board is even and adjust as necessary. Once you are satisfied with the positioning, secure the board to the frame using deck screws or hidden fasteners. If using screws, be sure to drill pilot holes to prevent the composite material from splitting. If you are using hidden fasteners, follow the manufacturer’s instructions for installation, as these fasteners allow for a clean finish by concealing the screws.
Continue installing the remaining boards, one at a time, following the same process. It is important to leave a small gap between each board to allow for expansion and contraction due to temperature changes and moisture. Typically, a gap of 1/4 inch is recommended, but you should refer to the manufacturer’s guidelines for specific recommendations. Using spacers can help maintain consistent gaps between the boards as you work.
As you work your way across the deck, periodically check the alignment and level of the boards to ensure they remain straight and even. If you encounter any obstacles, such as posts or railings, measure and cut the boards accordingly. A miter saw is ideal for making precise cuts, especially when dealing with angles or notches.
Once all the boards are installed, it is time to finish the edges. If you have cut boards to fit around the perimeter of the deck, you may want to install fascia boards to cover the exposed edges. Fascia boards not only enhance the visual appeal of the deck but also provide additional protection against moisture. Attach the fascia boards using screws or construction adhesive, depending on the specific requirements of your project.
After the installation is complete, take a moment to inspect your work. Look for any loose screws, uneven gaps, or misaligned boards. Address any issues before finishing up, as it is much easier to make adjustments now than after you have completed the project.
Finally, clean the deck surface to remove any debris, dust, or sawdust that may have accumulated during the installation. Composite decking is designed to be low maintenance, but regular cleaning will help maintain its appearance and longevity. Use a mild soap and water solution to clean the surface, and avoid harsh chemicals that could damage the material.
In conclusion, installing composite deck boards can be a straightforward and manageable project with the right preparation and tools. By following these steps and taking your time, you can create a beautiful outdoor space that will last for years to come. Remember to consult the manufacturer’s guidelines for specific recommendations related to your composite decking material, as each product may have unique requirements. Happy decking!

