How to Install a Pergola Using Wood Polymer Composite: A Step-by-Step Guide
How to Install a Pergola Using Wood Polymer Composite: A Step-by-Step Guide Installing a pergola can transform your outdoor space, providing a stylish place to relax, entertain, or enjoy the beauty of nature. Utilizing wood polymer composite materials for your pergola not only enhances its aesthetic appeal but also ensures durability and low maintenance. Wood…
How to Install a Pergola Using Wood Polymer Composite: A Step-by-Step Guide
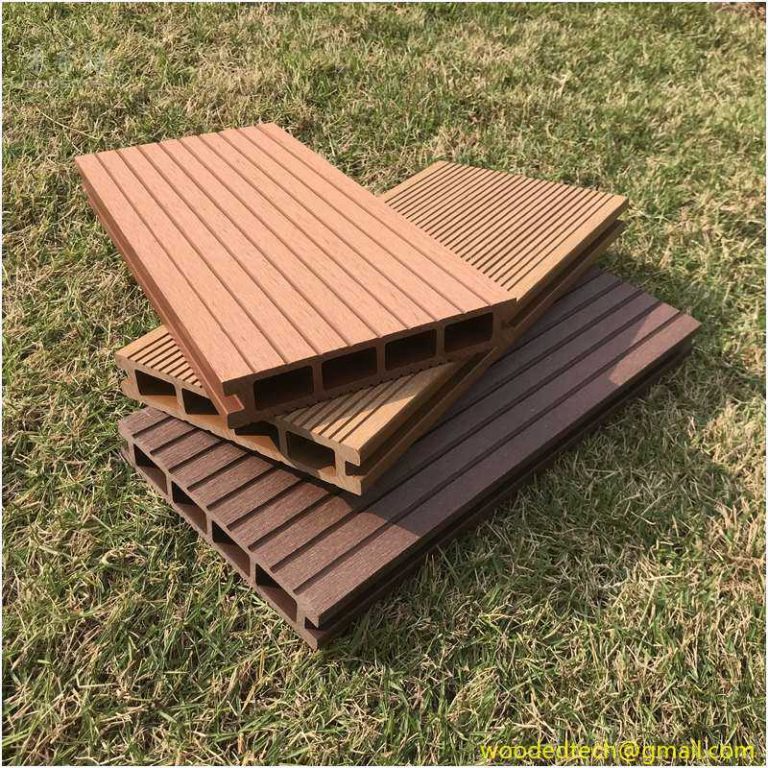
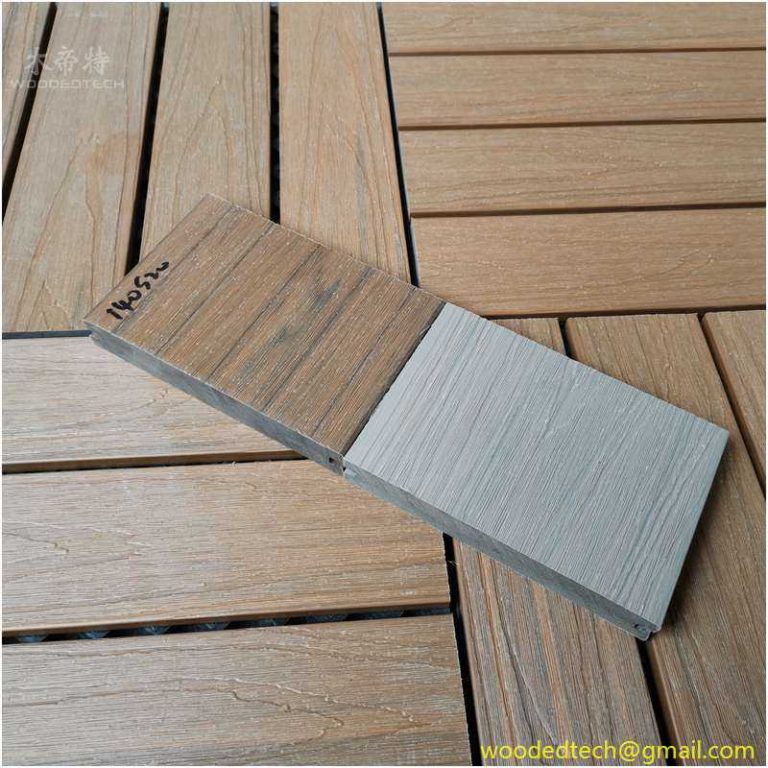
Installing a pergola can transform your outdoor space, providing a stylish place to relax, entertain, or enjoy the beauty of nature. Utilizing wood polymer composite materials for your pergola not only enhances its aesthetic appeal but also ensures durability and low maintenance. Wood polymer composites are engineered materials that combine the natural look of wood with the resilience of synthetic materials. This step-by-step guide will walk you through the process of installing a pergola using wood polymer composite.
Before beginning your installation, ensure you have all the necessary materials and tools. You will need wood polymer composite boards for the structure, composite fasteners, concrete mix for the footings, a level, a tape measure, a saw, a drill, and safety gear. It is also advisable to check local building codes and regulations regarding pergola installations to ensure compliance.
The first step in installing a pergola is selecting the right location. Choose a spot that receives adequate sunlight while also providing some shade, depending on your preference. Consider how the pergola will fit into your existing landscape and how it will enhance your outdoor living area. Once you have selected the perfect location, use stakes and string to outline the area where you will build your pergola.

Next, you will need to prepare the ground. Clear the area of any debris, rocks, or vegetation. Depending on your design, you may need to dig holes for the posts. Typically, the post holes should be at least two feet deep to provide stability. Use a post hole digger or auger to create uniform holes. Ensure that the holes are evenly spaced according to your pergola design.
After preparing the holes, it is time to set the posts. Begin by placing the wood polymer composite posts into the holes. Use a level to ensure each post is vertical. Once aligned, fill the holes with concrete mix, following the manufacturer’s instructions. Make sure to leave the concrete to cure for at least twenty-four hours to achieve maximum strength. This is a crucial step as the stability of your pergola relies heavily on the anchored posts.
Once the concrete is set, you can begin constructing the pergola frame. Start by measuring and cutting the horizontal beams to your desired length. These beams will create the top structure of the pergola. Securely attach these beams to the tops of the posts using composite fasteners. It is important to ensure that the beams are level and evenly spaced for a professional finish.
Next, you will need to install the rafters. The rafters provide additional support and enhance the visual appeal of the pergola. Cut the wood polymer composite boards to the required lengths for your rafters. Space the rafters evenly across the top beams, typically around two feet apart, depending on your design. Secure each rafter to the beams using composite fasteners, ensuring they are level and securely attached.

With the rafters in place, you can now focus on adding any additional design elements you desire. This might include side lattices for climbing plants, decorative brackets, or even built-in lighting. Wood polymer composite materials can be easily customized, allowing you to create a unique look that complements your outdoor space.
After completing the structural elements of the pergola, finish it with a protective sealant if necessary. Although wood polymer composites are designed to withstand the elements, a sealant can enhance their longevity and maintain their appearance. Choose a sealant that is compatible with composite materials and apply it according to the manufacturer’s instructions.
Finally, take the time to clean up your work area. Remove any excess materials or debris left from the installation process. This not only improves the appearance of your outdoor space but also ensures safety for family and guests.
Once the pergola is installed, you can enjoy the beauty and functionality it brings to your outdoor area. With the use of wood polymer composites, you have created a structure that combines the charm of traditional wood with the advantages of modern materials. This means less maintenance, resistance to rot and insects, and a long-lasting addition to your home.
Incorporating plants, outdoor furniture, or decorative lighting can enhance the ambiance of your newly constructed pergola. Whether you choose to create a cozy outdoor reading nook or a vibrant entertaining space, the possibilities are endless. A well-installed pergola not only adds value to your property but also enhances your outdoor living experience, providing a perfect balance between style and function.
By following these steps, you can successfully install a pergola using wood polymer composite materials, ensuring a durable and beautiful structure that will serve you well for years to come.