Step-by-Step Guide to Installing WPC Flooring in Your Home
Step-by-Step Guide to Installing WPC Flooring in Your Home WPC flooring, or Wood Plastic Composite flooring, has gained immense popularity in home design and renovation due to its durability, aesthetic appeal, and ease of installation. This innovative material combines the natural beauty of wood with the robustness of plastic, making it an ideal choice for…
Step-by-Step Guide to Installing WPC Flooring in Your Home
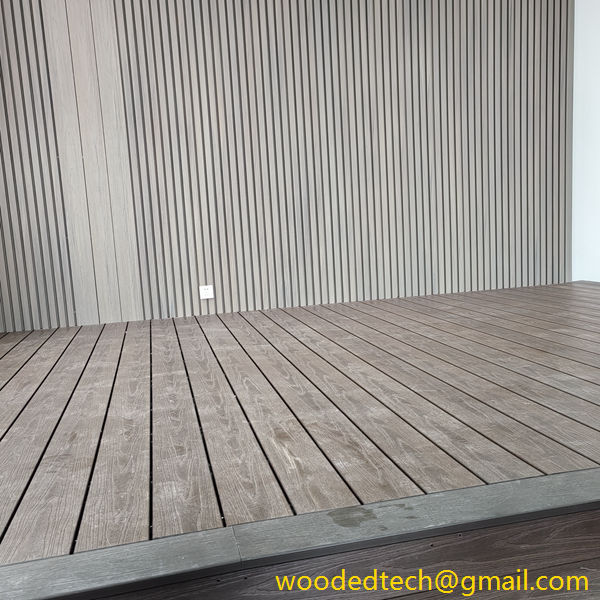
WPC flooring, or Wood Plastic Composite flooring, has gained immense popularity in home design and renovation due to its durability, aesthetic appeal, and ease of installation. This innovative material combines the natural beauty of wood with the robustness of plastic, making it an ideal choice for homeowners looking to enhance their living spaces. If you are considering installing WPC flooring in your home, this guide will provide you with a comprehensive overview of the installation process, ensuring a successful and satisfying outcome.
Preparation
Before you begin the installation process, it is essential to prepare your space. Start by measuring the area where you plan to install the WPC flooring. Accurate measurements are crucial to determine how much flooring material you will need. It is advisable to purchase about ten percent more material than your calculations suggest to account for any mistakes or future repairs.
Next, remove any existing flooring material. This may include carpet, tile, or laminate. Make sure to take off any baseboards or trim around the edges of the room, as this will facilitate a smoother installation. Check the subfloor for any imperfections, such as cracks or uneven surfaces. A clean and level subfloor is vital for the longevity and performance of your WPC flooring. If you notice any significant issues, consider addressing those before proceeding.
Acclimation
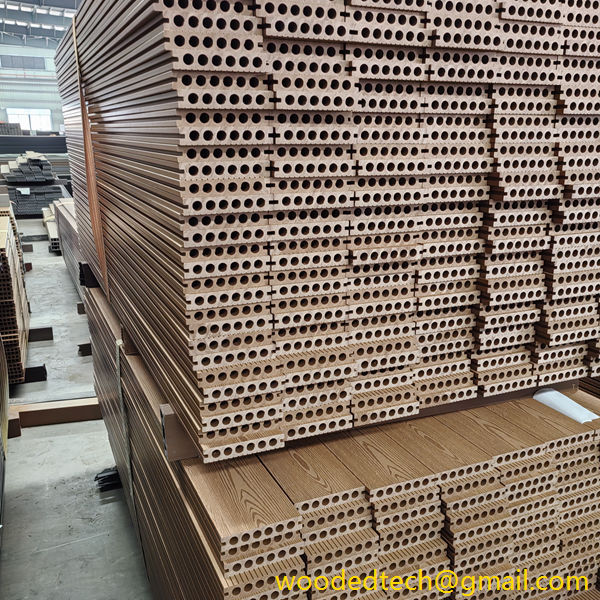
Once your space is prepared, the next step is acclimating the WPC flooring. This process allows the material to adjust to the temperature and humidity levels of your home. Ideally, you should let the flooring sit in the room where it will be installed for at least 48 hours. This is a crucial step, as it helps to prevent warping or buckling after installation. During this time, keep the flooring in its original packaging and lay it flat to ensure it acclimates evenly.
Tools and Materials Needed
Before you start the installation, gather all necessary tools and materials. You will need the following items:
– WPC flooring planks
– Underlayment (if required)
– Measuring tape
– Utility knife
– Spacers
– Tapping block
– Pull bar
– Hammer
– Straightedge
– Level
– Safety goggles
Having all these tools ready will streamline the installation process and ensure you do not have to pause midway to find a missing item.
Installation Process
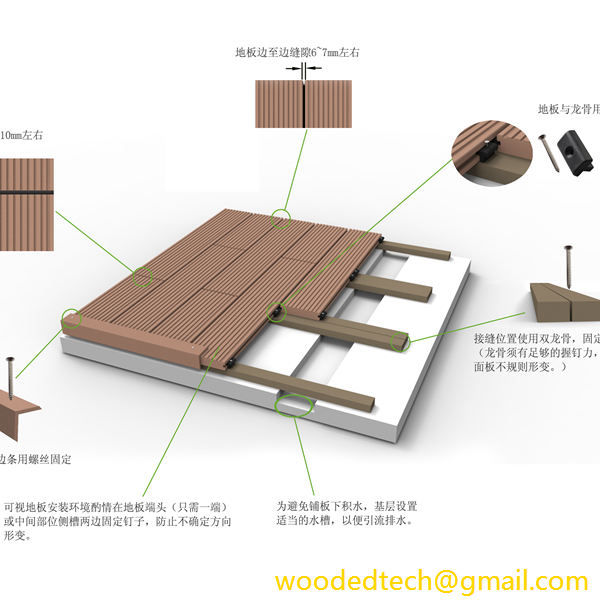
With everything in place, you can now proceed to install your WPC flooring. Begin by laying down the underlayment if your specific product requires it. This layer can provide cushioning and sound absorption, enhancing the overall experience of your flooring.
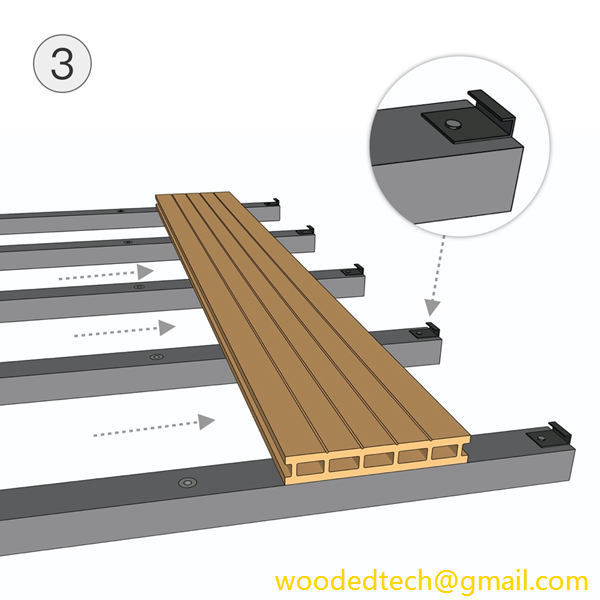
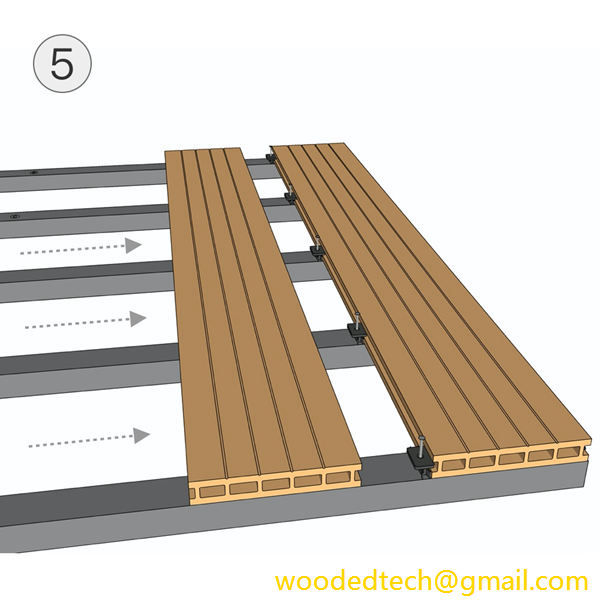
Start in one corner of the room and lay the first plank. Make sure to leave a gap of about a quarter inch between the plank and the wall to allow for expansion. Use spacers to maintain this gap as you work. As you lay each plank, ensure that they click together securely. Most WPC flooring features a click-lock installation system that makes this process straightforward.
Continue laying the planks row by row. It is essential to stagger the seams of the planks to create a more natural and aesthetically pleasing look. Avoid aligning the seams in a straight line, as this could weaken the overall structure of the flooring. A good practice is to use a plank cut from the previous row to start the next row, ensuring the seams are offset.
As you approach the far wall, you may need to cut the last planks to fit. Measure the space carefully and use a utility knife or a saw to make precise cuts. It is advisable to wear safety goggles during this process to protect your eyes from debris.
Once all the planks are laid, remove the spacers and install the baseboards or trim back around the edges of the room. This not only adds a professional touch but also helps to conceal the expansion gap that was left during installation.
Finishing Touches
After the installation is complete, take a moment to inspect the flooring. Walk across the surface to ensure that everything feels solid and secure. Check for any gaps or uneven areas, and make adjustments as necessary. If you notice any issues, it may be beneficial to consult with a professional to address them.
Finally, clean the new WPC flooring with a suitable cleaner designed for this type of material. Avoid using harsh chemicals or abrasive cleaning tools, as they can damage the surface. Regular maintenance will help keep your flooring looking beautiful for years to come.
Conclusion
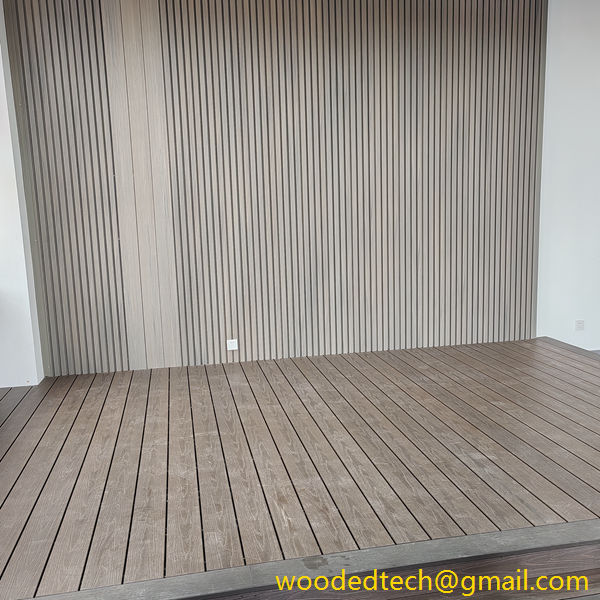
Installing WPC flooring in your home can be a rewarding DIY project that enhances the beauty and functionality of your space. By following this step-by-step guide, you can ensure a successful installation that provides lasting satisfaction. Remember to take your time, pay attention to detail, and enjoy the process of transforming your home with this innovative flooring solution. With its durability and aesthetic appeal, WPC flooring is an excellent investment that will serve you well for many years.

