Step-by-Step Guide on WPC Wall Panel How to Install
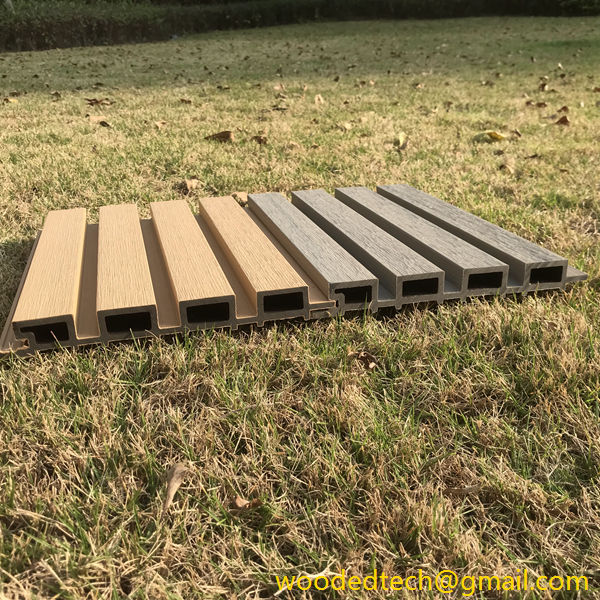
Step-by-Step Guide on WPC Wall Panel How to Install Installing WPC (Wood Plastic Composite) wall panels is an excellent way to enhance the aesthetics of your living space while also providing durability and ease of maintenance. WPC panels are made from a blend of wood fibers and plastic, which gives them the appearance of wood…
Step-by-Step Guide on WPC Wall Panel How to Install
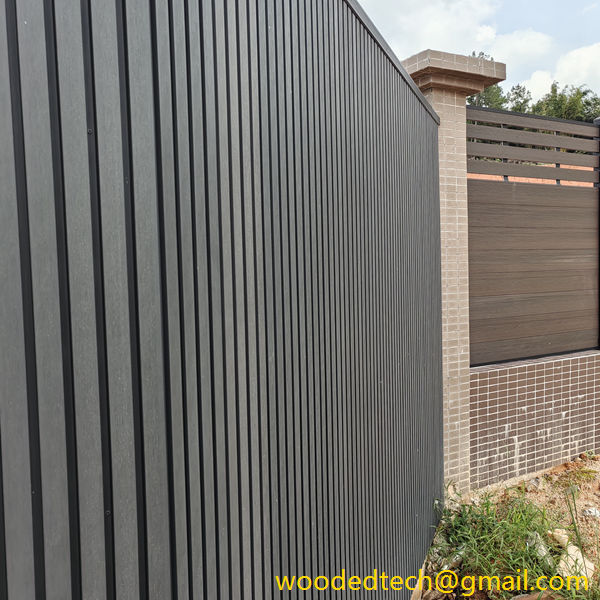
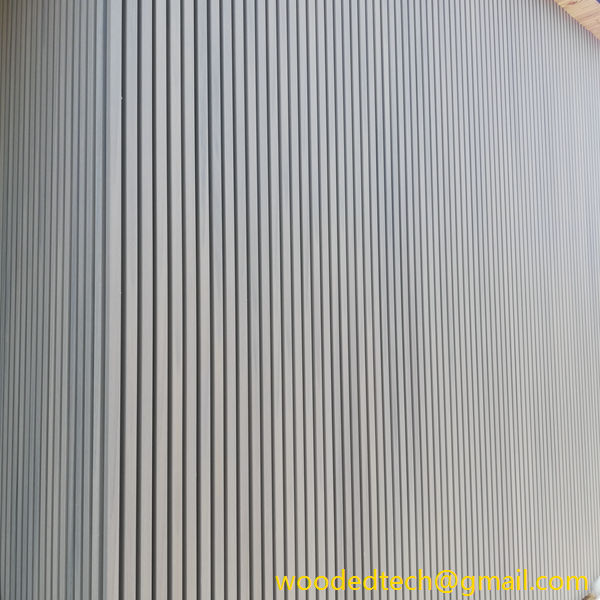
Installing WPC (Wood Plastic Composite) wall panels is an excellent way to enhance the aesthetics of your living space while also providing durability and ease of maintenance. WPC panels are made from a blend of wood fibers and plastic, which gives them the appearance of wood while offering the benefits of plastic, such as resistance to moisture, rot, and pests. This step-by-step guide will walk you through the installation process, ensuring that you achieve a professional finish in your home.
Preparation is key to a successful installation. Before you begin, gather all the necessary tools and materials. You will need WPC wall panels, a measuring tape, a level, a saw (preferably a miter saw or circular saw), a drill, screws, a screw gun, a rubber mallet, and construction adhesive. Additionally, it’s important to wear safety goggles and gloves to protect yourself during the installation process.
Start by measuring the area where you plan to install the WPC wall panels. This measurement will help you determine how many panels you will need. Be sure to measure the height and width of the wall accurately, taking into account any windows, doors, or other obstacles that may affect the installation. Once you have your measurements, calculate the total square footage and purchase the appropriate amount of WPC panels. It is advisable to buy a little extra material to account for mistakes or future repairs.
Before installing the panels, prepare the wall surface. Ensure that the wall is clean, dry, and free of any debris. If you are installing the panels over drywall, check for any loose sections and secure them before proceeding. If you are installing directly onto a concrete wall, consider applying a moisture barrier to prevent potential issues with moisture affecting the panels.
Next, it is essential to acclimate your WPC panels to the room’s temperature and humidity. Lay the panels flat in the installation area for 24 to 48 hours before starting the installation. This step allows the WPC material to adjust to its new environment, minimizing the risk of expansion or contraction after installation.
Once the panels are acclimated, it’s time to start the installation. Begin at one corner of the wall and use your level to ensure that the first panel is straight. Apply construction adhesive to the back of the panel and press it firmly against the wall. Use a rubber mallet to gently tap the panel into place, ensuring it is secure.
After securing the first panel, continue with the next panel. Apply adhesive to the back and fit it snugly against the first panel. It is important to maintain consistent spacing between the panels for a uniform look. You can use spacers to help with this process. Once the second panel is in place, drill screws through the panel into the wall for added stability. Repeat this process for each subsequent panel, making sure to check for levelness as you go.
If you encounter any obstacles, such as electrical outlets or light switches, you may need to cut the panels to fit. Measure the space carefully and mark the panel where it needs to be trimmed. Use a saw to make the cut, and then proceed with the installation as usual.
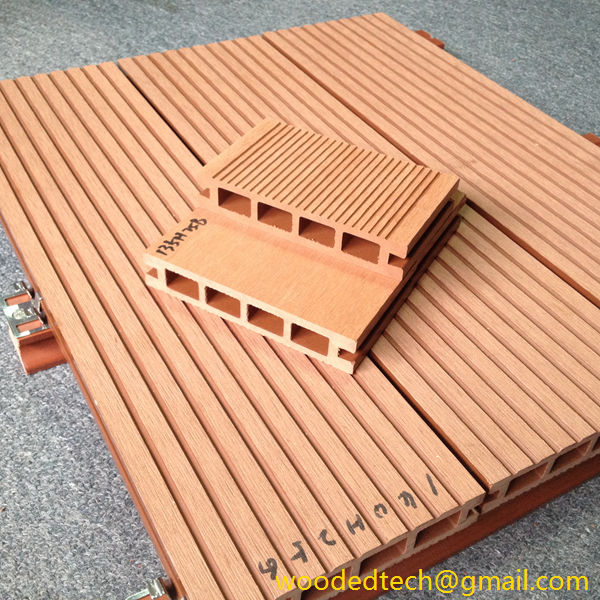
As you progress, be mindful of the edges of the panels. WPC panels often come with tongue-and-groove edges that lock together for a seamless look. Make sure to align these edges correctly to avoid gaps. If you find any gaps, you can fill them with a suitable caulk or sealant to create a polished appearance.
Once all the panels are installed, it’s time to focus on the finishing touches. This may include adding trim or molding around the edges of the panels to create a clean, finished look. Baseboards and crown molding can enhance the overall aesthetic and provide a professional appearance. Use a miter saw to cut the trim pieces at the appropriate angles, and secure them in place with finishing nails or adhesive.
After installing the trim, clean the panels with a damp cloth to remove any dust or adhesive residue. WPC panels are low-maintenance and easy to clean, but it’s good practice to maintain them regularly to keep them looking their best. Avoid harsh chemicals; instead, use mild soap and water for cleaning.
In conclusion, installing WPC wall panels can be a rewarding home improvement project that adds beauty and durability to your space. By following this step-by-step guide, you can ensure a successful installation that enhances your home’s interior. With proper planning, preparation, and execution, you will achieve a stunning finish that not only looks great but also stands up to the test of time. Enjoy your new WPC wall panels and the transformation they bring to your home!

