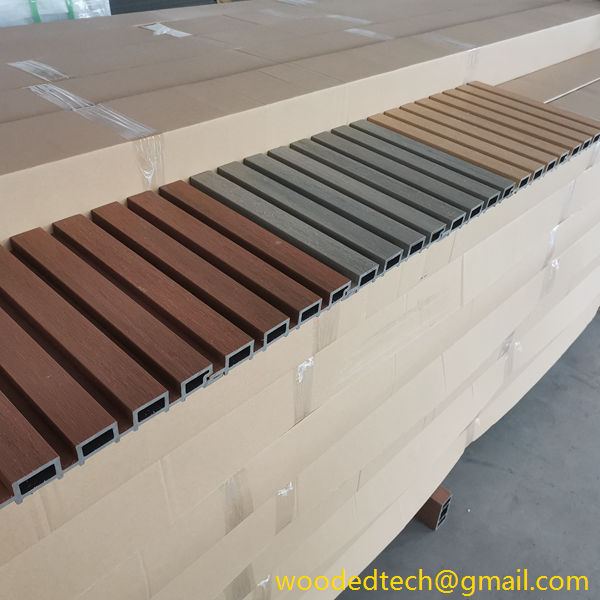
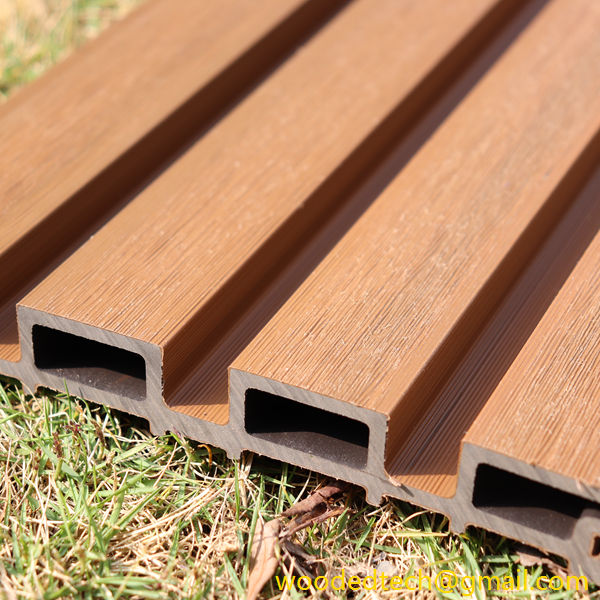
継ぎ目のない仕上げのための複合デッキボードの敷設
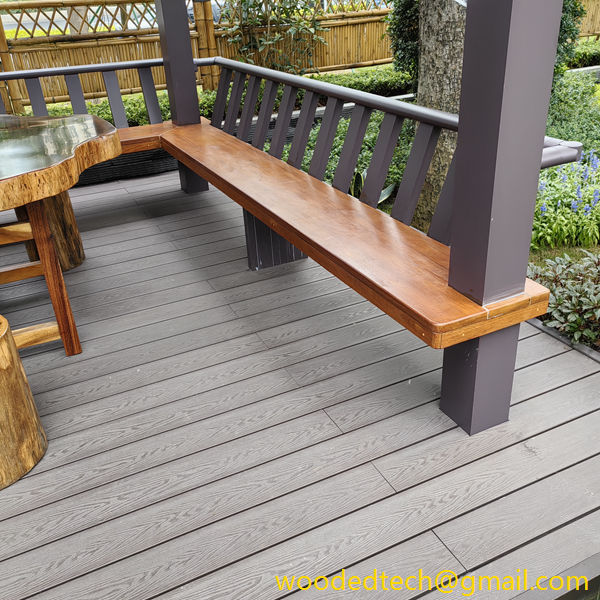
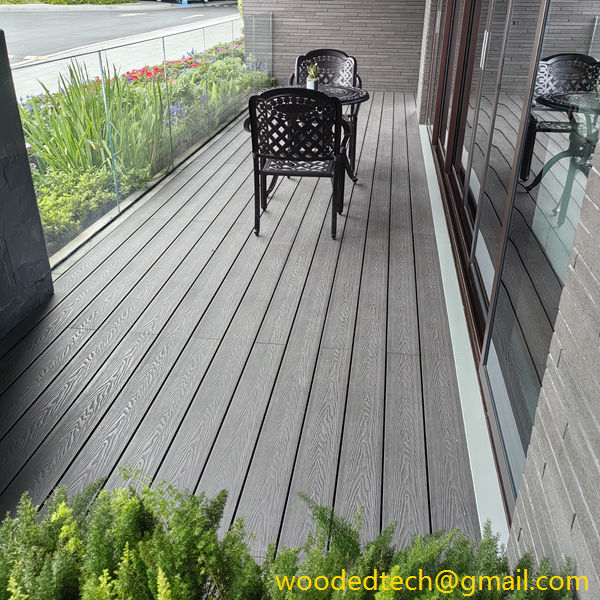
コンポジットデッキボードを敷いてシームレスな仕上がりに 屋外空間をより美しくするために、コンポジットデッキはその耐久性、低メンテナンス性、美的魅力から絶大な人気を博しています。コンポジットデッキボードをシームレスな仕上がりにするには、綿密な計画と正確な施工、そして素材の特性を理解することが必要です。このガイドでは、コンポジットデッキの敷設方法について説明します。
継ぎ目のない仕上げのための複合デッキボードの敷設
When it comes to enhancing outdoor spaces, composite decking has gained immense popularity due to its durability, low maintenance, and aesthetic appeal. Laying composite deck boards for a seamless finish requires careful planning, precise execution, and an understanding of the material’s properties. This guide will explore the essential steps and considerations for achieving a flawless composite deck installation, ensuring that your outdoor area not only looks great but also stands the test of time.
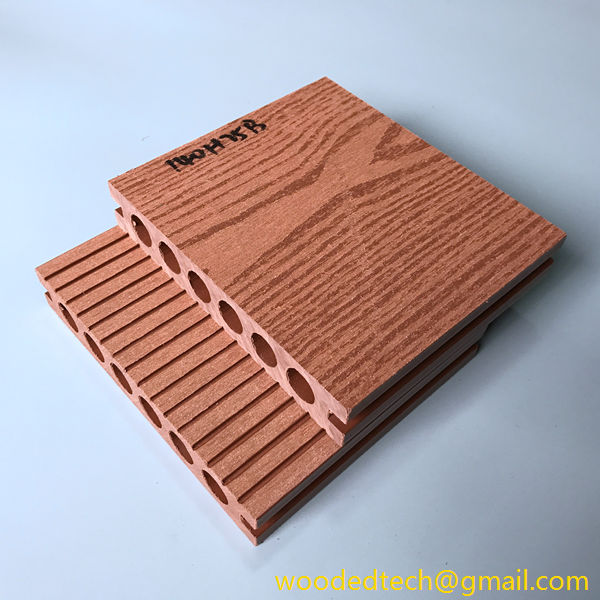
Composite decking is made from a mixture of wood fibers and plastic, which gives it the appearance of natural wood while eliminating many of the issues associated with traditional timber, such as rotting, splintering, and fading. This combination of materials results in a product that is resistant to moisture, insects, and extreme weather conditions, making it ideal for various climates. However, to fully leverage these advantages, it is crucial to install the boards correctly and with attention to detail.
Before you begin the installation process, it is vital to gather all necessary tools and materials. A saw, drill, measuring tape, level, chalk line, and fasteners specifically designed for composite decking are essential. Additionally, ensure you have adequate safety gear, including gloves and goggles, to protect yourself during the installation.
The first step in laying composite deck boards is to prepare the substructure. This involves ensuring that the framing is level, sturdy, and properly spaced. Use treated lumber or metal framing, as these materials provide a solid foundation for your composite deck. The joists should be spaced according to the manufacturer’s recommendations, typically 16 inches apart, but this may vary based on the specific product you choose. Proper spacing is crucial because it ensures that the deck boards are supported correctly and minimizes the risk of sagging or warping over time.
Once the substructure is ready, begin laying the composite deck boards. Start from one corner of the deck, working your way across. It is essential to leave a small gap between the boards to allow for expansion and contraction due to temperature changes. Most manufacturers recommend a gap of about 1/4 inch between boards. This small space not only accommodates movement but also promotes drainage, helping to keep the surface dry and reducing the risk of mold and mildew growth.
When cutting the composite boards to fit your specific layout, use a saw with a fine-toothed blade to achieve clean edges. The smooth finish will contribute to the overall seamless appearance of the deck. As you cut the boards, check for any imperfections or defects that could affect the final look. It is often advisable to lay out all the boards before securing them to ensure a visually pleasing arrangement, especially if you are using boards with varying colors or grain patterns.
Fastening the deck boards is another critical step in achieving a seamless finish. Many composite decking products come with hidden fasteners that allow for a clean look without visible screws on the surface. These hidden fasteners are typically installed in pre-drilled grooves along the edges of the boards. This method not only enhances aesthetics but also reduces the risk of moisture seeping into the screw holes, which can lead to deterioration over time.
When securing the boards, ensure that they are aligned properly and check for level as you go. Use a level to adjust and ensure that each board is even with the others. This attention to detail during installation will pay off in the long run, as a level deck is more visually appealing and comfortable to walk on.
Once all the boards are laid and secured, it is time to complete the finishing touches. Trim pieces, railing systems, and fascia boards can be added to enhance the overall appearance of your composite deck. These elements should complement the deck boards, creating a cohesive look that ties the entire outdoor space together. Make sure to follow the manufacturer’s guidelines for installation to maintain the warranty and performance of the materials.
After completing the installation, take the time to clean the surface of the deck. Composite decking is designed to be low maintenance, but a thorough cleaning can help eliminate any debris or dust that may have accumulated during the installation process. Use a mild soap and water solution or a cleaner specifically designed for composite decking to keep your new deck looking pristine.
In summary, laying composite deck boards for a seamless finish is a process that requires careful planning and execution. By preparing the substructure correctly, leaving appropriate gaps between boards, using hidden fasteners, and paying attention to detail, you can create a beautiful outdoor space that will withstand the elements and provide enjoyment for years to come. Whether you are an experienced DIY enthusiast or a beginner, following these steps will help ensure your composite deck not only looks great but also performs excellently over time. With proper installation and maintenance, your composite deck can become a stunning focal point for outdoor gatherings and relaxation.

