How to Put Plastic Decking Down: Step-by-Step Instructions on How to Put Plastic Decking Down
How to Put Plastic Decking Down: Step-by-Step Instructions on How to Put Plastic Decking Down When it comes to enhancing your outdoor space, plastic decking offers a durable and low-maintenance alternative to traditional wood materials. This modern solution not only provides aesthetic appeal but also withstands the elements, making it a popular choice for homeowners….
How to Put Plastic Decking Down: Step-by-Step Instructions on How to Put Plastic Decking Down
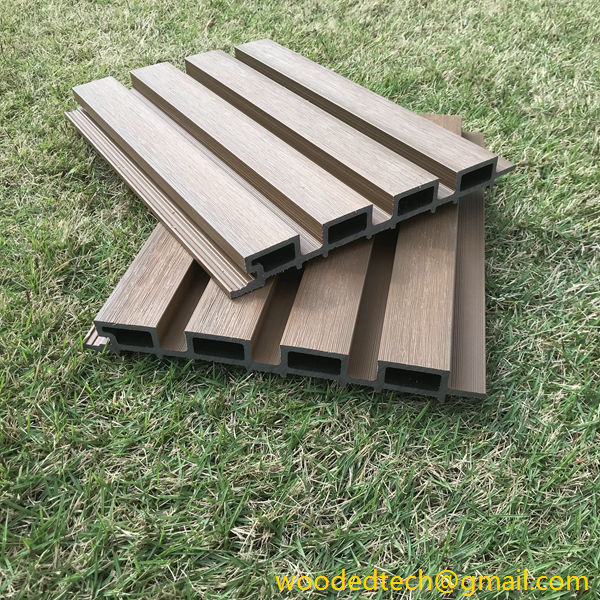
When it comes to enhancing your outdoor space, plastic decking offers a durable and low-maintenance alternative to traditional wood materials. This modern solution not only provides aesthetic appeal but also withstands the elements, making it a popular choice for homeowners. If you are considering installing plastic decking, it is essential to follow a structured approach to ensure excellent material performance and longevity. Here are step-by-step instructions on how to put plastic decking down effectively.
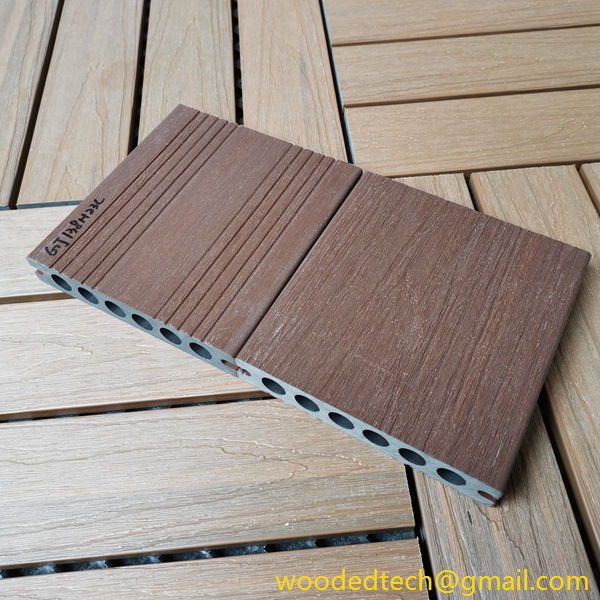
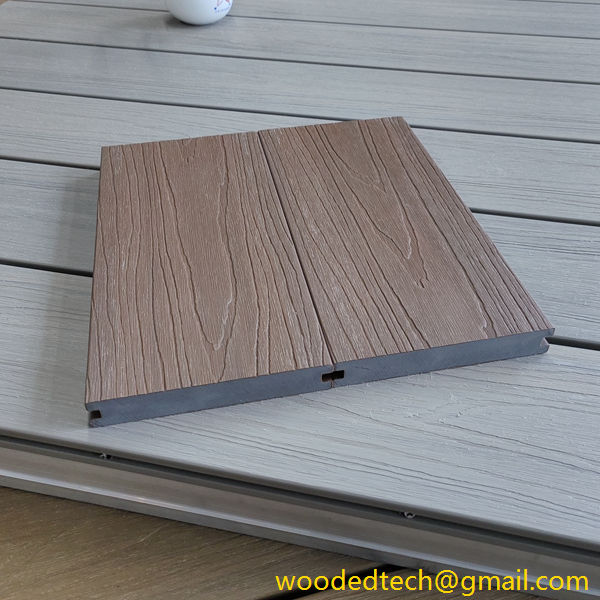
Before you begin the installation process, it is crucial to gather all necessary tools and materials. You will need plastic decking boards, a saw for cutting, a drill, screws designed for plastic materials, a measuring tape, a level, and a spacer. Additionally, having a safety kit that includes goggles and gloves is advisable.
The first step in the installation process is to prepare the area where the decking will be laid. Start by clearing the space of any debris, vegetation, or old materials. It is essential to ensure that the ground is level and stable, as this will provide a solid foundation for your decking. If the ground is uneven, consider using gravel or sand to create a smooth surface. After leveling the area, compact the soil to prevent any future settling.
Next, it is time to create a framework for your plastic decking. This framework, often referred to as the substructure, is typically made of treated wood or metal, which serves as the support for the decking boards. The spacing between the joists should generally be no more than 16 inches apart to provide adequate support. Use your measuring tape to mark the positions of the joists, ensuring they are evenly spaced. Secure the joists in place with appropriate fasteners, ensuring they are level.
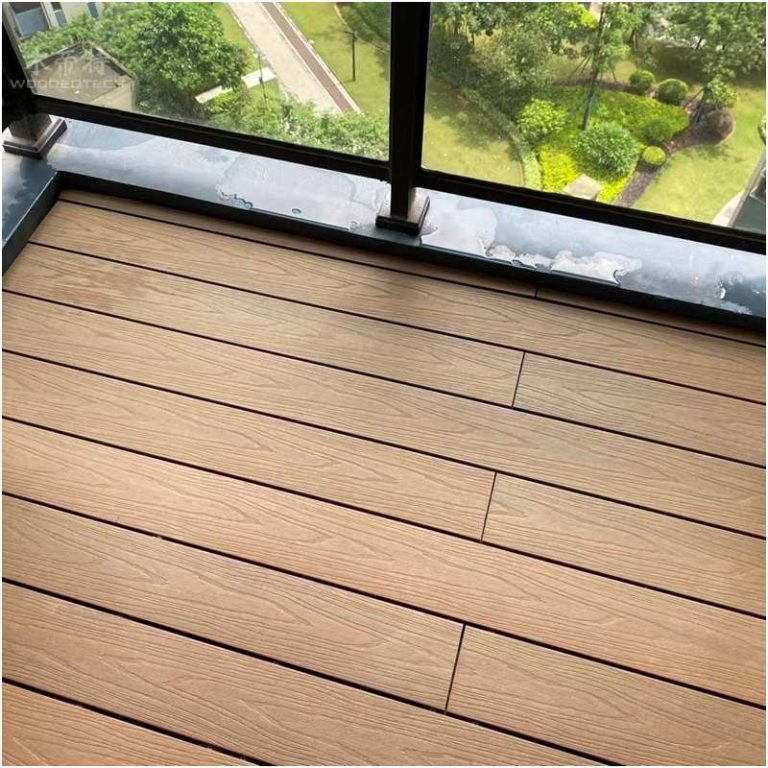
Once the substructure is in place, it is time to begin laying the plastic decking boards. Start by placing the first board at one end of the area, making sure it is aligned correctly with the edge of the substructure. Use spacers between the boards to maintain consistent gaps. These gaps allow for expansion and contraction of the material, which is essential for preventing warping or damage over time.
As you lay the decking boards, it is crucial to ensure they are level. Use a level to check each board as you install it, making any necessary adjustments. If you need to cut a board to fit, measure the length required and use a saw to make a clean cut. Always wear safety goggles when cutting materials to protect your eyes.
After laying the first row of boards, secure them in place using screws designed for plastic materials. It is recommended to drill pilot holes before inserting the screws to prevent cracking. Make sure to follow the manufacturer’s guidelines regarding the number of screws to use per board and their placement. Typically, screws should be placed at each joist intersection to provide maximum stability.
Continue this process for subsequent rows of decking boards, ensuring that the gaps between boards remain consistent. If you reach the end of a row and need to cut a board to fit, repeat the measuring and cutting process, always taking care to maintain a clean and accurate cut.
Once all the boards are laid and secured, it is time to address the edges of your decking. You may choose to install trim pieces or fascia boards to provide a finished look. These components can also help protect the edges of the decking from moisture and other environmental factors. Attach them using screws, ensuring they are flush with the decking surface.
After the installation is complete, it is essential to clean the surface of the decking. Remove any dust, debris, or excess material to ensure a clean and safe outdoor space. Regular maintenance will also enhance the performance of your plastic decking. While one of the benefits of plastic decking is its low maintenance requirements, periodic cleaning with soap and water can help maintain its appearance and longevity.
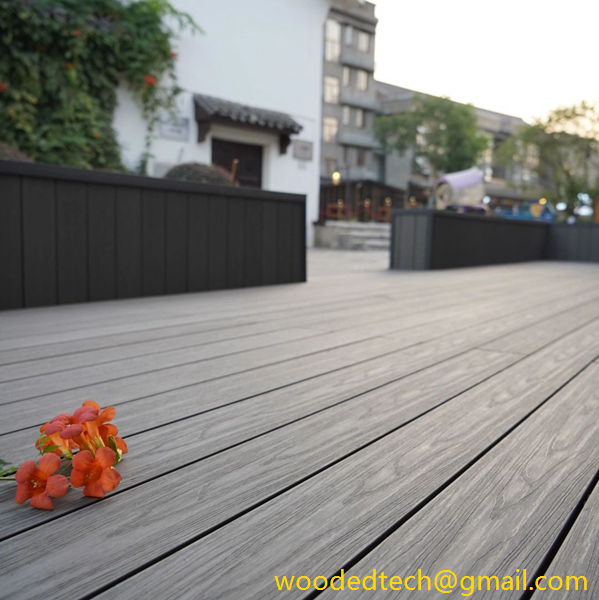
In conclusion, installing plastic decking can transform your outdoor area into a functional and attractive space. By following these step-by-step instructions, you can ensure that your decking is installed correctly and will perform well over time. The key components to focus on during installation include preparing the area, creating a solid framework, ensuring level installation of the boards, securing them properly, and finishing the edges. With careful attention to detail and adherence to best practices, your plastic decking will provide years of enjoyment and minimal maintenance. Whether you are creating a new deck or replacing an old one, plastic decking is an excellent choice that combines durability, beauty, and ease of care.

