How to Put Down Composite Decking: A Comprehensive Guide on How to Put Down Composite Decking
How to Put Down Composite Decking: A Comprehensive Guide on How to Put Down Composite Decking Composite decking has become a popular choice for homeowners seeking a low-maintenance alternative to traditional wood decking. Known for its durability, resistance to pests, and minimal upkeep requirements, composite decking offers a beautiful and functional outdoor space. This comprehensive…
How to Put Down Composite Decking: A Comprehensive Guide on How to Put Down Composite Decking
Composite decking has become a popular choice for homeowners seeking a low-maintenance alternative to traditional wood decking. Known for its durability, resistance to pests, and minimal upkeep requirements, composite decking offers a beautiful and functional outdoor space. This comprehensive guide will walk you through the process of installing composite decking, ensuring that your project is successful and results in an outdoor area that you can enjoy for years to come.
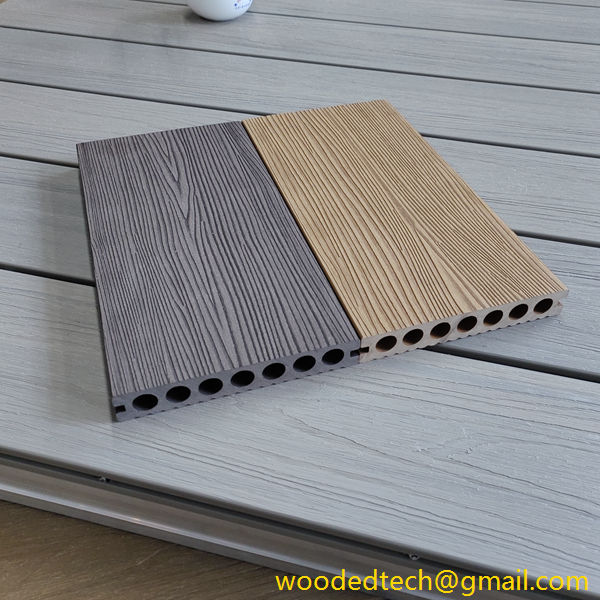
Before diving into the installation process, it is essential to understand what composite decking is. Composite decking is made from a blend of wood fibers and recycled plastic materials. This combination gives it the appearance of wood while eliminating many of the drawbacks associated with traditional wooden decks. Composite decking is resistant to moisture, fading, and splintering, making it an excellent choice for outdoor applications.
The first step in installing composite decking is thorough planning. Determine the size and shape of your deck, keeping in mind any specific features you may wish to include, such as railings, stairs, or built-in seating. It is advisable to sketch your design on paper or use design software to visualize the final product.
Check local building codes and regulations before proceeding with your project. You may need to obtain a permit, especially if your deck exceeds a certain size or height. Additionally, consider any zoning restrictions that may affect your decking project.
Once you have a clear plan, it is time to gather the necessary materials and tools. The main materials you will need include:
– Composite decking boards
– Composite deck screws
– Joists (typically made of treated wood)
– Decking supports or beams
– Optional: railing kits, lighting, or other accessories
In terms of tools, you will need:
– A circular saw or miter saw
– A measuring tape
– A level
– A drill and drill bits
– A square
– Safety goggles and gloves
Having all your materials and tools on hand will help streamline the installation process and prevent delays.
Before installing your composite decking, it is crucial to prepare the area where the deck will be built. Start by clearing the space of any debris, vegetation, or existing structures. Once the area is clear, mark the outline of your deck using stakes and string. This will help you visualize where the deck will go and ensure that it is level and square.
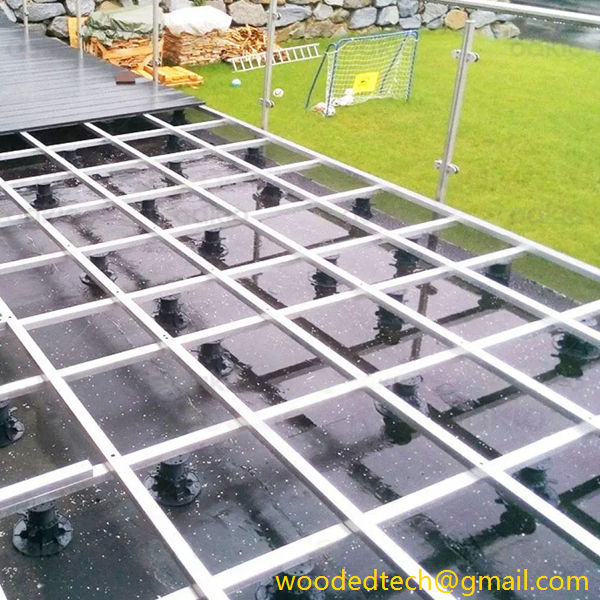
Next, you will need to create a stable foundation for your deck. This typically involves installing posts or footings to support the joists. The depth and spacing of the footings will depend on your local building codes and the size of your deck. Once the footings are in place, you can install the joists. Joists should be spaced appropriately, usually 16 inches apart, to provide adequate support for the composite decking boards.
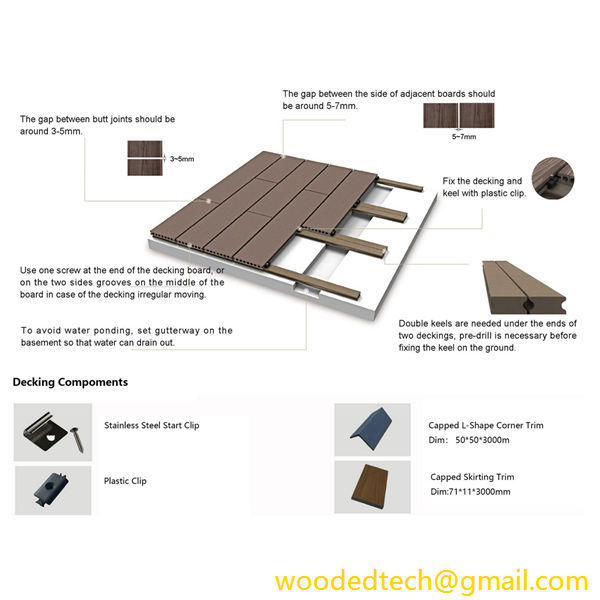
With the foundation ready, it is time to install the composite decking boards. Begin by laying the first board at one end of your deck, ensuring that it is flush with the edge and aligned properly. Use a level to confirm that the board is even. Secure the board in place using composite deck screws, driving them into the joists below.
Continue laying the decking boards, working your way across the deck. Make sure to leave a small gap between each board to allow for drainage and expansion, as composite materials can expand and contract with temperature changes. Many manufacturers recommend a gap of about 1/4 inch between boards.
When you reach the end of a row, you may need to cut the last board to fit. Use a circular saw to make precise cuts and ensure a clean edge. If you have any leftover pieces, you can often use them to start the next row, minimizing waste.
Once all the composite decking boards are installed, it is time to add the finishing touches. This may include installing railings, steps, or any additional features you planned during the design phase. Follow the manufacturer’s instructions for any railing systems to ensure they are installed securely.
After completing the installation, take a moment to clean the surface of your new deck. This will remove any dust or debris from the installation process. You can use a mild soap solution and a soft brush to clean the surface if needed.
One of the main benefits of composite decking is its low-maintenance nature. Unlike traditional wood decks that require regular staining, sealing, or painting, composite decks typically only need occasional cleaning. A simple wash with soap and water will usually suffice to keep your deck looking great. Additionally, be sure to remove any debris, such as leaves or dirt, to prevent mold or mildew growth.
In conclusion, installing composite decking is a straightforward process that can enhance your outdoor living space while providing long-lasting enjoyment. By following this comprehensive guide, you can ensure that your project runs smoothly and results in a beautiful deck that requires minimal maintenance in the years to come. Whether you are an experienced DIYer or a beginner, taking the time to plan and execute each step will result in a successful installation and a delightful outdoor area to enjoy with family and friends.

