How to Install WPC Wall Panel: Step-by-Step Instructions for Installing WPC Wall Panels
How to Install WPC Wall Panel: Step-by-Step Instructions for Installing WPC Wall Panels Installing WPC (Wood Plastic Composite) wall panels is a popular choice for both residential and commercial spaces due to their durability, aesthetic appeal, and ease of maintenance. WPC wall panels provide a sophisticated look while ensuring longevity, making them an excellent investment…
How to Install WPC Wall Panel: Step-by-Step Instructions for Installing WPC Wall Panels
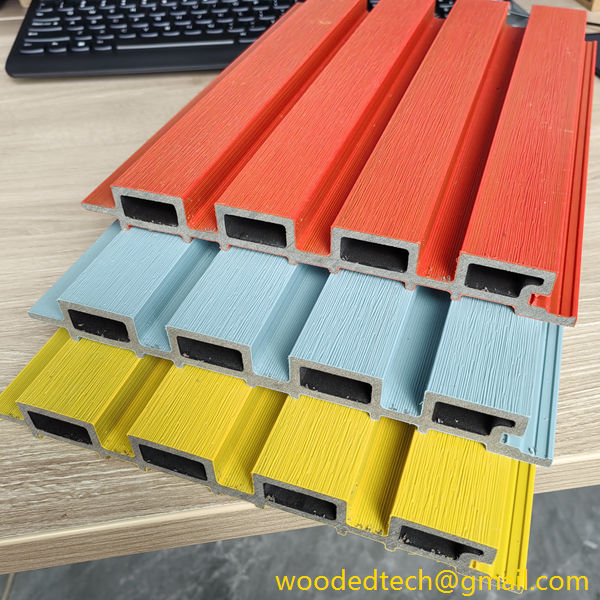
Installing WPC (Wood Plastic Composite) wall panels is a popular choice for both residential and commercial spaces due to their durability, aesthetic appeal, and ease of maintenance. WPC wall panels provide a sophisticated look while ensuring longevity, making them an excellent investment for any property. This comprehensive guide will walk you through the step-by-step instructions for installing WPC wall panels effectively.
Before diving into the installation process, it is essential to gather all the necessary materials and tools. You will need WPC wall panels, a measuring tape, a level, a circular saw or handsaw, a drill with the appropriate bits, screws, a rubber mallet, and adhesive glue. Safety gear, such as gloves and goggles, should also be considered to protect yourself during the installation.
The first step is to prepare the wall surface where you plan to install the WPC panels. Ensure that the wall is clean, dry, and free of any debris. If the wall has any imperfections, such as holes or cracks, these should be filled and sanded down for a smooth surface. It is also advisable to check for any plumbing or electrical wires that may be present behind the wall before proceeding with the installation.
Next, measure the area where you plan to install the panels. Use a measuring tape to determine the height and width of the wall, and then calculate how many panels you will need. It is always a good idea to purchase a few extra panels to account for mistakes or future repairs. Once you have your measurements, mark the wall with a pencil to outline where the panels will be installed. This step is crucial as it ensures that your panels will be installed straight and level.
After marking the wall, it’s time to start cutting the WPC panels to the appropriate size. Using a circular saw or a handsaw, carefully cut the panels according to your measurements. Take your time with this step to ensure clean and precise cuts. If you are not comfortable using power tools, consider seeking help from a professional or someone experienced in DIY projects.
Now that the panels are cut to size, it’s time to begin the installation process. Start at one corner of the wall and position the first panel against the wall according to your marked outline. Use a level to ensure that the panel is perfectly straight. Once you have confirmed that the panel is level, you can secure it to the wall using screws. Drill the screws into the designated areas of the panel, ensuring they are flush with the surface for a neat finish. If you are using adhesive glue, apply it along the back of the panel before pressing it against the wall.
Continue this process with the remaining panels, making sure to align them properly and maintain a consistent gap between each panel for expansion and contraction. It is essential to follow the manufacturer’s guidelines regarding spacing and installation techniques, as this will ensure the longevity and integrity of the panels.
As you work through the installation, periodically check that the panels remain level and aligned. This attention to detail will pay off in the final appearance of your wall. If you encounter any issues, such as misalignment or panels that are not fitting correctly, take the time to adjust them before moving on to the next panel.
Once all the panels have been installed, it’s time to address any finishing touches. This may include adding trim or molding to cover any gaps between the panels and the ceiling or floor. Additionally, you may want to apply a sealant or protective coating to enhance the durability of the WPC panels and protect them from moisture and wear over time.
Finally, take a step back and admire your work. Installing WPC wall panels can dramatically transform the look of a room, adding warmth and texture to your space. The installation process may seem daunting at first, but with careful planning and execution, you can achieve professional-looking results on your own.
In conclusion, installing WPC wall panels is a rewarding project that can enhance the beauty and functionality of your space. By following these step-by-step instructions and taking the time to prepare and measure accurately, you can ensure a successful installation. The durability and low maintenance requirements of WPC panels make them an ideal choice for various applications, whether in a living room, office, or commercial setting. Embrace your creativity and enjoy the process of transforming your walls with WPC panels.

