How to Install WPC Wall Cladding: Tips for Installing WPC Wall Cladding Effectively
How to Install WPC Wall Cladding: Tips for Installing WPC Wall Cladding Effectively Installing WPC (Wood Plastic Composite) wall cladding can be a rewarding project that enhances the aesthetic appeal of your interior or exterior spaces while providing durability and low maintenance. WPC is a versatile material that combines the best properties of wood and…
How to Install WPC Wall Cladding: Tips for Installing WPC Wall Cladding Effectively
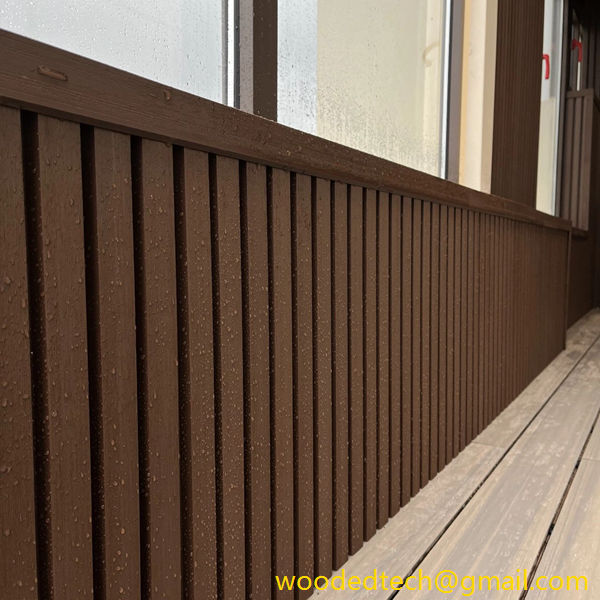
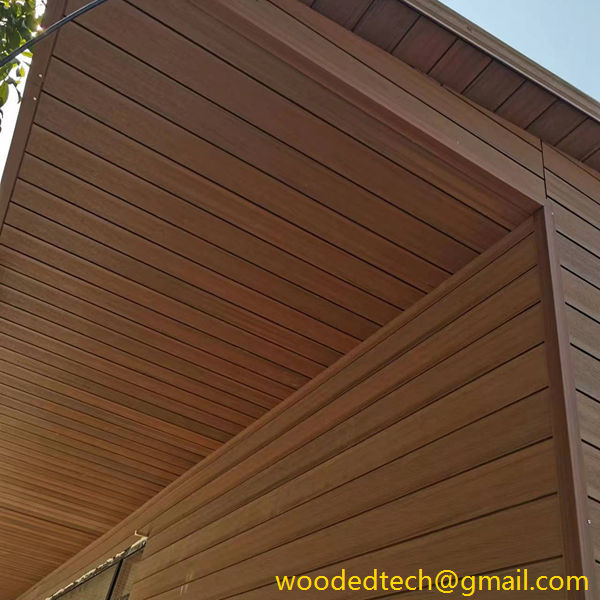
Installing WPC (Wood Plastic Composite) wall cladding can be a rewarding project that enhances the aesthetic appeal of your interior or exterior spaces while providing durability and low maintenance. WPC is a versatile material that combines the best properties of wood and plastic, making it resistant to moisture, rot, and pests. Whether you are a DIY enthusiast or a seasoned contractor, understanding the installation process and tips can help ensure a successful outcome. In this guide, we will explore the essential steps and considerations for effectively installing WPC wall cladding.
Before beginning your installation, it is crucial to gather all necessary tools and materials. You will need WPC wall cladding boards, a measuring tape, a level, a saw (preferably a power saw for cleaner cuts), a drill with suitable bits, screws, a hammer, and safety gear such as goggles and gloves. Additionally, you may need a moisture barrier or underlayment if you are installing the cladding in moisture-prone areas.
The first step in the installation process is to prepare the surface where the WPC cladding will be applied. Ensure that the wall is clean, dry, and free from any debris or loose materials. If you are installing the cladding over existing material, such as drywall or concrete, check for any signs of damage or moisture issues that may need to be addressed beforehand. It is advisable to install WPC cladding over a solid substrate, like plywood or a moisture-resistant board, to provide a secure base for the cladding and prevent warping or movement over time.
Once the surface is prepared, the next step is to measure and plan your layout. Start by determining the height at which you want the cladding to be installed. Using a level and measuring tape, mark the desired height across the wall to create a reference line. This line will serve as a guide for your first row of cladding boards. It is important to plan the layout carefully to minimize waste and ensure that the boards fit together seamlessly. Consider the length of the boards and how they will be staggered to create a visually appealing pattern.
When you have your measurements and layout in place, it is time to cut the WPC boards to size. Using a power saw, cut the boards according to your planned dimensions. Take care to make clean, straight cuts to ensure a proper fit. If you are working in a location with high humidity or extreme temperature fluctuations, it may be wise to allow the boards to acclimate to the environment for at least 48 hours before installation. This step helps to reduce the risk of expansion or contraction after the boards are installed.
With the boards cut to size, you can begin the installation process. Start at the bottom of the wall, aligning the first board with the reference line you marked earlier. Use a level to ensure that the board is straight before securing it in place with screws. It is essential to use screws specifically designed for WPC materials, as they have the appropriate thread and coating for optimal performance. When fastening the boards, make sure to leave a small gap at the bottom to allow for drainage and airflow, which helps prevent moisture buildup.
As you continue to install the boards, pay attention to the spacing between them. Most WPC manufacturers recommend leaving a gap of about 1/8 to 1/4 inch between boards to accommodate expansion and contraction. This spacing will help ensure that the cladding remains intact and visually appealing over time. Additionally, staggering the seams of adjacent boards can create a more natural look and enhance the structural integrity of the installation.
If you encounter corners or edges during your installation, it is essential to use corner trim or molding to achieve a polished finish. This trim not only adds a decorative element but also helps protect the edges of the cladding from damage. Cut the trim pieces to the appropriate lengths and secure them in place using screws or adhesive.
Once all the boards are installed, take a step back to inspect your work. Ensure that all boards are securely fastened and that there are no visible gaps or misalignments. If everything looks good, you can proceed to clean the surface of the cladding to remove any dust or debris that may have accumulated during installation. A gentle soap and water solution can be used for cleaning without damaging the WPC material.
Finally, consider applying a protective finish or sealant to enhance the color and longevity of your WPC wall cladding. While many WPC products come with a protective coating, adding an extra layer can further safeguard against UV damage and fading. Make sure to follow the manufacturer’s recommendations for any additional treatments.
In summary, installing WPC wall cladding can be a straightforward process if you take the time to prepare properly and follow the necessary steps. By gathering the right tools, planning your layout, and paying attention to detail during installation, you can achieve a beautiful and durable finish that will enhance your space for years to come. Whether you are installing cladding for decorative purposes, to increase insulation, or simply to modernize a room, WPC offers a versatile and resilient option that is sure to impress.

