How to Install WPC Fluted Wall Panel: Guide to Installing WPC Fluted Wall Panels
How to Install WPC Fluted Wall Panel: Guide to Installing WPC Fluted Wall Panels WPC fluted wall panels have gained immense popularity in recent years due to their unique aesthetic appeal and functional advantages. Made from wood-plastic composites, these panels blend the natural beauty of wood with the durability of plastic. This guide will explore…
How to Install WPC Fluted Wall Panel: Guide to Installing WPC Fluted Wall Panels
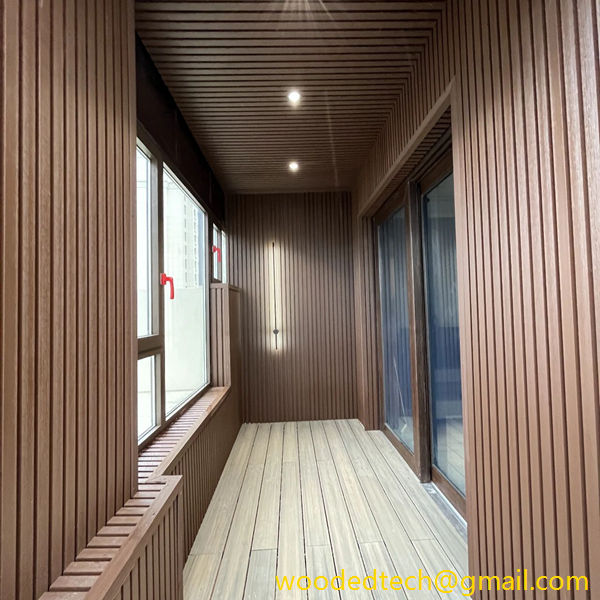
WPC fluted wall panels have gained immense popularity in recent years due to their unique aesthetic appeal and functional advantages. Made from wood-plastic composites, these panels blend the natural beauty of wood with the durability of plastic. This guide will explore the step-by-step process of installing WPC fluted wall panels, highlighting key considerations and tips to ensure a successful installation.
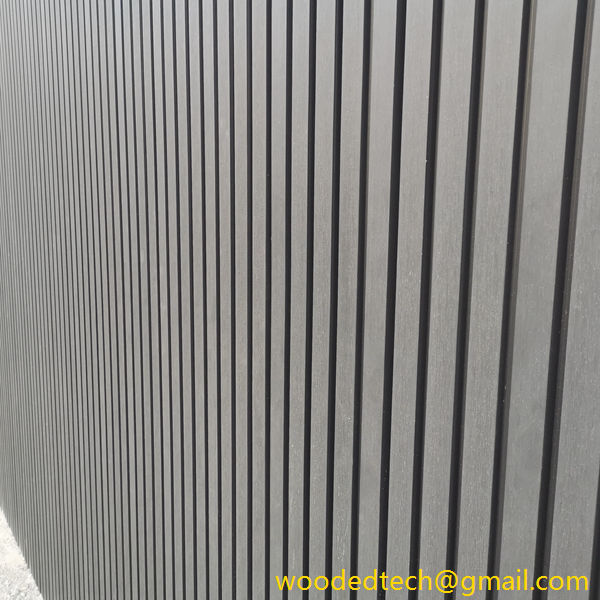
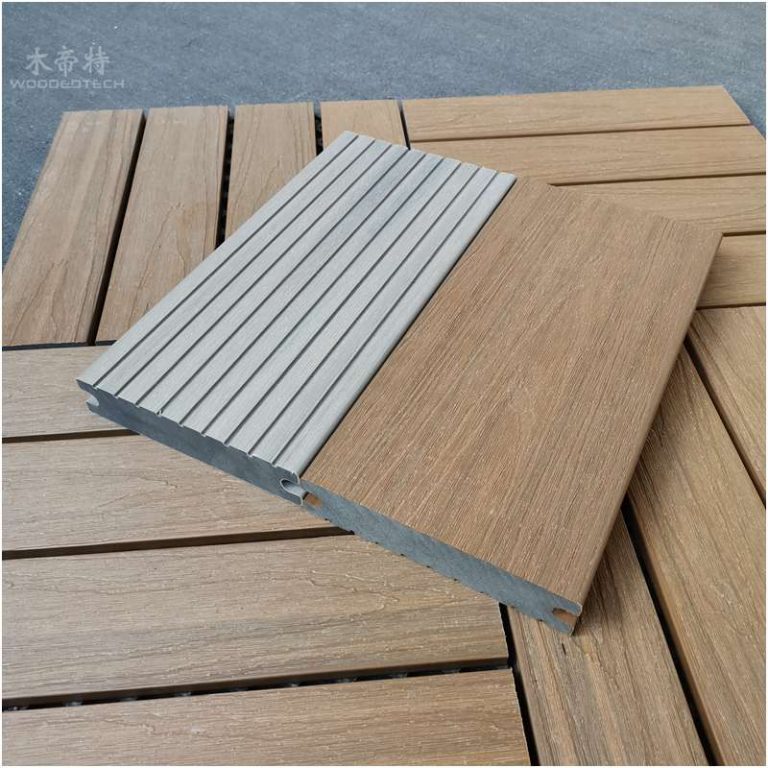
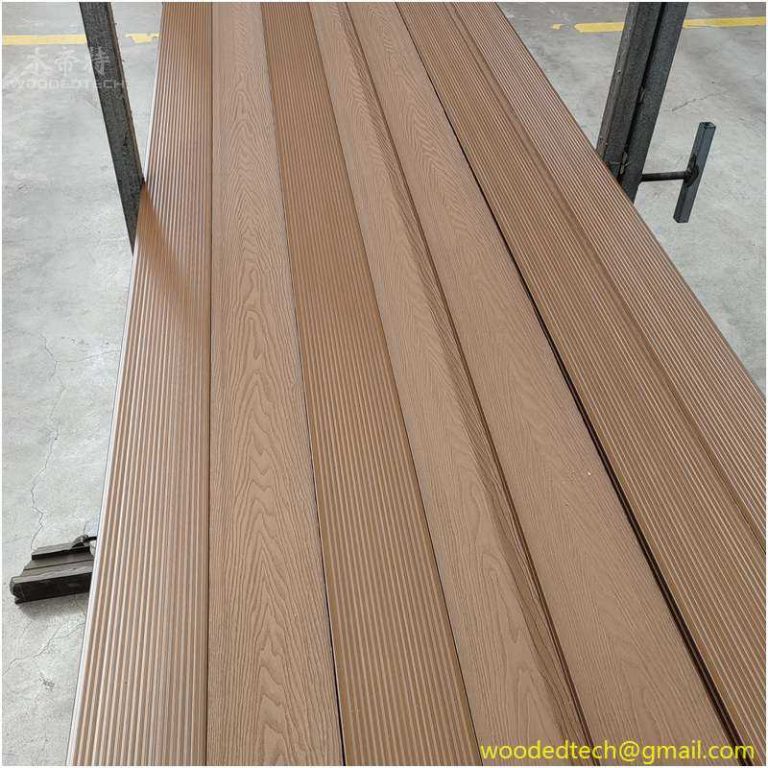
Before diving into the installation process, it is essential to understand what WPC fluted wall panels are. These panels feature a grooved design that adds texture and depth to your walls, creating a striking visual impact. Their composition makes them resistant to moisture, termites, and decay, making them an excellent choice for various environments, including bathrooms, kitchens, and outdoor spaces. Additionally, the panels are lightweight and easy to handle, making installation more manageable for both professionals and DIY enthusiasts.
Preparation is crucial for a successful installation. Begin by gathering the necessary tools and materials. You will need WPC fluted wall panels, a measuring tape, a level, a saw (preferably a circular saw or jigsaw), adhesive or fasteners, a caulking gun, and safety equipment such as gloves and goggles.
Next, you should prepare the wall surface where you plan to install the panels. Ensure that the surface is clean, dry, and free of any debris. If the wall is uneven, consider using a leveling compound to create a smooth base. This step is vital as it will ensure that your panels adhere properly and create a seamless finish.
Once your workspace is prepared, it’s time to measure the wall and cut the panels to fit. Start by measuring the height and width of the wall where you will install the panels. This measurement will help you determine how many panels you will need and what dimensions you should cut them to.
When cutting the panels, make sure to wear safety gear to protect yourself from any debris. Use a level to mark straight lines on the panels for cutting. It’s important to make precise cuts to ensure that the panels fit together snugly. If you are unsure about cutting the panels yourself, consider having them cut at your local hardware store.
With your panels cut to size, it’s time to begin the installation process. Start at one corner of the wall and work your way across. If you are using adhesive, apply a generous amount to the back of the panel and press it firmly against the wall. Use a level to ensure that the panel is straight before moving on to the next one.
If you are using fasteners instead of adhesive, pre-drill holes in the panels to avoid splitting the material. Space the fasteners evenly, and make sure they are flush with the surface of the panel for a clean finish. It’s essential to follow the manufacturer’s guidelines regarding spacing and installation methods to ensure the longevity of your panels.
One of the critical advantages of WPC fluted wall panels is their ability to create a seamless look when installed correctly. To achieve this, pay close attention to the alignment of the grooves. Ensure that the fluted edges of adjacent panels align perfectly to maintain a consistent pattern. This attention to detail will enhance the overall appearance of your wall and create a professional finish.
If you encounter any gaps between the panels, consider using caulk to fill them in. A high-quality caulk will not only hide imperfections but also provide additional moisture resistance. Choose a caulk that matches the color of your panels for a seamless appearance.
Once all the panels are installed, it’s time to add the finishing touches. Inspect the wall for any irregularities or areas that may need additional attention. You may want to apply a coat of sealant to protect the surface and enhance its durability. This step is especially important if the panels are installed in high-moisture areas.
If you have chosen to paint or stain your panels, ensure that you allow adequate drying time between coats. This step will ensure an even application and a polished final look.
WPC fluted wall panels are relatively low-maintenance, but regular care will help preserve their appearance and functionality. Clean the panels periodically with a damp cloth and mild detergent to remove dust and grime. Avoid using abrasive cleaners that could damage the surface.
Keep an eye out for any signs of damage or wear, especially in areas that may be exposed to moisture. Addressing issues promptly will help extend the life of your panels and maintain their aesthetic appeal.
Installing WPC fluted wall panels can transform the look of any space, offering both beauty and functionality. By following this comprehensive guide, you can successfully install these panels in your home or business. With proper preparation, careful measurement, and attention to detail, you will create a stunning feature wall that will impress guests and enhance your space for years to come. Embrace the versatility of WPC fluted wall panels, and enjoy the benefits they bring to your interior design projects.

