How to Install WPC Decking for a Durable Outdoor Space
How to Install WPC Decking for a Durable Outdoor Space When it comes to creating a durable and aesthetically pleasing outdoor space, WPC (Wood Plastic Composite) decking has gained immense popularity among homeowners and builders alike. This composite material combines the best features of wood and plastic, resulting in a product that is not only…
How to Install WPC Decking for a Durable Outdoor Space
When it comes to creating a durable and aesthetically pleasing outdoor space, WPC (Wood Plastic Composite) decking has gained immense popularity among homeowners and builders alike. This composite material combines the best features of wood and plastic, resulting in a product that is not only long-lasting but also low-maintenance and eco-friendly. If you’re considering installing WPC decking in your outdoor area, this guide will walk you through the process while highlighting the variety of material styles available.
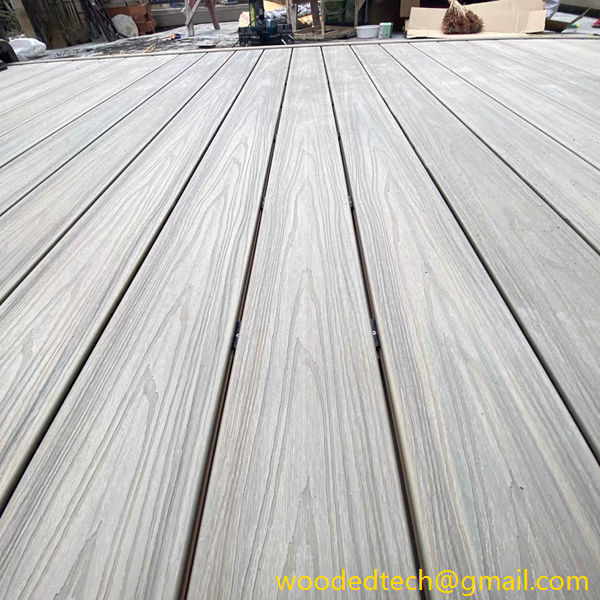
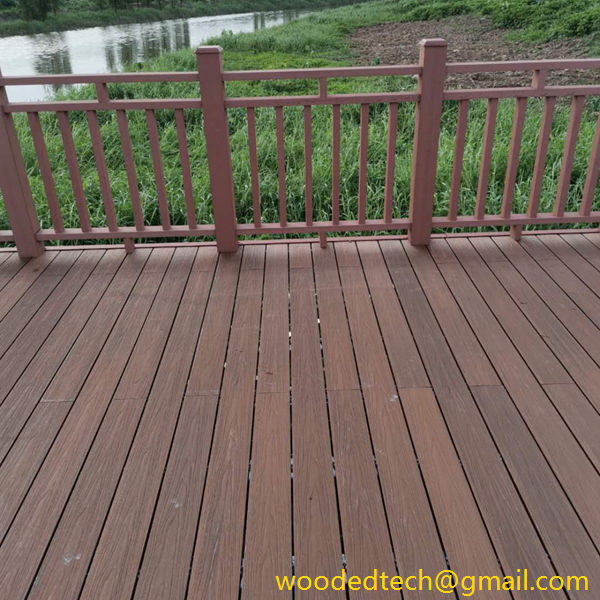
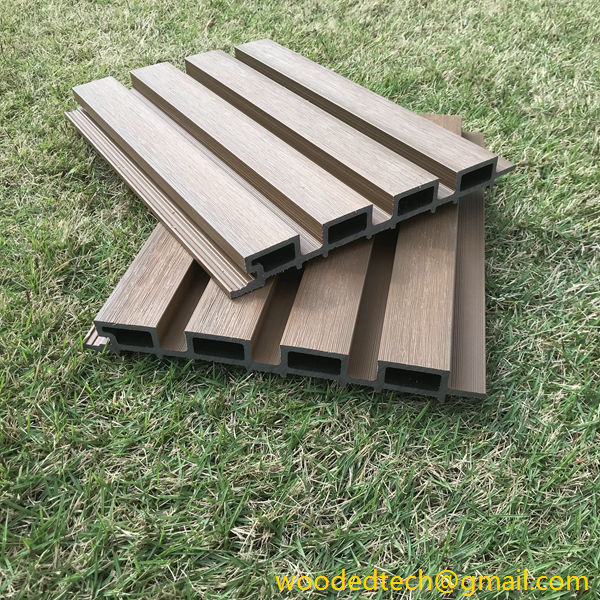
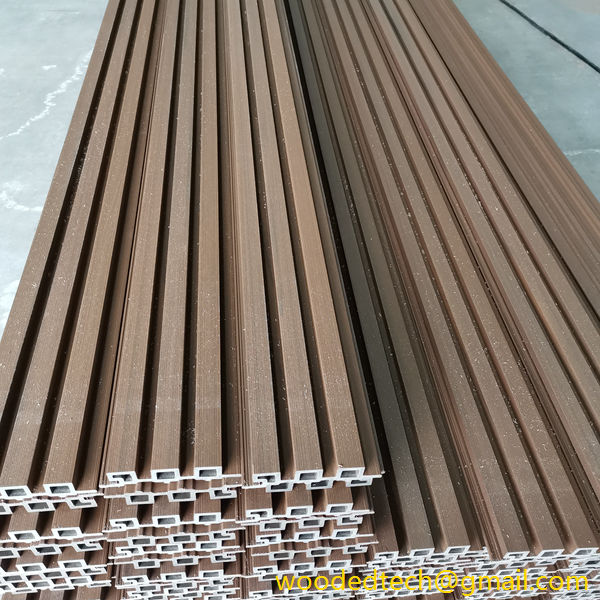
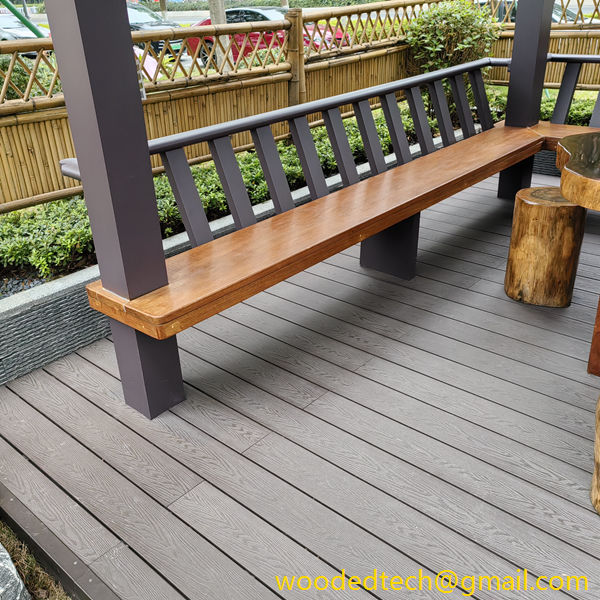
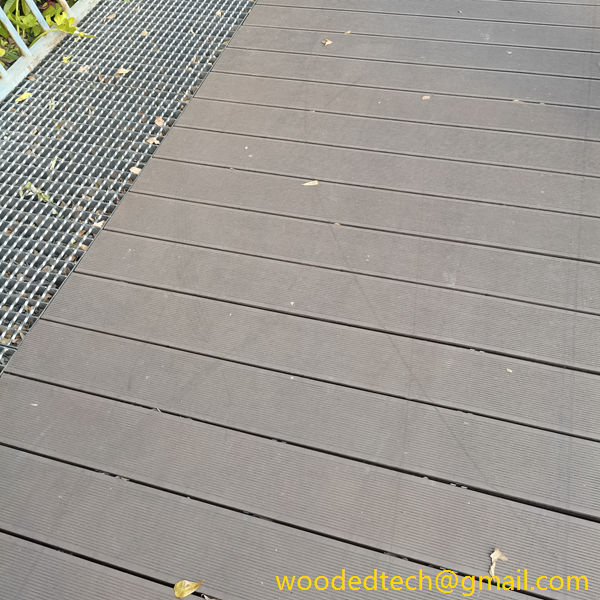
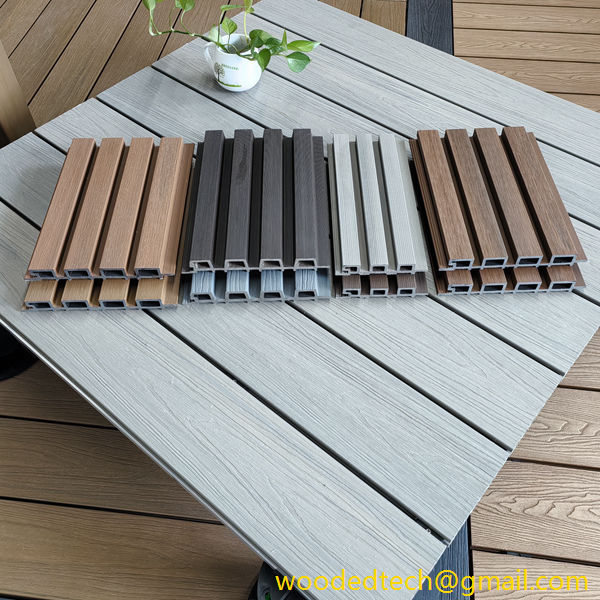
Before diving into the installation process, it’s essential to understand the different styles and finishes available in WPC decking. WPC boards come in various colors, textures, and patterns, allowing homeowners to choose a design that complements their outdoor aesthetics. For instance, some WPC decking mimics the natural grain of wood, providing a rustic look that fits seamlessly in garden settings. Others may feature a more modern, sleek appearance with smooth surfaces and contemporary colors. There are also options with unique patterns or multicolored finishes, giving you the flexibility to create a custom look for your outdoor space.
Once you’ve selected the ideal WPC decking style, it’s time to prepare for installation. First, gather all necessary tools and materials. You will need a measuring tape, saw, drill, screws, a level, and a rubber mallet. It’s also advisable to have safety gear such as gloves and goggles to protect yourself during the installation.
The first step in the installation process is to prepare the area where the decking will be laid. Begin by clearing the space of any debris, vegetation, or old decking material. Next, level the ground to ensure a flat surface for the WPC boards. This may involve adding or removing soil to achieve the desired elevation. A level surface is crucial for preventing water accumulation and ensuring the longevity of the decking.
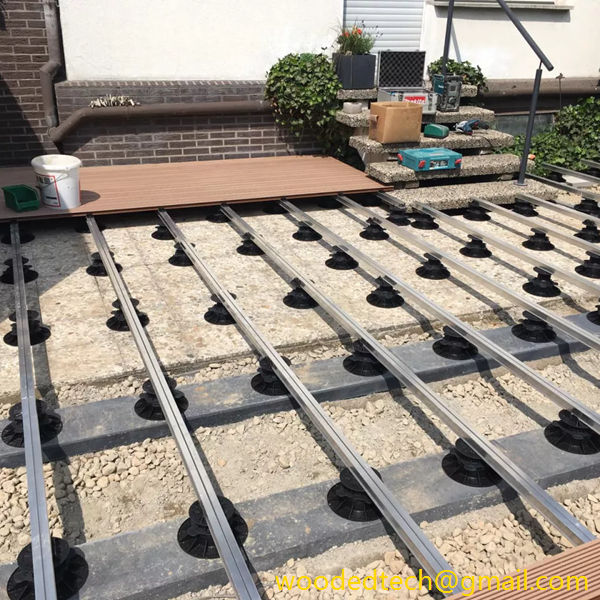
After preparing the ground, consider installing a weed barrier to prevent unwanted vegetation from growing underneath the decking. This barrier will help maintain the integrity of the WPC boards and reduce maintenance in the long run. Once the area is prepared, you can begin laying the framework for your decking. Typically, this framework consists of wooden or metal joists that will support the WPC boards. Space the joists approximately 16 inches apart, ensuring they are level and secure.
Now it’s time to install the WPC decking boards. Start at one end of the deck and lay the first board down, securing it to the joists with screws. Ensure that the board is straight and level before moving on to the next one. Depending on the style of WPC decking you’ve chosen, you may use hidden fasteners or visible screws for installation. Hidden fasteners provide a clean look without visible screws, while visible screws may be easier to work with for some designs.
Continue laying the boards, making sure to leave a small gap between each board for expansion and drainage. This gap is crucial, as temperature fluctuations can cause WPC materials to expand and contract. The recommended gap is typically around 1/8 inch, but check the manufacturer’s instructions for specific recommendations for your chosen product.
As you reach the end of a row and need to cut a board to fit, measure the space accurately and use a saw to make the cut. A miter saw is preferable for a clean edge, but a circular saw can also be used. Once the board is cut, secure it in place just as you did with the previous boards.
After completing the first row, continue laying additional rows of WPC decking. Be sure to stagger the seams of the boards for added stability and a more visually appealing pattern. Staggering the seams means that the end of one board should not line up with the end of another board in the adjacent row, which helps distribute weight and prevents weak spots.
Once all the decking boards are installed, it’s time to finish the edges. You can use trim pieces that match your WPC decking style to create a polished look. These trim pieces can be attached with screws or adhesive, depending on the design. Additionally, consider adding railings or skirting around your deck to enhance safety and aesthetics. Railings can be made from WPC materials or other materials such as metal or glass, depending on your desired style.
Finally, after the installation is complete, take a moment to clean the surface of the decking to remove any debris or dust. Regular maintenance is minimal with WPC decking; however, it is advisable to clean the surface periodically to prevent mold and mildew buildup. A simple soap-and-water solution will suffice for routine cleaning.
In conclusion, installing WPC decking is an excellent way to enhance your outdoor space with a durable and stylish solution. By choosing from a variety of material styles and following the proper installation process, you can create an outdoor area that is not only functional but also beautiful. With the right planning and execution, your WPC decking will provide years of enjoyment and serve as a stunning backdrop for outdoor gatherings, relaxation, and family activities. Whether you prefer a traditional wood look or a modern aesthetic, WPC decking can transform your outdoor environment into a welcoming retreat.

