How to Install Decking Composite: Step-by-Step Guide for Installing Decking Composite
How to Install Decking Composite: Step-by-Step Guide for Installing Decking Composite Installing composite decking can be a rewarding home improvement project that enhances the beauty and functionality of your outdoor space. Composite decking is known for its durability and low maintenance requirements, making it an increasingly popular choice among homeowners. This guide will provide you…
How to Install Decking Composite: Step-by-Step Guide for Installing Decking Composite
Installing composite decking can be a rewarding home improvement project that enhances the beauty and functionality of your outdoor space. Composite decking is known for its durability and low maintenance requirements, making it an increasingly popular choice among homeowners. This guide will provide you with a comprehensive, step-by-step approach to installing composite decking, ensuring that your project is successful and that your new deck will provide enjoyment for years to come.
Before you begin the installation process, it is essential to plan your decking project thoroughly. Start by determining the size and shape of your deck. Consider how you will use the space and what furniture or features you may want to include, such as seating areas or planters. Additionally, check local building codes and regulations to ensure your project complies with any necessary permits or restrictions.
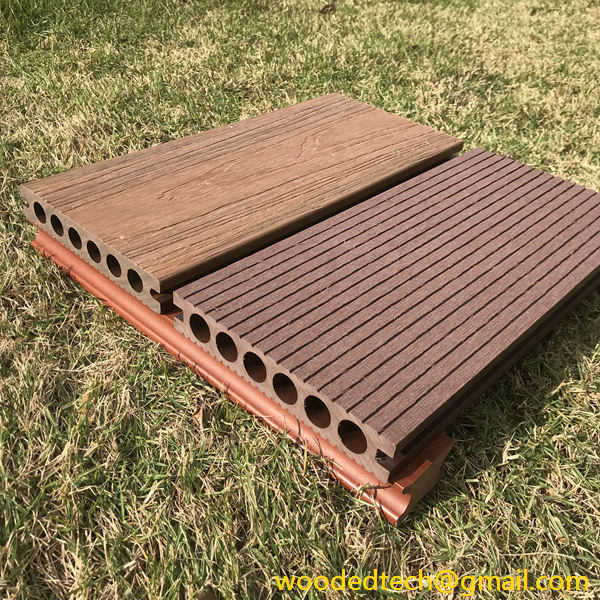
Once you have a clear vision of your deck, create a detailed materials list, including composite decking boards, support beams, joists, fasteners, and any additional accessories like railing systems or lighting. It is advisable to purchase a little extra material to account for mistakes or miscalculations.
Having the right tools on hand is crucial for a successful installation. Gather the following tools and materials:
– Composite decking boards
– Decking joists
– Joist hangers
– Deck screws or hidden fasteners
– Circular saw or miter saw
– Drill
– Level
– Measuring tape
– Chalk line
– Safety goggles and gloves
With your tools and materials ready, you can move on to preparing the site for installation.
The next step is to prepare the area where your deck will be installed. Begin by clearing the space of any debris, vegetation, or obstacles. You may need to excavate the ground to create a level surface for your deck. Use a level to ensure the ground is even, as this will help prevent water pooling and structural issues later on.
If your deck will be built close to the ground, consider adding a weed barrier to prevent grass and weeds from growing up through the deck. Once the area is clear and level, you can begin installing the foundation.
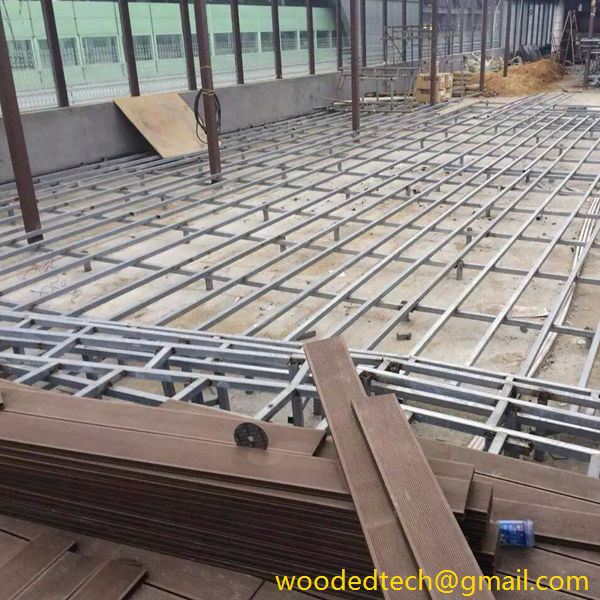
The frame of your deck provides the structural support for the decking boards. Begin by laying out the perimeter of the deck using stakes and string to mark the corners. The frame should consist of treated lumber or composite material, which is resistant to rot and decay.
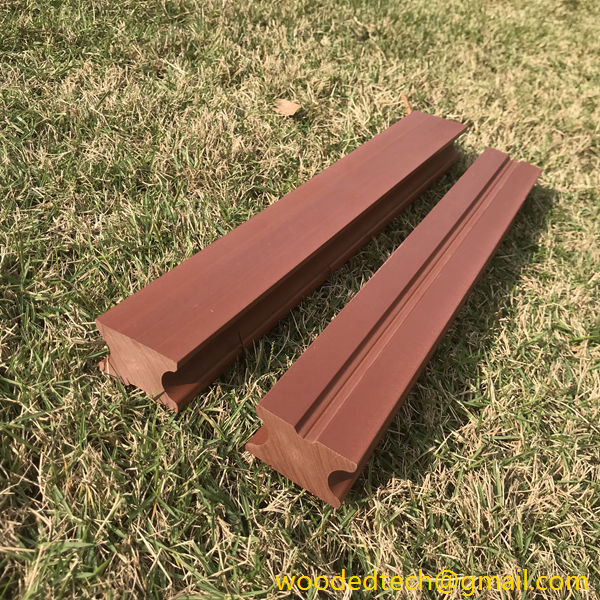
Install the outer beams first, securing them with concrete footings or anchors as needed. Next, add the joists that will run perpendicular to the decking boards. Joists should be spaced according to the manufacturer’s recommendations, typically 16 inches apart. Use joist hangers for added stability and to ensure a secure fit.
Double-check that everything is level and square before securing the frame in place with screws or bolts.
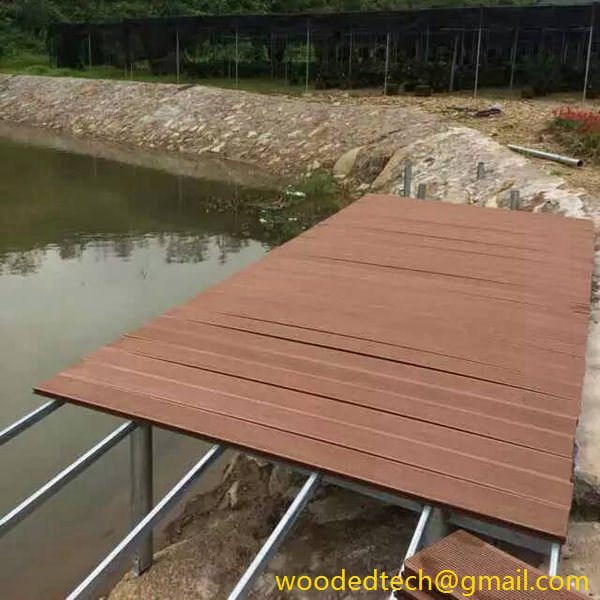
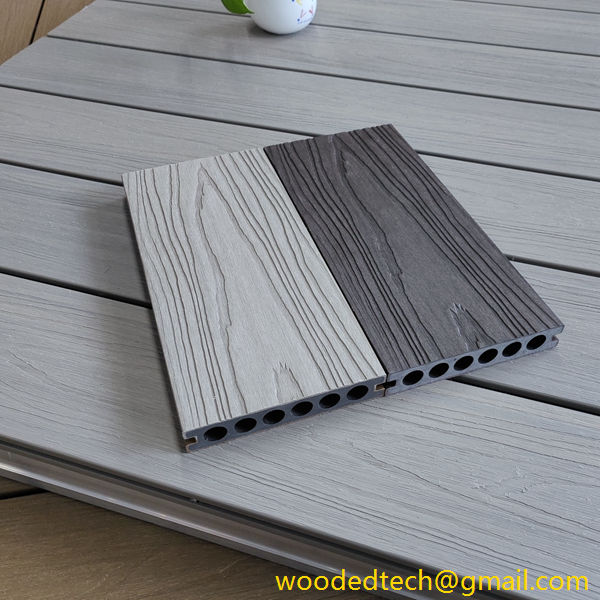
Once the frame is set, it’s time to install the composite decking boards. Start at one end of the deck and lay the first board perpendicular to the joists. If you’re using hidden fasteners, follow the manufacturer’s instructions for installation. These fasteners allow for a clean look without visible screws on the surface of the decking.
When installing the boards, leave a small gap between them to allow for expansion and drainage. The recommended gap is usually around 1/4 inch but check the manufacturer’s guidelines for specific recommendations. Continue laying the boards until the entire surface is covered.
As you approach the edges of your deck, you may need to cut boards to fit. Use a circular saw or miter saw to make precise cuts. When cutting, always wear safety goggles and follow safety precautions to protect yourself from debris.
If you are working on a multi-level deck or have unique shapes, take your time to measure and fit each board carefully. Ensuring a proper fit will enhance the overall appearance of your deck.
Once all the decking boards are in place, it’s time to secure them. If you are using screws, pre-drill holes to prevent splitting and then fasten each board securely to the joists below. Be sure to countersink the screws slightly so that they do not protrude above the surface of the decking.
If you are using hidden fasteners, follow the manufacturer’s instructions for securing each board. This step is essential for ensuring the longevity and stability of your deck.
With the decking boards installed, it’s time to add the finishing touches. Consider installing railing systems for safety, especially if your deck is elevated. Railing adds both functionality and aesthetic appeal.
Additionally, you may want to add lighting fixtures, planters, or other decorative elements to enhance your outdoor space. Finally, clean the surface of the deck to remove any debris or dust from the installation process.
Installing composite decking can be a straightforward process when approached with careful planning and attention to detail. By following this step-by-step guide, you can create a beautiful and durable deck that requires minimal maintenance in the long run. Enjoy your new outdoor space for years to come, knowing that you took the time to do it right.

