How to Install Composite Decking: Essential Steps for Installing Composite Decking Properly
How to Install Composite Decking: Essential Steps for Installing Composite Decking Properly Installing composite decking can transform your outdoor space into a beautiful and functional area for relaxation, entertainment, and leisure activities. Composite decking is a popular choice among homeowners due to its durability, low maintenance, and eco-friendly properties. Unlike traditional wood, composite decking is…
How to Install Composite Decking: Essential Steps for Installing Composite Decking Properly
Installing composite decking can transform your outdoor space into a beautiful and functional area for relaxation, entertainment, and leisure activities. Composite decking is a popular choice among homeowners due to its durability, low maintenance, and eco-friendly properties. Unlike traditional wood, composite decking is made from a combination of recycled wood fibers and plastic, resulting in a material that resists rot, splinters, and fading. To ensure that your composite decking is installed correctly, it is essential to follow a series of steps that will guide you through the process. This guide will outline the necessary preparations, tools, and techniques to achieve a professional-looking deck.
Before you start the installation process, it is crucial to plan your project carefully. Begin by measuring the area where you intend to install the deck. Take note of any existing structures, such as trees, fences, or patios, that may influence the design and layout of your new deck. Consider the shape and size of the deck, as well as the orientation towards the sun and shade. This planning phase will help you determine how much composite decking material you will need, which can vary based on the design and any additional features such as stairs or railings.
Once you have an accurate measurement of the deck area, it is time to gather your materials and tools. You will need composite decking boards, a durable framework, screws designed for composite materials, a saw for cutting the boards to size, a drill for fastening, a level for ensuring even surfaces, and safety gear such as gloves and goggles. Additionally, you may want to have a measuring tape, chalk line, and a square on hand to assist with precise measurements and layout.
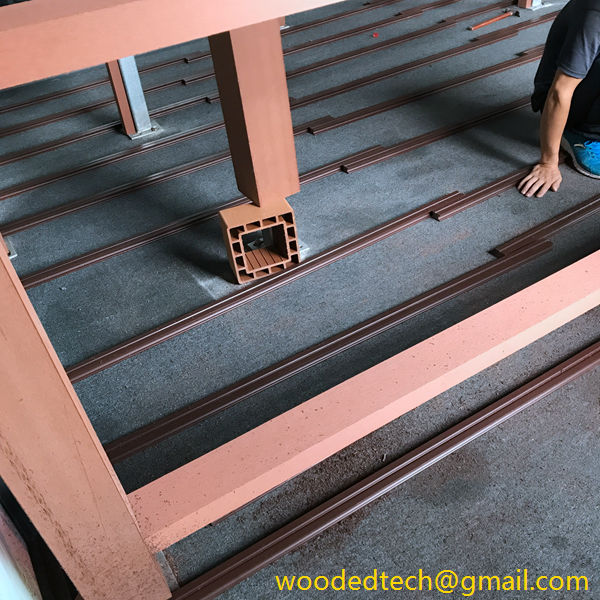
Before installing the decking boards, it is essential to prepare the foundation. The foundation consists of the joists and posts that will support the decking. Ensure that the ground is level, as this will impact the stability and appearance of your deck. If necessary, excavate and level the area to create a solid foundation. Once the ground is prepared, install the support framework, typically made of pressure-treated wood or composite material, ensuring that it is evenly spaced according to the manufacturer’s recommendations. A common spacing for joists is 16 inches on center, but be sure to check the specifications for the specific composite decking you are using.
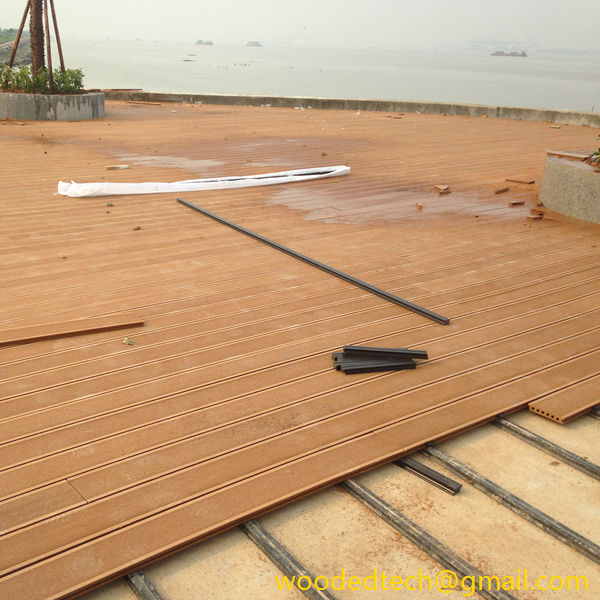
After the framework is in place, it is time to install the decking boards. Start at one end of the deck and lay the first board perpendicular to the joists. Use a level to ensure that the board is straight and evenly positioned. Secure the board in place using screws, making sure to follow the manufacturer’s guidelines regarding spacing between screws. It is important to use screws specifically designed for composite materials, as they will provide the best hold and prevent issues such as warping or splitting.
Continue laying the decking boards one by one, ensuring that you maintain consistent spacing between each board. Many composite decking manufacturers recommend leaving a gap of about one-eighth of an inch between boards to allow for expansion and contraction due to temperature changes. This space also aids drainage and helps prevent moisture accumulation, which can lead to mold or mildew growth. As you install each board, periodically check that everything remains level and aligned.
When you reach the end of your deck or encounter obstacles such as walls or stairs, you may need to cut the boards to fit. Use a saw to carefully measure and cut the boards, ensuring that you maintain straight edges for a clean look. If you are installing around curves or irregular shapes, take your time to measure and cut accurately to achieve a seamless finish.
Once all the decking boards are installed, it is time to address the finishing touches. This may include adding railings, stairs, or trim boards. Railings are not only important for safety but also enhance the overall aesthetic of your deck. Choose a railing style that complements the design of your composite decking and provides the desired level of safety and privacy. For stairs, ensure that they are built to code and provide adequate treads and risers for safe access to and from the deck.
After completing the installation, take a moment to inspect your work. Check for any loose boards or screws and ensure that everything is secure. Clean the surface of the composite decking to remove any debris or dust generated during the installation process. Depending on the manufacturer’s guidelines, you may want to apply a protective coating or sealant to enhance the longevity of your deck.
In conclusion, installing composite decking can be a rewarding project that enhances your outdoor living space. By carefully planning, gathering the necessary materials and tools, and following the proper installation steps, you can achieve a beautiful and durable deck that will provide enjoyment for years to come. Remember to adhere to the manufacturer’s recommendations throughout the process to ensure the best results. With the right approach, your new composite deck will not only look great but will also stand up to the elements, providing a low-maintenance solution that is both functional and stylish.

