How to Install Capped Composite Decking: Step-by-Step Instructions for Installing Capped Composite Decking
How to Install Capped Composite Decking: Step-by-Step Instructions for Installing Capped Composite Decking Installing capped composite decking is a rewarding project that can enhance the beauty and functionality of your outdoor space. Capped composite decking is designed to mimic the appearance of natural wood while providing superior durability and resistance to rot, moisture, and fading….
How to Install Capped Composite Decking: Step-by-Step Instructions for Installing Capped Composite Decking
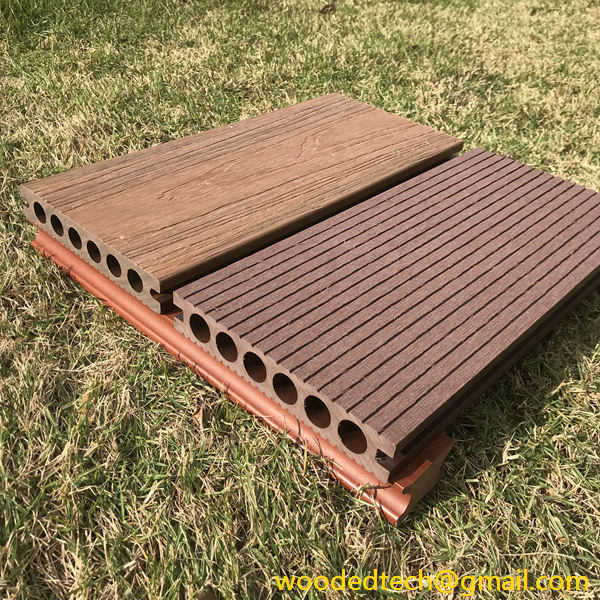
Installing capped composite decking is a rewarding project that can enhance the beauty and functionality of your outdoor space. Capped composite decking is designed to mimic the appearance of natural wood while providing superior durability and resistance to rot, moisture, and fading. This guide will walk you through the process of installing capped composite decking with step-by-step instructions and tips to ensure a successful installation.
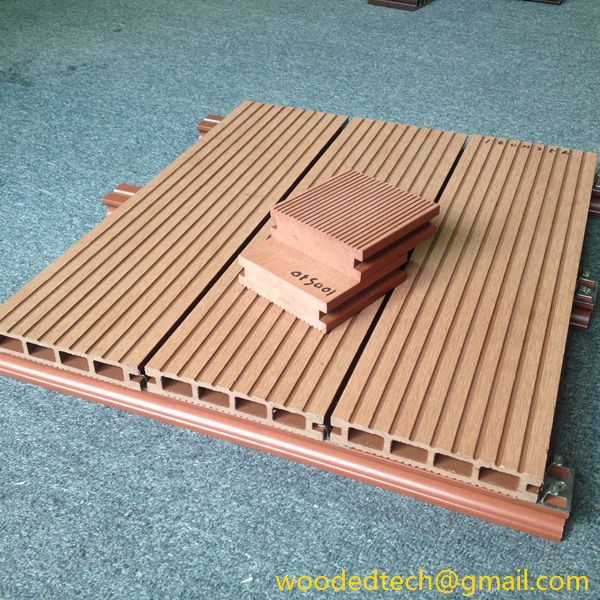
Before you begin, it’s essential to gather all the necessary materials and tools. You will need capped composite decking boards, deck screws specifically designed for composite materials, a saw (preferably a circular saw), a measuring tape, a level, a drill, a square, and safety gear such as gloves and goggles. Additionally, consider using a spacer to ensure consistent gaps between the boards.
Once you have your materials ready, the first step is to prepare the area where you plan to install the decking. Clear the space of any debris, rocks, or vegetation that may interfere with the installation. It’s also crucial to ensure that the ground is level. If your installation area is uneven, you may need to add gravel or sand to create a stable base.
Next, you will need to build a frame for your deck. This frame, often referred to as the “substructure,” will support the decking boards. Use pressure-treated lumber for the joists, as it is resistant to rot and will provide a sturdy foundation. The spacing between the joists should be no more than 16 inches apart to ensure adequate support for the decking boards. Use a level to make sure the joists are even, and secure them in place using deck screws.
Once the substructure is complete, it’s time to start laying the capped composite decking boards. Begin at one edge of the deck and lay the first board down. Make sure to leave a small gap between the board and the edge of the frame to allow for expansion and contraction due to temperature changes. This gap is typically around 1/4 inch. Use a square to ensure that the board is straight and aligned with the frame.
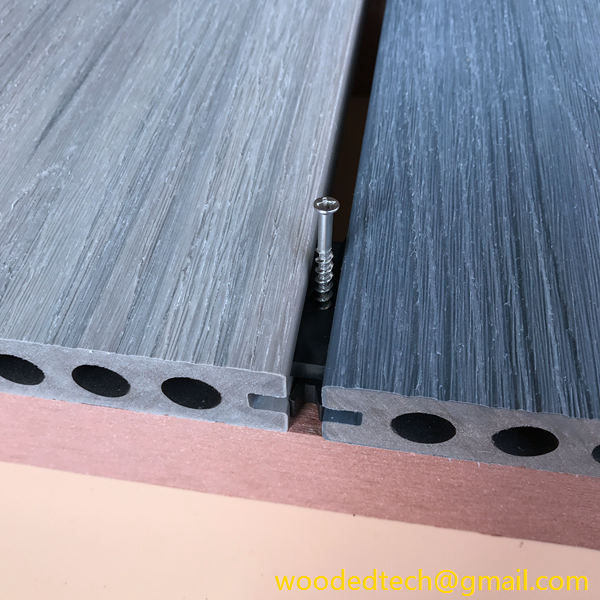
As you install each board, use deck screws to secure them to the joists. It’s recommended to pre-drill the holes to prevent the composite material from splitting. Leave a small gap between each board as well, typically around 1/8 inch, to allow for drainage and expansion. Continue this process until you reach the end of the deck.
If you encounter the need to cut a board to fit at the end of the deck, measure the space carefully and mark your cut line. Use a saw to make the cut, ensuring that you wear safety goggles to protect your eyes from debris. After cutting, place the board in position and secure it with screws.
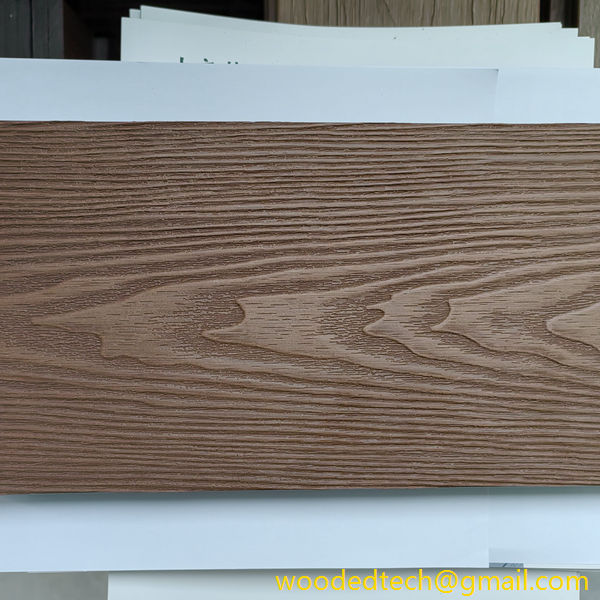
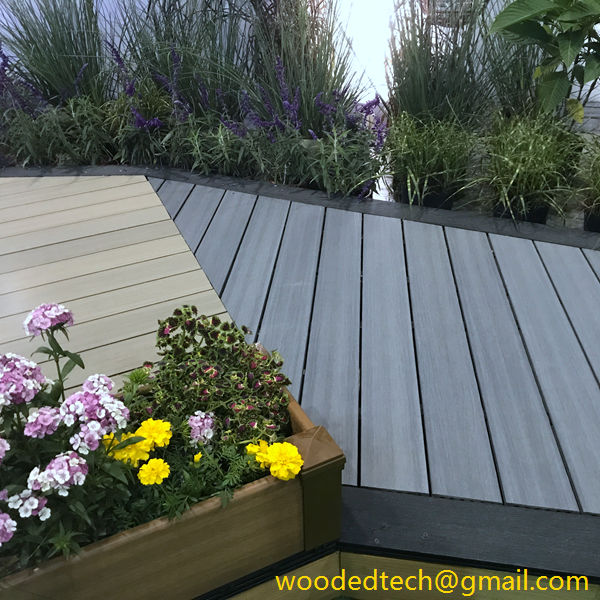
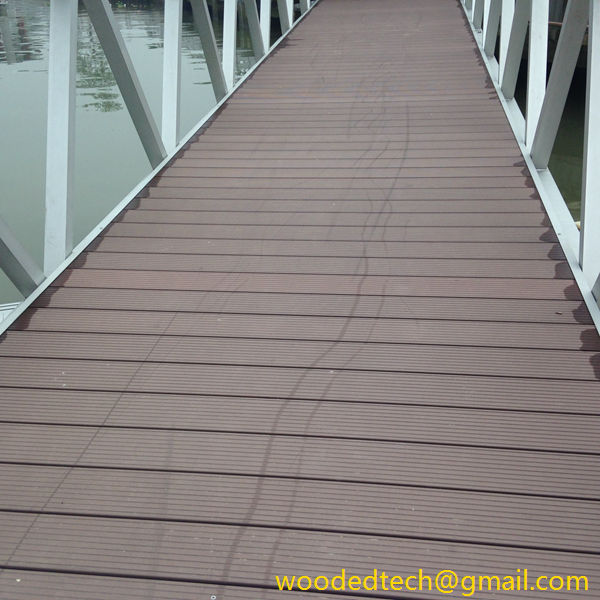
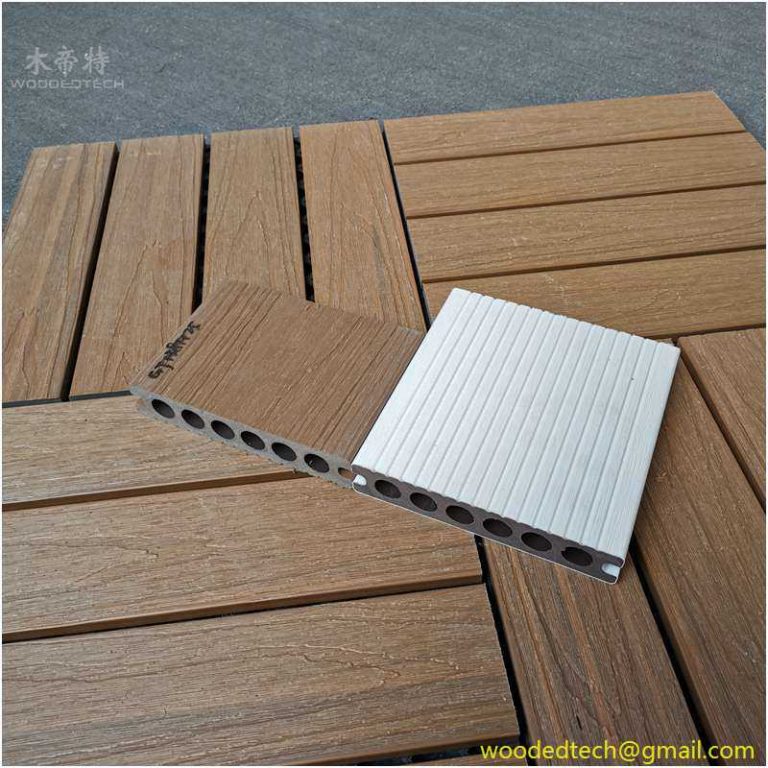
One of the significant advantages of capped composite decking is its versatility in design. You can choose from various colors and textures to match your home and personal style. Some homeowners opt for a traditional wood look, while others may prefer a more modern aesthetic. Additionally, you can create unique patterns by alternating colors or using different board widths, allowing you to customize your deck to your taste.
As you approach the final row of decking boards, you may need to adjust your installation method slightly. Depending on the design of your decking system, you may need to use hidden fasteners for a clean, seamless look. Follow the manufacturer’s instructions for installing these fasteners to ensure the best results.
After all the boards are installed, it’s essential to inspect your work. Check for any loose screws or gaps that may need adjusting. Once you are satisfied with the installation, clean the surface of the deck to remove any debris or dust that may have accumulated during the process. A simple wash with soap and water will suffice.
Finally, consider applying a protective sealant to your capped composite decking to enhance its longevity. While capped composite materials are resistant to many elements, a sealant can provide an extra layer of protection against UV rays and moisture.
In conclusion, installing capped composite decking can significantly enhance your outdoor space while offering a low-maintenance alternative to traditional wood decking. By following these step-by-step instructions and taking advantage of the customizable materials available, you can create a beautiful and functional deck that reflects your style and meets your needs. With careful planning, preparation, and attention to detail, you will enjoy your new deck for many years to come.

