How to Fit Composite Decking: Techniques for Fitting Composite Decking Perfectly
How to Fit Composite Decking: Techniques for Fitting Composite Decking Perfectly Fitting composite decking can seem like a daunting task, especially if you’re aiming for a flawless finish. However, with the right techniques and a bit of preparation, you can achieve a stunning deck that enhances your outdoor space. This guide will provide you with…
How to Fit Composite Decking: Techniques for Fitting Composite Decking Perfectly
Fitting composite decking can seem like a daunting task, especially if you’re aiming for a flawless finish. However, with the right techniques and a bit of preparation, you can achieve a stunning deck that enhances your outdoor space. This guide will provide you with essential tips and techniques for fitting composite decking perfectly, ensuring an easy installation process.
Before you begin, it is crucial to gather all the necessary tools and materials. You’ll need composite decking boards, a saw (preferably a miter saw for clean cuts), a drill, screws specifically designed for composite materials, a measuring tape, a level, and a chalk line. Additionally, having safety gear such as goggles and gloves is highly recommended to protect yourself during the installation process.
The first step is to plan your deck layout. Take the time to measure your space accurately and sketch out your design. This will help you visualize how the boards will fit together and allow you to determine how many boards you will need. Consider the direction in which you want the boards to run; this can affect the overall aesthetic of the deck. Running the boards perpendicular to your house can create a more spacious appearance, while running them parallel may make the area feel more intimate.
Once your layout is determined, it’s time to prepare the substructure. A solid foundation is crucial for the longevity of your decking. Ensure that your joists are spaced correctly; typically, the recommended spacing is 16 inches on center for standard composite decking. If your deck is elevated, make sure the joists are adequately supported with beams and posts. Use a level to confirm that everything is even, as any discrepancies can lead to issues down the line.
Next, it is essential to acclimate your composite decking boards. These materials can expand and contract with temperature changes, so allowing them to adjust to the environment will help prevent warping and buckling once installed. Lay the boards out on the deck frame for at least 48 hours before fitting them. This practice will ensure that the boards are stable and ready for installation.
When cutting your composite boards, always follow the manufacturer’s guidelines. Use a fine-tooth saw blade to achieve cleaner cuts and reduce the chances of splintering. Make your cuts as precise as possible, as any inconsistencies can affect the overall look of your deck. Additionally, it is wise to measure twice and cut once to avoid mistakes that could lead to wasted materials.
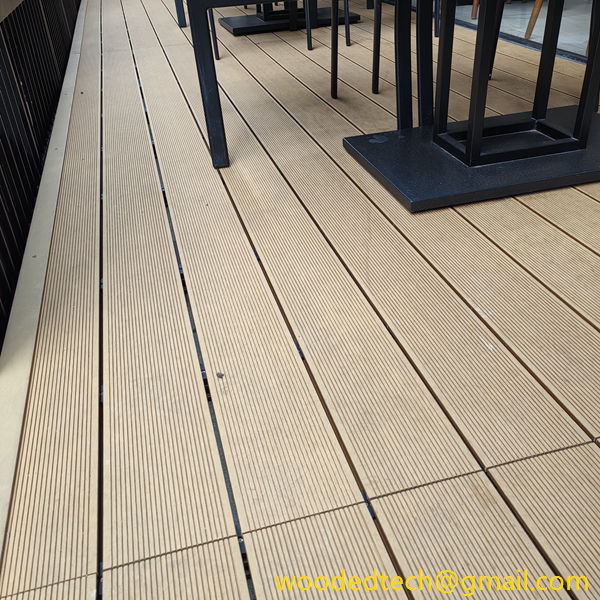
As you begin fitting the boards, start from one corner of the deck and work your way across. Use spacers between the boards to allow for proper drainage and expansion. Most experts recommend a gap of around one-eighth to one-quarter of an inch between boards, but it’s best to check the specific recommendations from your composite decking manufacturer. This spacing is crucial for preventing moisture buildup, which can lead to mold and mildew.
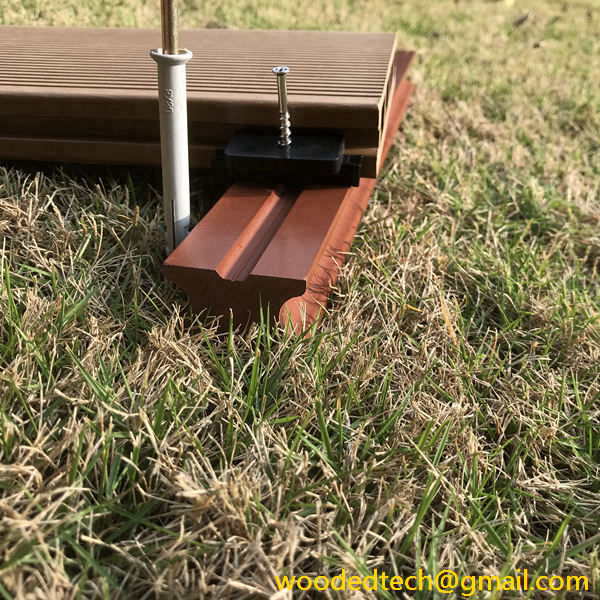
When attaching the boards, use composite deck screws instead of regular wood screws. Composite screws are designed specifically to work with composite materials, reducing the risk of cracking or splitting the boards. Pre-drilling holes can help avoid this issue, especially in colder climates where the material can become more brittle. Use a drill with a depth stop to ensure that the screws are driven in at the correct depth without damaging the surface of the decking.
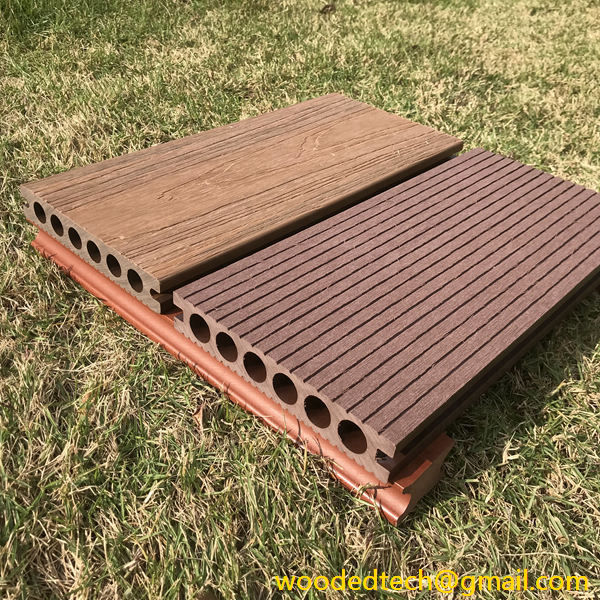
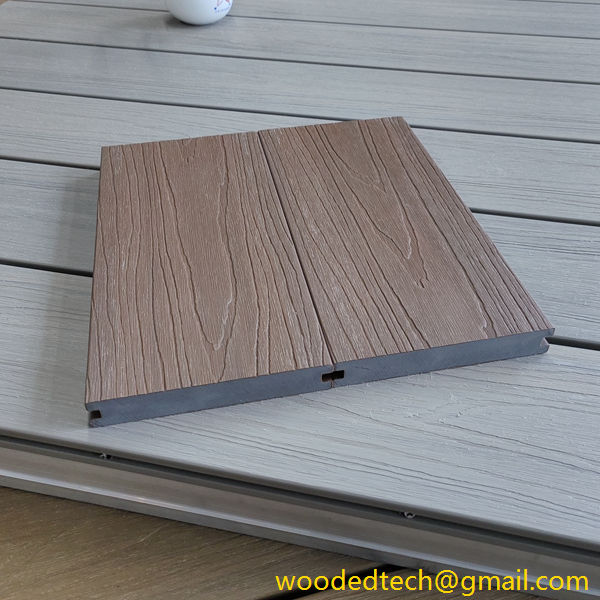
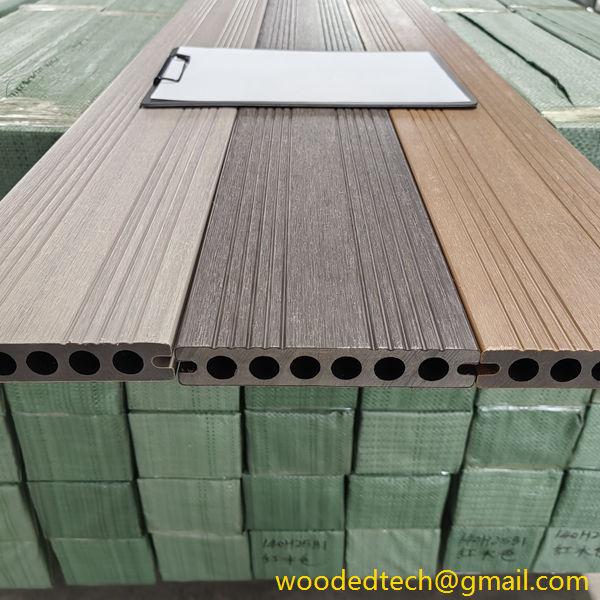
As you fit the boards, maintain a consistent pattern to enhance the visual appeal of your deck. If you are using different colors or textures, alternate them in a way that is pleasing to the eye. This attention to detail can elevate the overall look of your outdoor space, making it more inviting and visually appealing.
After fitting the boards, ensure that they are secured tightly to the joists. Use a level to check for any uneven surfaces, adjusting as necessary to achieve a flat and even deck. If you notice any gaps or uneven spots, you may need to make minor adjustments before securing everything in place.
Once you have completed the installation, conduct a thorough inspection of your work. Check all screws, ensuring they are properly fastened and that there are no loose boards. Look for any imperfections in the surface and correct them as necessary. It’s important to take this final step seriously as it will influence the longevity and safety of your deck.
Finally, clean your new composite deck with a gentle soap and water solution to remove any dust or debris from the installation process. This will not only improve its appearance but also help maintain its condition over time. Regular cleaning and maintenance will ensure that your composite decking remains beautiful and functional for years to come.
In conclusion, fitting composite decking can be a straightforward process if you take the time to plan and prepare. By following these techniques and paying attention to detail, you can achieve a perfect fit that enhances your outdoor living space. Remember, the key to a successful installation lies in proper planning, using the right tools, and taking your time to ensure everything is done correctly. With a bit of effort and care, your composite deck will be a beautiful addition to your home, providing a durable and low-maintenance outdoor area for years to come.

