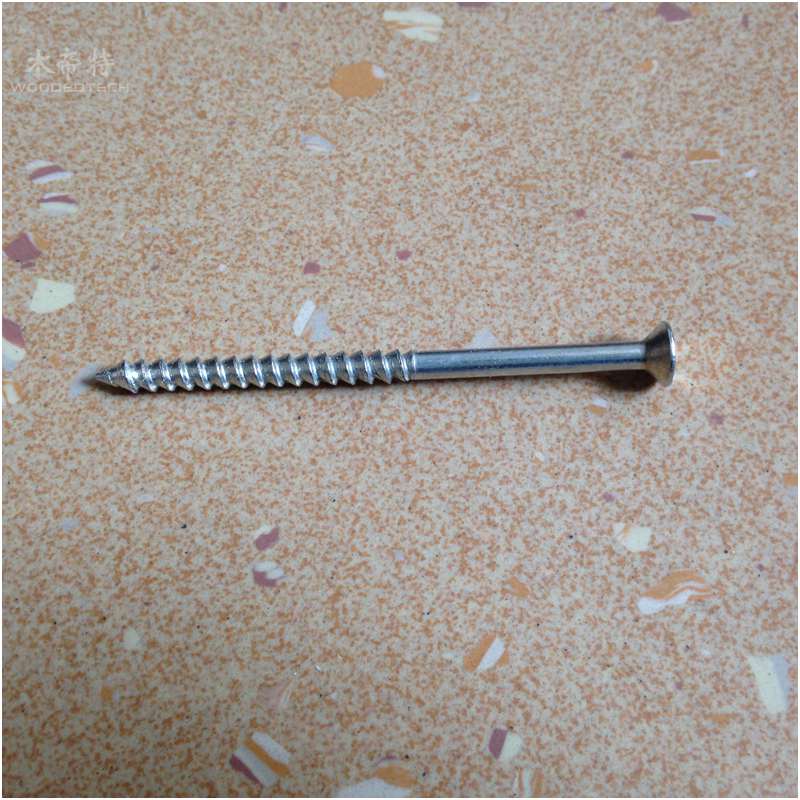
plastic expansion pipe 8*80mm screws for wpc decking joists
Woodedtech screws for wpc decking joists have several specifications.According to different WPC decking joist,we supply different models.
Description
About Woodedtech screws for wpc decking joists
Woodedtech screws for wpc decking joists have several specifications.According to different WPC decking joist,we supply different models.
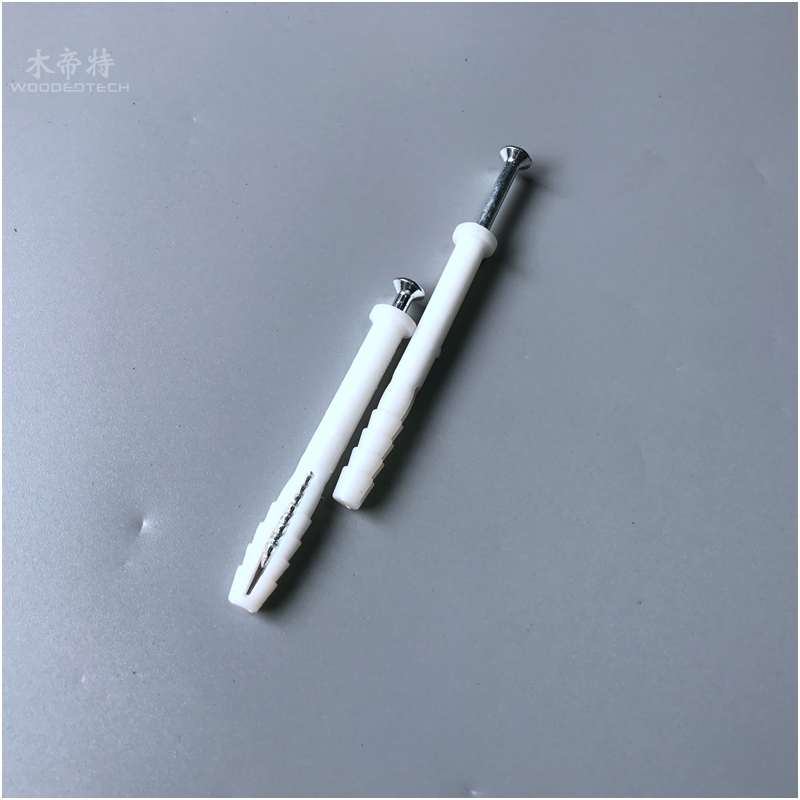
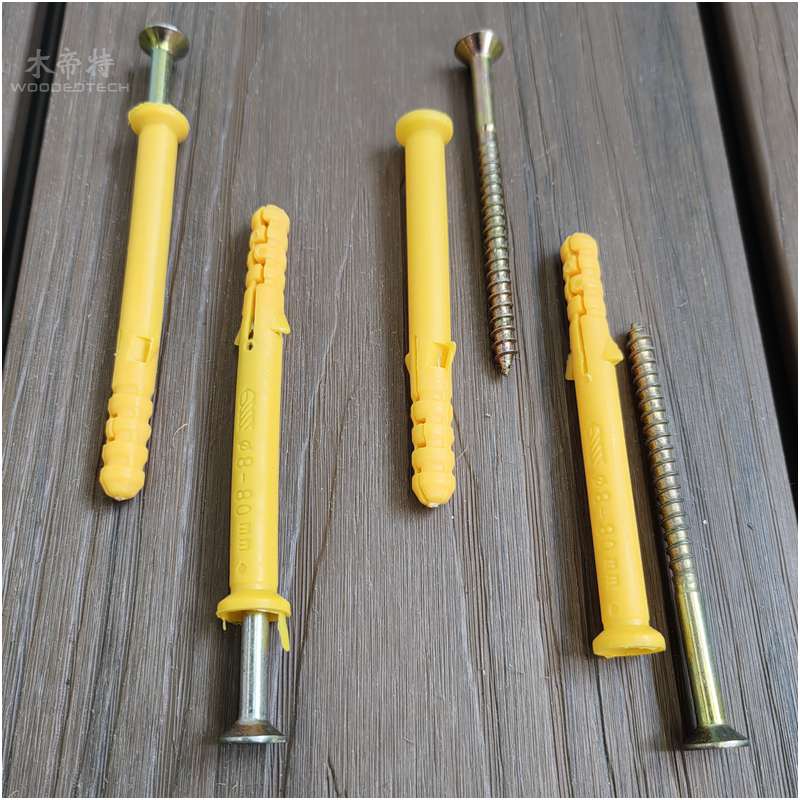
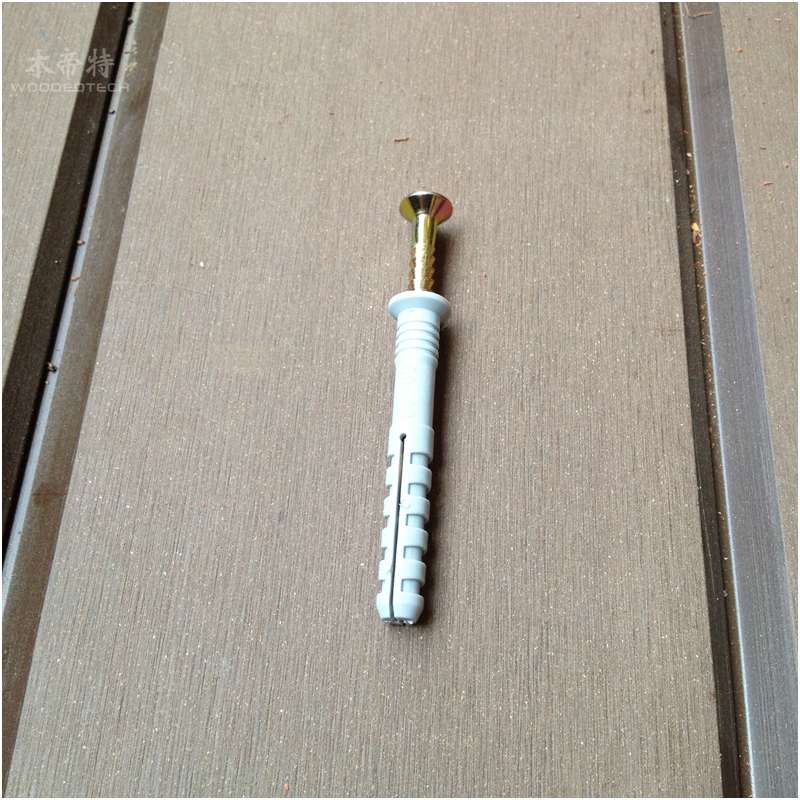
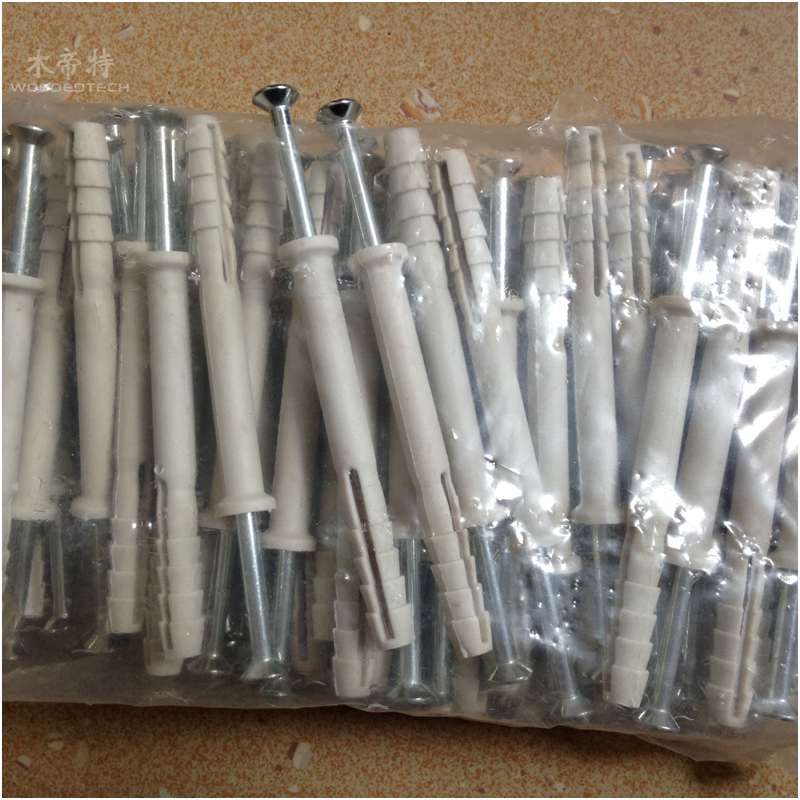
Woodedtech screws for wpc decking joists get a plastic expansion pipe outside,and a galvanized screw inside.
screws for wpc decking joists is designed to work long time with all kinds of WPC decking joist.
Product Details
| Model No.: | plastic expansion pipe 8*80mm screws for wpc decking joists |
| MOQ: | Get stock,1 pcs is acceptable |
| Size: | 8*80mm |
| Hot sale molds: | Depend on the WPC decking joist. |
| Length: | No need |
| Design: | No need |
| Color: | No need |
| Surface treatment: | No need |
| Package: | Cartoon |
| Recyclable: | No need |
| Service life: | 20 years, Dimensional Stability |
| Maintenance | Requires no painting, no glue, low maintenance |
| Application: | Landscape works: outdoor decking,such as parks, the beach along the cliff, residential, gardens, ecological wood can also be used such as sauna, swimming pool. |
Installation guide
Click the Below PDF
WPC Decking installation guide.pdf
1. Considering the heat and water absorption ,WPC products will be slightly inflation,so the joist when placed should be reserved 3-5 mm from the building.
2. Considering the hard brittle of WPC materials,the joist need to pre-drilling before fix the expansion screw.
3. The spacing between joists should be 25-30cm.
4. The spacing between expansion screws should be 400mm to 500mm.
5. After the joist is fixed, drainage should be done to avoid factors that damage the decking, such as water swelling.
6. Fix the starter clips on one side of the joist.
7. Insert the decking into the starter clips, and install the first decking board.
8. Insert the clips in board and screw into joist (do not tighten).
9. Insert the second board into previous clips.
10. Insert next row of clips securing board (do not tighten).
11. Fully tighten clips & screws from step 8 and repeat from step 9.
12. Finish the corner edging and complete the decking installation.

