How Do You Install Composite Decking: Step-by-Step Instructions for Installing Composite Decking
How Do You Install Composite Decking: Step-by-Step Instructions for Installing Composite Decking Installing composite decking can be a rewarding project that enhances the beauty and functionality of your outdoor space. Unlike traditional wood decking, composite materials require less maintenance, making them a popular choice for homeowners looking for a long-lasting solution. This guide provides a…
How Do You Install Composite Decking: Step-by-Step Instructions for Installing Composite Decking
Installing composite decking can be a rewarding project that enhances the beauty and functionality of your outdoor space. Unlike traditional wood decking, composite materials require less maintenance, making them a popular choice for homeowners looking for a long-lasting solution. This guide provides a step-by-step approach to installing composite decking, ensuring you can enjoy a beautiful deck with minimal upkeep in the future.
Before you begin, it is essential to gather all necessary tools and materials. You will need composite decking boards, a circular saw, a drill, screws specifically designed for composite materials, a measuring tape, a level, and safety gear such as gloves and goggles. Additionally, having a helper can make the process smoother and more efficient.
Step 1: Planning and Preparing the Site
Begin by planning your deck layout. Consider factors such as the size, shape, and any elevation changes in your yard. It is also crucial to check local building codes and obtain the necessary permits before starting your project. Once you have a clear plan, prepare the site by clearing the area of debris, vegetation, and any obstacles. Ensure the ground is level; if it is not, you may need to excavate and level the surface to create a stable foundation.
Step 2: Building the Frame
The frame serves as the structural support for your composite decking. Use pressure-treated lumber for the joists and beams, as this material is resistant to moisture and decay. Lay out the framing according to your design, ensuring that the joists are spaced appropriately, typically 16 inches on center for composite decking. Use a level to ensure that each joist is even. Secure the joists using galvanized screws or lag bolts, as these will resist rust and corrosion.
Step 3: Installing the Joist Flashing
To protect the structure from moisture, consider installing a joist flashing. This is a waterproof barrier that helps prevent water from pooling on the joists. Cut the flashing to size and attach it to the top of each joist before proceeding to the next step.
Step 4: Laying the Composite Decking Boards
Now it’s time to install the composite decking boards. Start at one end of the deck and lay the first board perpendicular to the joists. Leave a small gap, typically around a quarter-inch, between the board and any adjacent structures or walls. This gap allows for proper drainage and expansion due to temperature changes.
Use a drill to secure the boards to the joists with screws designed for composite materials. It’s essential to pre-drill the holes to prevent the boards from splitting. For a professional finish, consider hiding the screws by using hidden fasteners or clips that attach to the sides of the boards.
Step 5: Continuing the Installation
Continue laying additional boards in the same manner, ensuring that you maintain even spacing between them. If you need to cut any boards to fit, use a circular saw for clean, straight cuts. As you progress, regularly check that each board is level and aligned with the others. This attention to detail will ensure a visually appealing and structurally sound deck.
Step 6: Making the Final Cuts
Once you reach the end of your decking installation, you may need to cut the last board to fit. Measure carefully and cut the board to the appropriate length. Secure it in place using the same method as before, ensuring it is level with the adjacent boards.
Step 7: Installing Railings and Accessories
If your deck design includes railings, now is the time to install them. Follow the manufacturer’s instructions for the specific railing system you have chosen. Proper installation is vital for safety, so ensure all components are securely attached and meet local building codes.
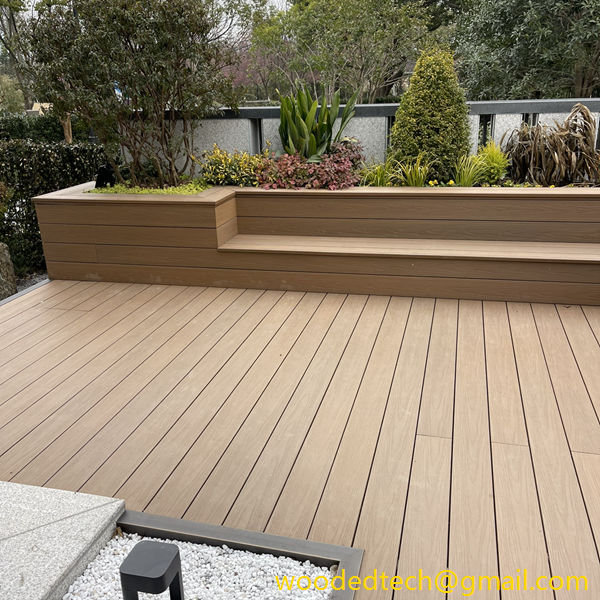
You may also want to consider adding other accessories, such as stairs, lighting, or built-in seating. These features can enhance the functionality and aesthetic appeal of your deck.
Step 8: Cleaning Up
After completing the installation, clean the area by removing any leftover materials, tools, and debris. Take the time to inspect your work, ensuring that all boards are securely fastened and that there are no sharp edges or protruding screws.
Step 9: Enjoying Your New Deck
Now that your composite decking is installed, you can enjoy your new outdoor space. One of the most significant advantages of composite decking is its low maintenance requirements. Unlike traditional wood decks, composite decks do not need regular staining or sealing. Instead, a simple cleaning with soap and water will keep your deck looking great for years to come.
In conclusion, installing composite decking is a manageable DIY project that can significantly enhance your outdoor living space. By following these step-by-step instructions, you can create a beautiful, durable deck that requires minimal maintenance over its lifespan. Enjoy your new deck for gatherings, relaxation, and everything in between, knowing that you have made a wise investment in your home.

