How to Install a Composite Deck: Comprehensive Guide on Installing a Composite Deck
How to Install a Composite Deck: Comprehensive Guide on Installing a Composite Deck Installing a composite deck can be a rewarding project that improves the aesthetics and functionality of your outdoor space. Composite decking is a popular choice among homeowners due to its durability, low maintenance requirements, and appealing appearance. This comprehensive guide will walk…
How to Install a Composite Deck: Comprehensive Guide on Installing a Composite Deck
Installing a composite deck can be a rewarding project that improves the aesthetics and functionality of your outdoor space. Composite decking is a popular choice among homeowners due to its durability, low maintenance requirements, and appealing appearance. This comprehensive guide will walk you through the steps of installing a composite deck, emphasizing easy installation techniques to help you achieve a successful result.
Before starting your project, it’s essential to gather the necessary tools and materials. Here’s a list of what you will need:
Tools:
– Measuring tape
– Circular saw or miter saw
– Drill and drill bits
– Level
– Screwdriver
– Framing square
– Safety goggles
– Hearing protection
Materials:
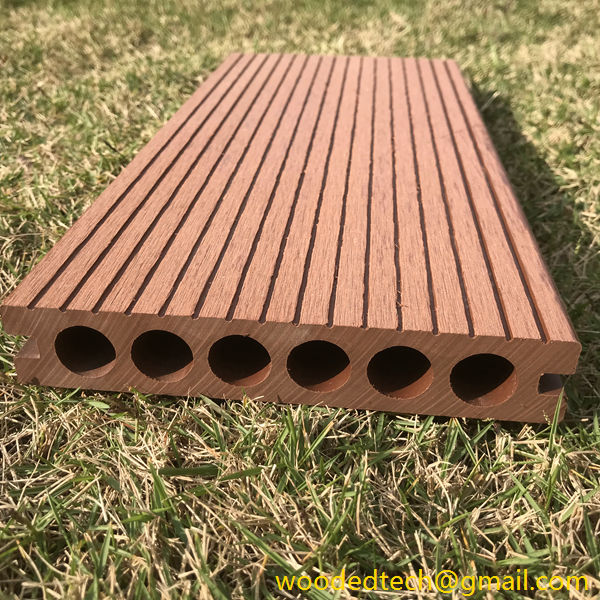
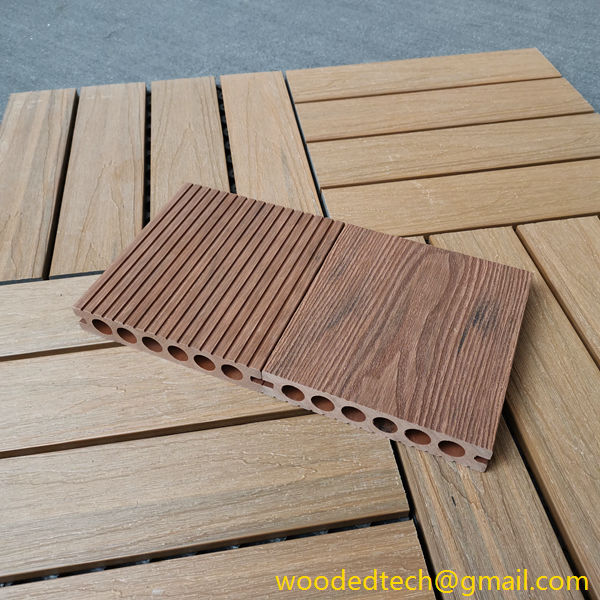
– Composite decking boards
– Composite deck framing (joists and beams)
– Decking screws (specifically designed for composite materials)
– Concrete footings or deck blocks
– Optional: railing system, post anchors, and other accessories
Once you have your tools and materials ready, the first step is to plan your deck layout. Determine the size and shape of the deck you want to build, keeping in mind any local building codes or regulations. It’s also a good idea to consider the placement of furniture, plants, and other features you want to include in your outdoor space. Drawing a scale plan can be helpful for visualizing the final product.
Next, prepare the site for your composite deck. Clear the area of any debris, rocks, or vegetation. If necessary, use a shovel to level the ground, ensuring a stable foundation for your deck. If your deck will be elevated, you will need to install concrete footings or deck blocks to support the framing. Follow local guidelines regarding the depth and spacing of footings to ensure proper support.
Once the site is prepared, you can begin installing the framing for your composite deck. Start by laying out the perimeter of the deck using stakes and string. This will help you visualize the space and ensure that your framing is square. Use a framing square to check the corners, making adjustments as needed to achieve a perfect right angle.
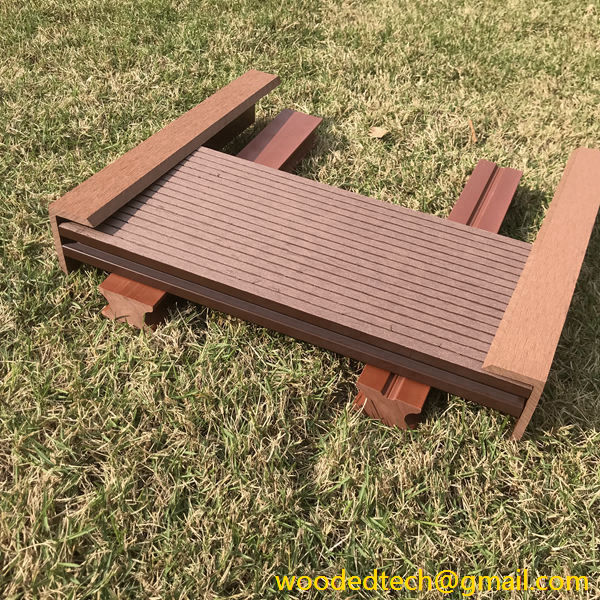
Once you are satisfied with the layout, install the support beams and joists. Typically, joists should be spaced 16 inches apart on center, but this may vary depending on the specific recommendations for your chosen composite decking product. Use a level to ensure that each joist is installed evenly. Secure the joists to the beams with screws, making sure they are perpendicular to the beams for optimal strength.
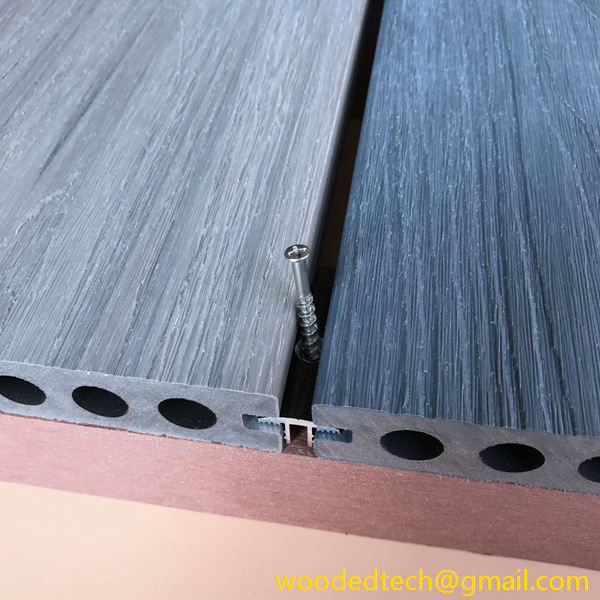
After the frame is complete, it’s time to install the composite decking boards. Start at one edge of the deck and work your way across. Many composite decking products come with hidden fastening systems that allow for a clean, seamless appearance. If your boards do not have this feature, you will need to pre-drill holes and secure them with screws. Be sure to leave a small gap between each board to allow for expansion and drainage.
When cutting composite boards, use a circular or miter saw equipped with a fine-toothed blade. This will help prevent splintering and ensure clean cuts. Always wear safety goggles and hearing protection when using power tools. As you install each board, check for level and alignment, adjusting as necessary to maintain a consistent appearance.
Once all the decking boards are installed, take a moment to inspect your work. Ensure that all screws are secure and that there are no gaps or uneven areas. It’s also a good idea to sweep the surface of the decking to remove any debris or dust before moving on to the finishing touches.
If your deck design includes railings or other features, now is the time to install them. Follow the manufacturer’s instructions for the specific railing system you’ve chosen, as installation techniques may vary. Make sure that railings are securely attached and meet local safety codes.
Finally, give your new composite deck a thorough cleaning to remove any dirt or dust from the installation process. You can use a mild detergent and water solution for this purpose. Rinse the surface thoroughly and allow it to dry before enjoying your new outdoor space.
One of the many benefits of composite decking is its low maintenance requirements. Unlike traditional wood decks, composite materials do not require staining or sealing. However, regular cleaning is recommended to keep the surface looking its best. Simply sweeping away debris and using a hose to rinse off any dirt will help maintain the appearance of your deck for years to come.
In conclusion, installing a composite deck can be an enjoyable and straightforward project if you approach it with careful planning and organization. By preparing the site properly, following recommended guidelines for framing and board installation, and taking the time to ensure everything is level and secure, you can create a beautiful outdoor space that enhances your home. With minimal maintenance needed after installation, your composite deck will provide a long-lasting and attractive area for family gatherings, barbecues, and relaxation. Enjoy your new deck and the outdoor experience it brings!

