How to Install Composite Decking with Hidden Fasteners: Techniques for Installing Composite Decking with Hidden Fasteners
How to Install Composite Decking with Hidden Fasteners: Techniques for Installing Composite Decking with Hidden Fasteners Installing composite decking with hidden fasteners is an increasingly popular choice for homeowners looking to enhance their outdoor spaces. This method not only provides a sleek and polished look but also helps to protect the decking material from moisture…
How to Install Composite Decking with Hidden Fasteners: Techniques for Installing Composite Decking with Hidden Fasteners
Installing composite decking with hidden fasteners is an increasingly popular choice for homeowners looking to enhance their outdoor spaces. This method not only provides a sleek and polished look but also helps to protect the decking material from moisture and other elements that can lead to deterioration. In this guide, we will discuss the techniques for installing composite decking with hidden fasteners, focusing on the easy installation process that will ensure your project is successful.
Before diving into the installation process, it is essential to gather all the necessary materials and tools. You will need composite decking boards, hidden fasteners, a power drill, a saw, a measuring tape, a level, and a chalk line. Additionally, having safety gear such as gloves and goggles is advisable to protect yourself while working.
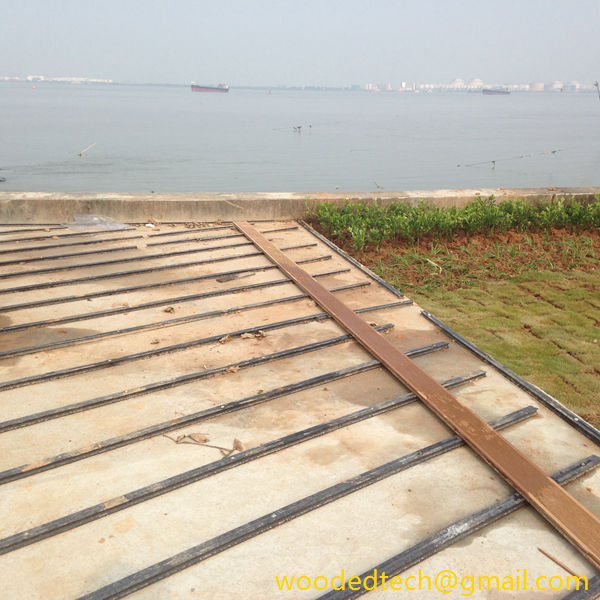
The first step in the installation process is to prepare the substructure. The substructure is the framework that supports your decking and is typically made of treated lumber or metal. Ensure that the joists are spaced correctly, usually 16 inches apart, to provide adequate support for the composite boards. It is crucial to check that the joists are level and in good condition, as any imperfections can lead to uneven decking surfaces. If necessary, make adjustments to the joists to achieve a level base.
Once the substructure is ready, the next step involves laying out the composite decking boards. Before cutting any boards to size, it is wise to plan the layout carefully. Consider the direction in which you want the boards to run, as this can affect the overall appearance of your deck. A common practice is to run the boards perpendicular to the house for better aesthetics and stability. Use a measuring tape and chalk line to mark where the boards will be placed, ensuring that the spacing between each board is consistent, typically around a quarter of an inch for proper drainage.
After laying out the boards, you can begin cutting them to size if necessary. A power saw is recommended for this task, as it will provide clean and precise cuts. It is essential to wear safety gear during this process, as cutting composite materials can create dust and debris. Always refer to the manufacturer’s guidelines for recommended cutting techniques and blade types to avoid damaging the boards.
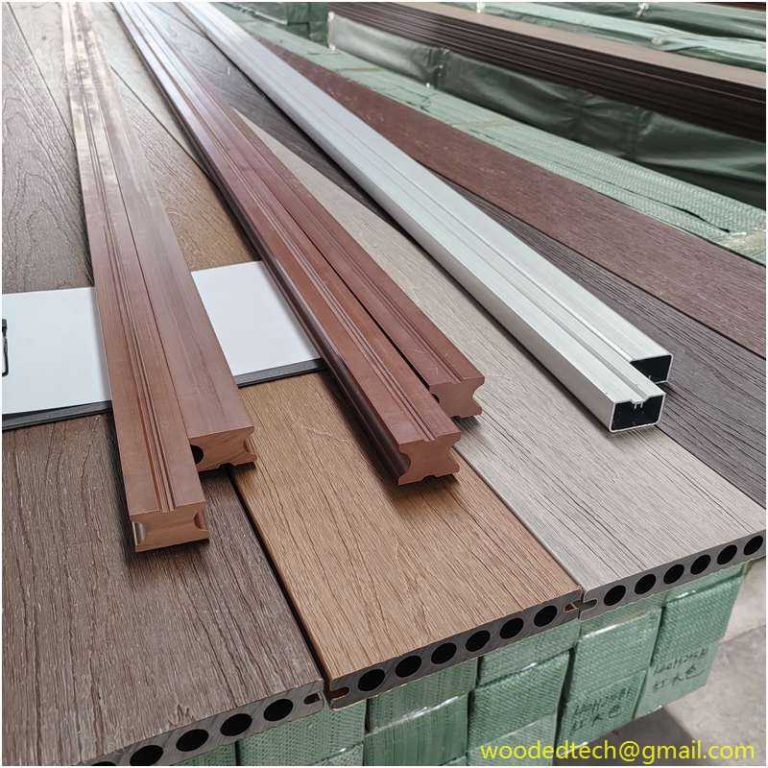
With the boards cut to size, it is time to install the hidden fasteners. Hidden fasteners are designed to secure the decking boards without being visible from the surface, which is one of the main advantages of this installation method. There are various types of hidden fasteners available, so it is essential to choose a system that is compatible with your specific composite decking. Most hidden fastener systems involve a clip that is installed in the grooves of the decking boards.
To start the installation, place the first board onto the joists and align it with your chalk line. Insert the hidden fasteners into the grooves of the board, ensuring that they are securely attached to the joists beneath. Using a power drill, drive screws through the hidden fasteners into the joists. It is essential to follow the manufacturer’s instructions regarding the spacing and number of screws required for optimal stability.
Continue this process for each board, ensuring that you maintain consistent spacing between them. If you encounter a situation where a board needs to be cut to fit around obstacles such as railings or stairs, measure carefully and make clean cuts to maintain a professional appearance. Additionally, when reaching the end of a row, you may need to use a blocking piece or a specially designed end cap to secure the last board properly.
As you progress with the installation, regularly check that the boards are level and aligned correctly. A level is a handy tool for this purpose, helping you identify any dips or peaks in the surface that may need adjustment. It’s crucial to maintain a flat deck surface for both aesthetics and safety.
Once all the boards are installed, take a moment to inspect the entire deck for any loose fasteners or boards. Ensure that everything is secure and that there are no gaps or uneven areas. A final cleaning of the surface will help remove any debris left over from the installation process, leaving your new deck looking pristine.
In conclusion, installing composite decking with hidden fasteners is a straightforward process that can be accomplished with the right tools and techniques. By carefully preparing the substructure, planning your layout, cutting boards accurately, and securing them with hidden fasteners, you can create a beautiful and durable outdoor space. Remember to follow the manufacturer’s guidelines and take your time during each step to ensure a successful installation. With these steps in mind, you will be well on your way to enjoying your new composite deck for years to come.

