How to Install WPC Wall Panels: A Complete Guide on How to Install WPC Wall Panels
How to Install WPC Wall Panels: A Complete Guide on How to Install WPC Wall Panels WPC wall panels, made from wood-plastic composite, have gained immense popularity in recent years due to their durability, aesthetic appeal, and ease of maintenance. These panels combine the best attributes of wood and plastic, offering a sustainable alternative to…
How to Install WPC Wall Panels: A Complete Guide on How to Install WPC Wall Panels
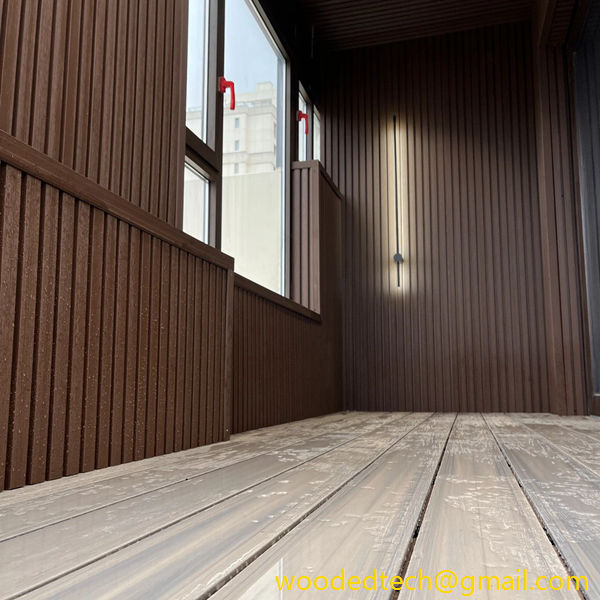
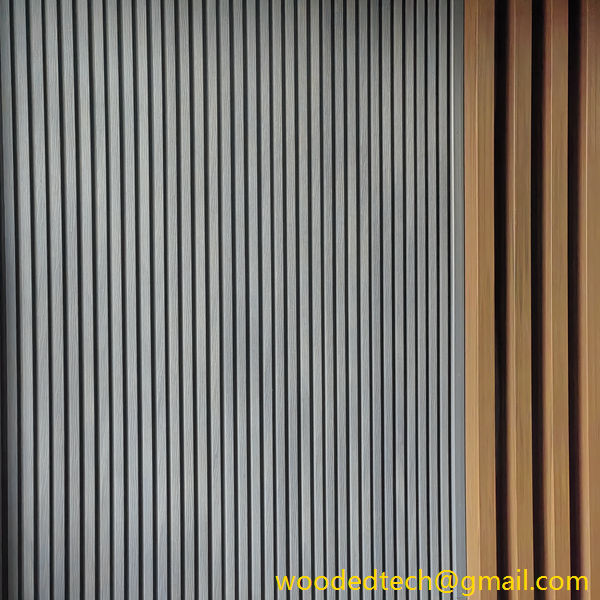
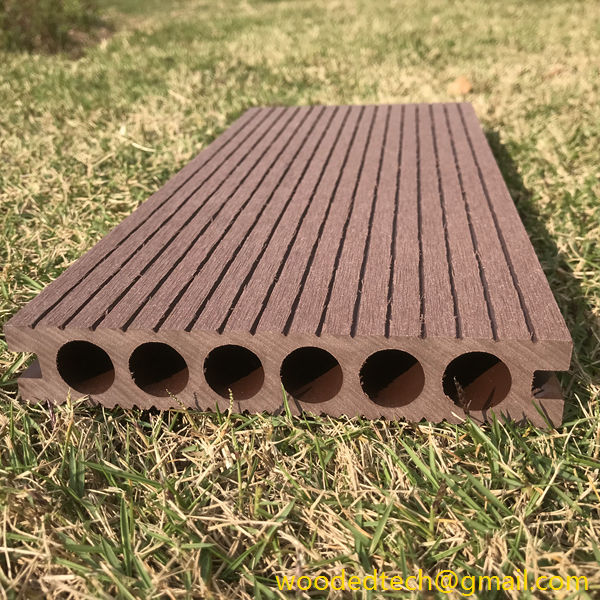
WPC wall panels, made from wood-plastic composite, have gained immense popularity in recent years due to their durability, aesthetic appeal, and ease of maintenance. These panels combine the best attributes of wood and plastic, offering a sustainable alternative to traditional wood without sacrificing beauty or performance. If you’re considering a home improvement project that involves installing WPC wall panels, this guide will provide you with a comprehensive overview of the installation process, ensuring that your project is a success.
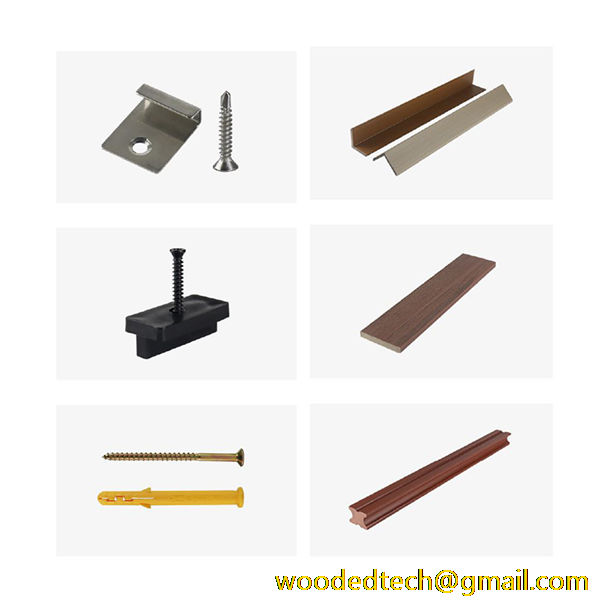
Before diving into the installation process, it’s essential to gather all the necessary tools and materials. You will need WPC wall panels, a measuring tape, a level, a saw (either hand saw or power saw), a drill, screws, a stud finder, adhesive, and safety gear such as goggles and gloves. Having everything prepared beforehand will streamline the installation process and minimize interruptions.
The first step in the installation process is to prepare the wall surface. Ensure that the wall is clean, dry, and free from any protrusions or irregularities. If the existing wall is painted or has wallpaper, it’s advisable to remove these materials to create a smooth surface for the WPC panels. If you’re installing the panels in a high-moisture area, such as a bathroom or kitchen, consider applying a moisture barrier to prevent any water damage in the future.
Once the wall surface is ready, the next step is to measure and mark where the panels will be installed. Use a measuring tape to determine the height and width of the area you want to cover with the WPC panels. It’s important to measure multiple points to ensure accuracy, as walls can sometimes be uneven. After measuring, mark the points on the wall with a pencil, creating a clear outline for your installation.
Before cutting the WPC panels, it’s crucial to plan your layout. This involves deciding whether you want to install the panels vertically or horizontally. Each orientation offers a different aesthetic, so choose one that best suits your design vision. Once you have determined the layout, you can begin cutting the panels to the desired size. Use a saw to make clean, straight cuts, and be sure to wear safety goggles to protect your eyes from dust and debris.
With the panels cut to size, it’s time to start the installation. Begin by securing the first panel in place. If you are using adhesive, apply a generous amount to the back of the panel. Press the panel firmly against the wall, ensuring that it is level and aligned with your markings. If you’re using screws, position the panel over the stud locations and drill the screws in place, making sure they are flush with the surface of the panel.
Continue this process with the subsequent panels, ensuring that each one fits snugly against the last. If you encounter any gaps or uneven edges, you can use a trim or molding to cover these imperfections, giving your installation a polished look. Additionally, be mindful of the expansion and contraction of WPC materials due to temperature changes. Leave a small gap at the edges to accommodate this natural movement.
Once all the panels are installed, take a step back and admire your work. The transformation will often be remarkable, as WPC wall panels can significantly enhance the visual appeal of any space. However, your job isn’t quite done yet. After installation, it’s essential to clean the panels properly. Use a damp cloth to wipe down the surface, removing any dust or residue left from the installation process.
Maintaining WPC wall panels is relatively easy compared to traditional wood. They are resistant to moisture, rot, and pests, making them an excellent choice for various environments. Regular cleaning with mild soap and water is usually sufficient to keep them looking their best. Avoid using harsh chemicals or abrasive materials that could damage the surface.
In conclusion, installing WPC wall panels can be a rewarding project that elevates the aesthetic and functional qualities of your home. By following this complete guide, you can ensure a smooth installation process from start to finish. The combination of durability, low maintenance, and visual appeal makes WPC wall panels an excellent investment for homeowners looking to enhance their interiors. Whether you are renovating a single room or undertaking a larger home improvement project, WPC panels offer a versatile solution that is sure to impress. With careful planning, attention to detail, and a little creativity, your WPC wall panel installation can become a focal point in your home, providing beauty and functionality for years to come.

