How to Lay Composite Decking: Essential Steps for Laying Composite Decking Properly
How to Lay Composite Decking: Essential Steps for Laying Composite Decking Properly Laying composite decking can be a rewarding project that enhances your outdoor space while providing a long-lasting and low-maintenance alternative to traditional wood decking. The beauty of composite decking lies in its versatility and durability, making it an attractive choice for homeowners. To…
How to Lay Composite Decking: Essential Steps for Laying Composite Decking Properly
Laying composite decking can be a rewarding project that enhances your outdoor space while providing a long-lasting and low-maintenance alternative to traditional wood decking. The beauty of composite decking lies in its versatility and durability, making it an attractive choice for homeowners. To ensure that you achieve the best results, it is essential to follow a series of methodical steps. This guide will walk you through the essential stages of laying composite decking properly, highlighting various material styles and techniques that contribute to a successful installation.
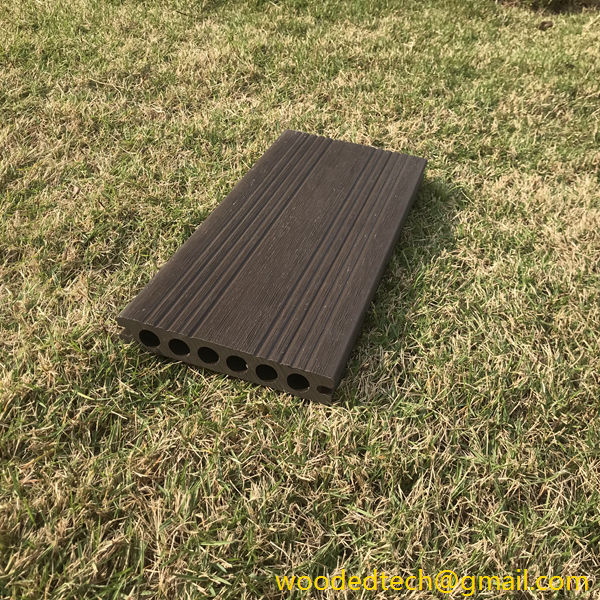
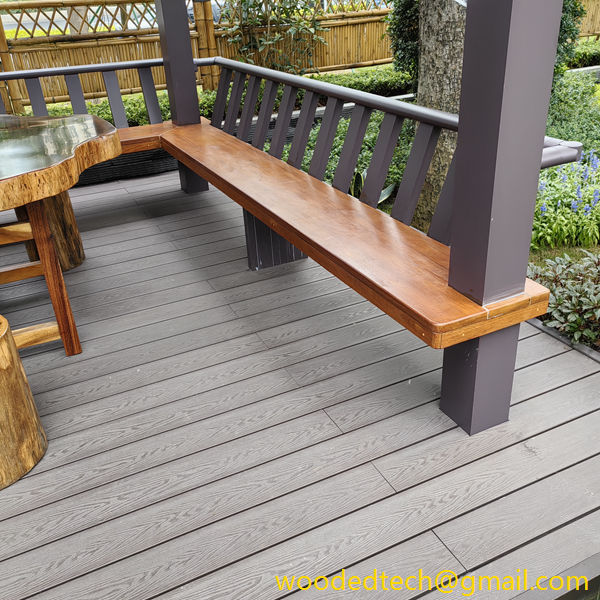
Before you begin, it is crucial to understand the nature of composite decking. Composite materials are made from a mix of wood fibers and plastic, which gives them the look of real wood while providing resistance against rot, insects, and fading. There are numerous styles and finishes available, ranging from smooth to textured surfaces, as well as various colors and patterns. Choosing the right style is important because it should complement your home and landscape design while also meeting your aesthetic preferences.
The first step in laying composite decking is to prepare the area where you intend to install it. Begin by clearing the space of any debris, old decking, or landscaping materials. It is important to ensure that the ground is level and stable. In some cases, you may need to excavate a bit of soil to achieve a flat surface. Once the area is cleared and leveled, you can lay down a base of gravel or crushed stone to facilitate proper drainage. This step is critical as it prevents water from pooling under the decking, which could lead to structural issues over time.
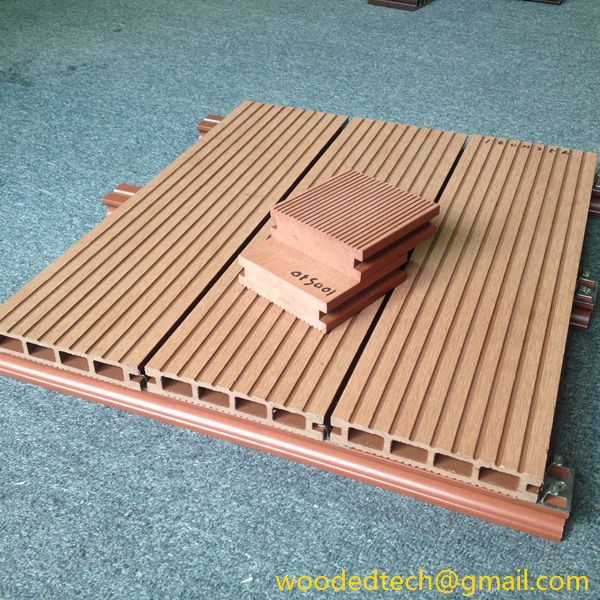
After establishing a solid foundation, the next step is to install the joists. Joists are the horizontal supports that will hold your composite decking in place. The spacing of the joists is essential for the stability of the decking. Typically, joists should be spaced either 16 or 24 inches apart, depending on the specific composite decking product you are using. It is always advisable to consult the manufacturer’s guidelines for recommendations on spacing and installation methods. For added durability, consider using treated lumber or metal joists, which can provide extra support and longevity.
Once the joists are in place, it is time to start laying the composite decking boards. Begin at one end of the deck and lay the first board parallel to the house or the desired focal point of your outdoor space. The installation can vary slightly based on whether you are using hidden fasteners or traditional screws. If you opt for hidden fasteners, they will create a seamless look, as the fasteners are concealed within the grooves of the boards. This method often provides a more refined appearance, as there will be no visible screws on the surface of the boards.
When laying the boards, it is important to maintain a consistent gap between each board. This gap allows for expansion and contraction due to temperature changes, which is particularly important for composite materials. Most manufacturers recommend a gap of about 1/8 to 1/4 inch between boards. Using spacers can help you maintain this distance as you lay down each board.
As you progress, be mindful of the board orientation if you are using different styles or colors of composite decking. Alternating colors or patterns can add visual interest to your deck, but it requires careful planning. Consider creating a design layout on paper before you start installing the boards. This will help you visualize the final product and make any adjustments as necessary.
Once all the boards are laid, you will need to secure them in place. If you have used hidden fasteners, ensure they are properly engaged and that the boards are snug against one another. For traditional screws, it is advisable to pre-drill holes to prevent splitting. Drive the screws in until they are just below the surface of the boards, taking care not to overtighten them, as this could damage the decking material.
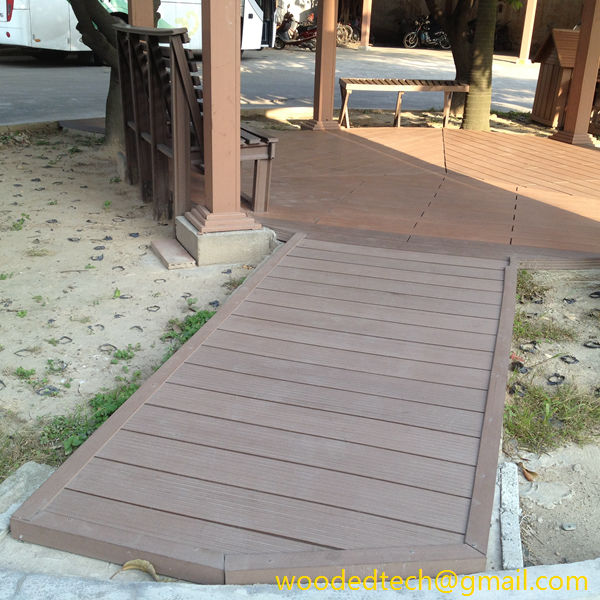
After securing the boards, it’s essential to finish the edges of your deck. Composite decking typically comes with a factory-finished edge, but if you are cutting boards to fit, you may need to sand or trim the edges for a smooth finish. Additionally, consider installing a fascia board around the perimeter of the deck for a polished look. Fascia boards can help cover any cut ends of the decking and provide a clean transition from the deck to the surrounding area.
Finally, once everything is installed, take the time to clean your new composite deck. Removing any debris, dust, or leftover materials will not only enhance the aesthetic appeal but also help you identify any areas that may require adjustments. Regular maintenance of your composite decking is minimal, but it is recommended to clean it periodically with soap and water or a mild detergent to keep it looking its best.
In conclusion, laying composite decking can be an enjoyable DIY project that transforms your outdoor living space. By following these essential steps, you can ensure a successful installation that will provide years of enjoyment. The variety of material styles available allows you to customize your deck to match your personal taste and enhance the overall beauty of your home. With proper planning and execution, your new composite deck will not only be functional but also a stunning addition to your property.

