Installing Composite Decking on Existing Deck: A How-To Guide
Installing Composite Decking on Existing Deck: A How-To Guide Installing composite decking on an existing deck can be an excellent way to upgrade your outdoor space. Composite materials offer durability, low maintenance, and resistance to weather, making them a popular choice for homeowners looking to enhance their decks. This guide will walk you through the…
Installing Composite Decking on Existing Deck: A How-To Guide
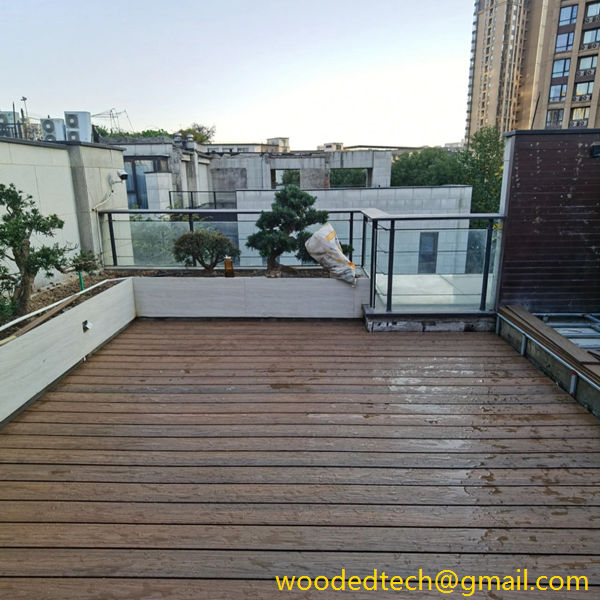
Installing composite decking on an existing deck can be an excellent way to upgrade your outdoor space. Composite materials offer durability, low maintenance, and resistance to weather, making them a popular choice for homeowners looking to enhance their decks. This guide will walk you through the necessary steps to ensure a successful installation, providing insights into various material styles and considerations.
Before beginning, it is essential to assess the current condition of your existing deck. Inspect the structure for any signs of rot, damage, or instability. The existing framework must be sturdy enough to support the weight of the new composite decking. If you find any weak spots, it may be necessary to make repairs or reinforcements before proceeding with the installation.
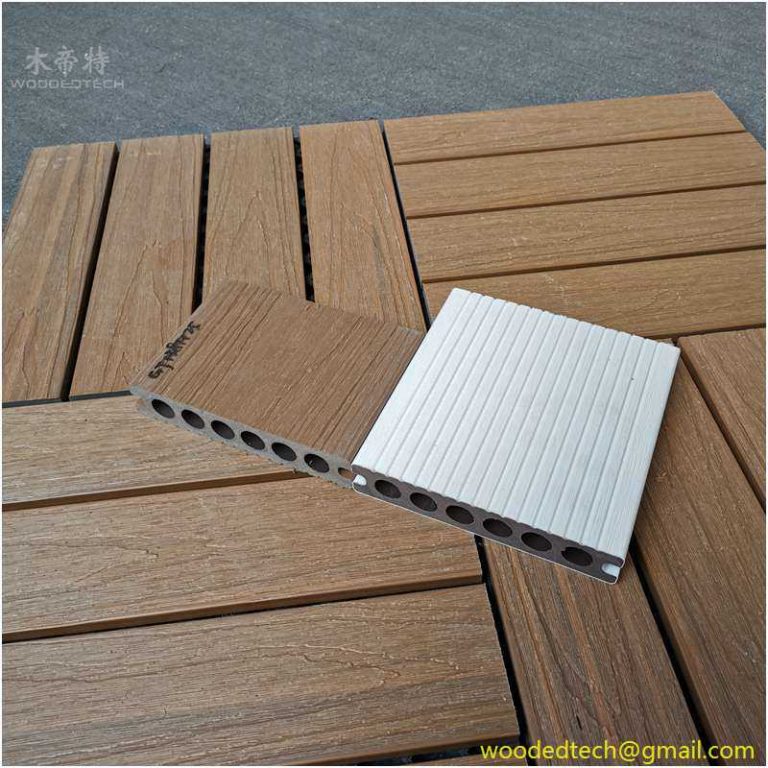
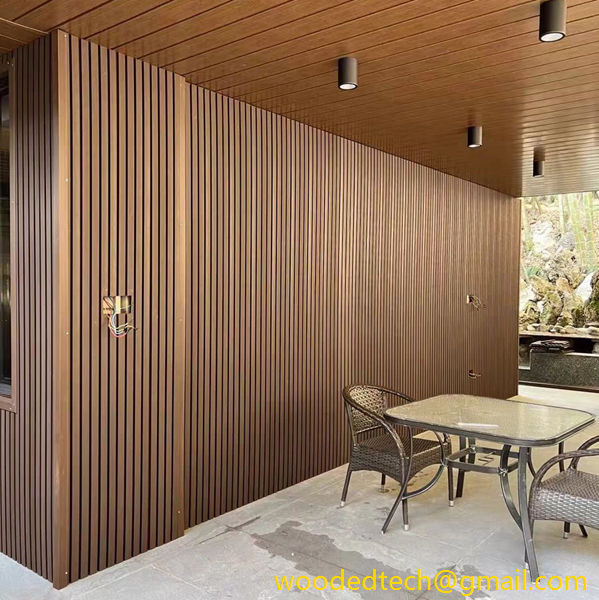
Once you have confirmed the integrity of your existing deck, the next step is to choose the right composite decking material. Composite decking is available in a range of styles, colors, and textures, allowing you to customize the look of your outdoor space. Some composite materials mimic the appearance of natural wood, providing a warm, traditional aesthetic, while others offer a sleek, modern finish. Consider factors such as color, grain pattern, and surface texture when selecting your decking material.
It is also important to consider the manufacturer’s specifications and guidelines for installation. Different brands may have unique requirements regarding spacing, fasteners, and installation techniques. Familiarizing yourself with these guidelines will help ensure that your installation is successful and that your warranty remains valid.
Once you have selected your composite decking material, gather the necessary tools and equipment. Essential tools for the installation process include a circular saw, drill, measuring tape, level, and safety equipment such as goggles and gloves. Having all your materials ready before you begin will streamline the installation process.
Begin by removing any existing surface material from the deck. If your current deck is made of wood, you may need to remove the old boards to expose the underlying framework. If the existing boards are in good condition, you can install the composite decking directly on top. However, removing them completely will provide a cleaner look and allow for better ventilation.
After clearing the deck surface, ensure that the underlying joists are properly aligned and spaced. Composite decking requires adequate support, typically at 16 inches on center. Use a level to check for any uneven areas and make adjustments as needed. If any joists are damaged or rotting, replace them to maintain the overall integrity of the deck.
With the framework prepared, it is time to install the composite decking boards. Start from one end of the deck and work your way to the other. It is advisable to lay the boards in the same direction as the existing joists to enhance stability and reduce the risk of warping.
When installing the boards, leave a small gap between each piece to allow for expansion and contraction due to temperature changes. This gap typically ranges from one-eighth to one-quarter of an inch, depending on the manufacturer’s specifications. Use spacers to maintain consistent spacing as you work along the deck.
For fastening the boards, many composite decking materials come with hidden fastening systems designed to provide a clean, finished look. These systems often involve clips or brackets that secure the boards without visible screws on the surface. If your chosen material does not include a hidden fastening system, you can use stainless steel screws to attach the boards securely. Pre-drilling holes can help prevent splitting and ensure a clean finish.
As you install the decking boards, periodically check the alignment and levelness of the surface. Adjust as necessary to maintain a uniform appearance. When you reach the edge of the deck, you may need to cut the last board to fit. Use a circular saw for clean cuts and always wear safety goggles to protect your eyes.
Once all the boards are installed, it is time to address the finishing touches. Trim any excess material along the edges for a polished look. You may also want to add fascia boards to the sides of the deck for a cohesive appearance. Fascia boards can help cover any exposed ends of the composite decking and give your deck a more finished look.
Finally, clean the surface of the new decking to remove any dust or debris created during the installation process. Most composite materials require minimal maintenance, but regular cleaning will help maintain their appearance. Use a mild soap and water solution to clean the surface, and avoid harsh chemicals that could damage the material.
In summary, installing composite decking on an existing deck can significantly enhance your outdoor living space. By carefully selecting materials, preparing the existing structure, and following proper installation techniques, you can create a durable and attractive deck that will provide enjoyment for years to come. With the right tools, attention to detail, and a little effort, your outdoor area can be transformed into an inviting space for relaxation and entertainment. Whether you prefer a classic wood look or a modern aesthetic, composite decking offers an array of options to suit your style and needs.

