Tips for Replacing Composite Deck Boards for a Fresh Look
Tips for Replacing Composite Deck Boards for a Fresh Look Replacing composite deck boards can be a rewarding project that breathes new life into your outdoor space. If your existing deck boards are showing signs of wear and tear, such as fading, splintering, or warping, it may be time to consider a replacement. Fortunately, the…
Tips for Replacing Composite Deck Boards for a Fresh Look
Replacing composite deck boards can be a rewarding project that breathes new life into your outdoor space. If your existing deck boards are showing signs of wear and tear, such as fading, splintering, or warping, it may be time to consider a replacement. Fortunately, the process of replacing composite deck boards is relatively straightforward, especially when you follow some key tips for easy installation.
Before diving into the replacement process, it’s essential to gather the necessary materials and tools. You will need new composite deck boards, a measuring tape, a saw, a drill, screws, a level, and safety goggles. Having all your materials on hand before you start will help streamline the process and minimize interruptions.
One of the first steps in replacing your composite deck boards is to assess the current condition of your deck. If the underlying structure, such as joists and beams, is in good shape, you can proceed with replacing just the deck boards. However, if the structure shows signs of damage or rot, it may be prudent to address these issues before installing new boards. Ensure that your deck’s supporting framework is secure and adequately supports the weight of the new boards.
Once you have confirmed that the framework is sound, it’s time to measure the area that needs new boards. Accurate measurements are crucial for ensuring that you purchase the right amount of composite decking material. Measure the length and width of each section of the deck, and calculate the total square footage. This will help you determine how many boards you need to buy. It’s always wise to purchase a little extra material to account for mistakes or future repairs.
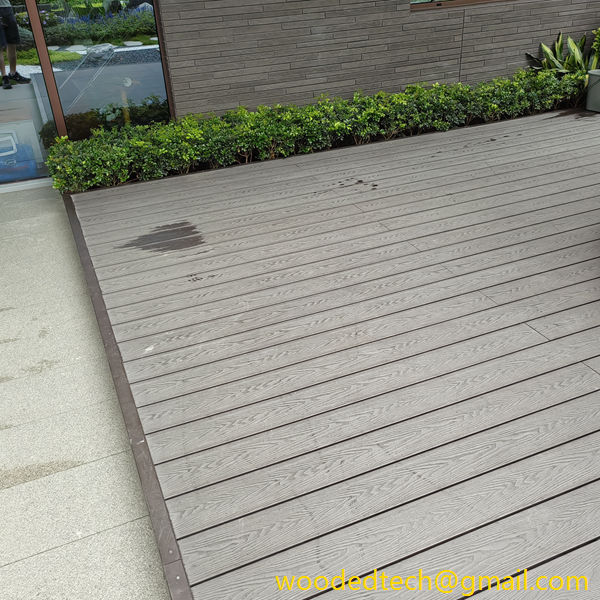
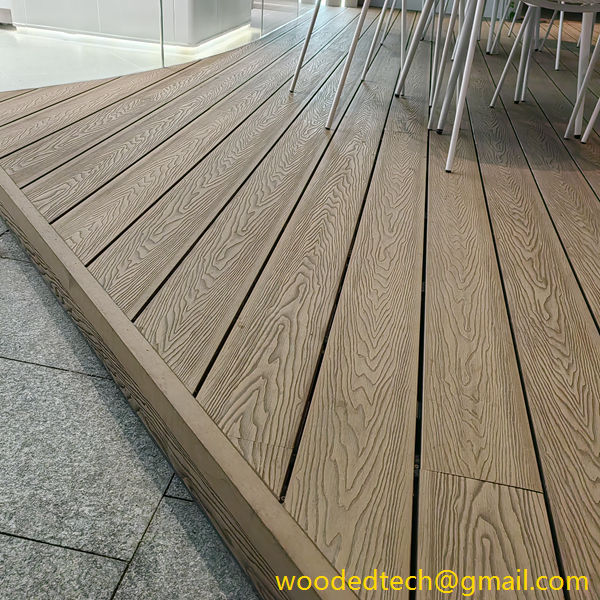
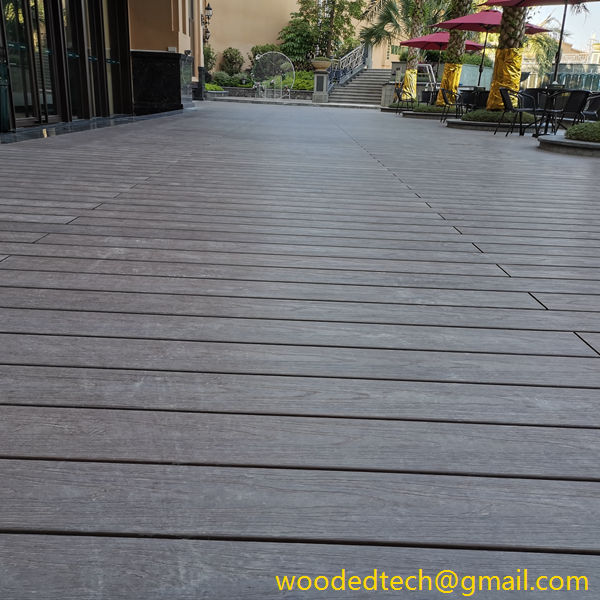
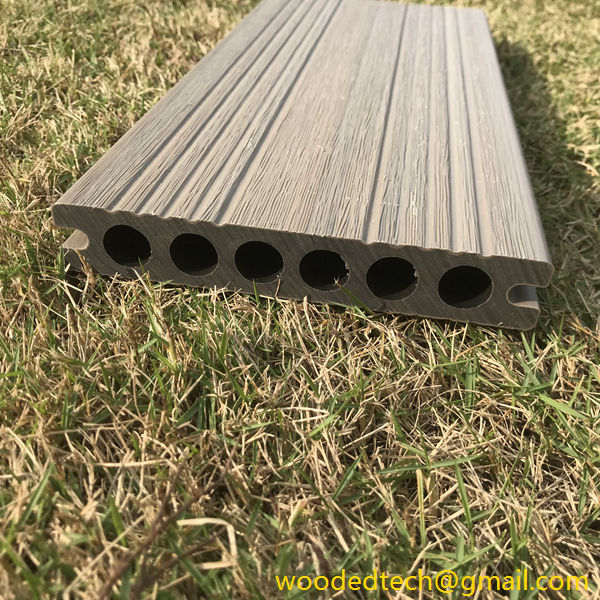
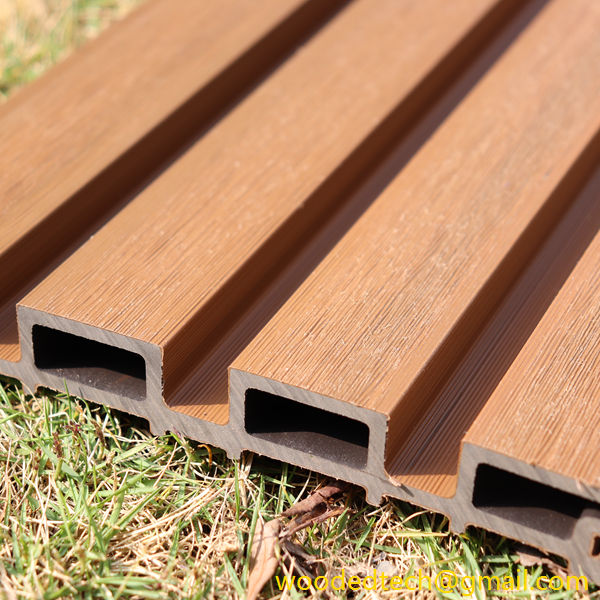
When selecting composite decking boards, consider the color and style that best complements your home and landscape. Composite boards come in various colors and textures, mimicking the appearance of natural wood while providing greater durability. Choosing a color that aligns with your home’s aesthetic can enhance your outdoor space’s overall appeal. Additionally, check the manufacturer’s recommendations regarding spacing between boards and installation techniques, as different products may have specific guidelines.
Once you have your materials ready, begin the replacement process by removing the old deck boards. Using a drill, carefully unscrew the existing boards from the joists. If the boards are particularly stubborn, you may need to use a pry bar or a chisel to loosen them. Take care not to damage the underlying joists during this process, as they will support the new boards.
With the old boards removed, inspect the joists for any signs of damage or decay. If you find issues, replace or repair the affected joists before proceeding. Make sure that all joists are level and secure, as this will ensure a smooth installation of the new composite boards.
Now it’s time to install the new composite deck boards. Start at one end of the deck and lay the first board down. Ensure that it is aligned properly with the edge of the deck and is square to the joists. Use a level to confirm that the board is even, making any adjustments as necessary. Once you are satisfied with its position, secure it in place using screws. It’s important to follow the manufacturer’s recommendations regarding the spacing of screws and the distance from the edges of the board to prevent splitting.
As you continue to install each board, maintain consistent spacing between them. This spacing is crucial for allowing for expansion and contraction due to temperature changes. Many manufacturers provide specific guidelines on how much space should be left between boards, so be sure to consult those recommendations.
If your deck has any angled cuts or corners, measure carefully and use a saw to cut the boards to size. Precision is key when making cuts, as this will ensure that the boards fit snugly and look professional. After cutting, always check the fit before securing the boards in place.
Once all the new boards are installed, take a moment to inspect your work. Ensure that each board is securely fastened and that there are no gaps or uneven areas. If you notice any irregularities, make adjustments as necessary. After everything is in place, consider applying a sealant or protective finish to enhance the longevity of your new composite deck boards. This additional step can help protect against fading and wear over time.
Finally, clean up your workspace, ensuring that all debris and old materials are disposed of properly. Take a moment to appreciate your hard work and enjoy your refreshed outdoor space. Replacing composite deck boards not only improves the appearance of your deck but also enhances its functionality and lifespan.
In conclusion, replacing composite deck boards can be a straightforward process if approached with careful planning and execution. By assessing the condition of your deck, gathering the right materials, measuring accurately, and following installation guidelines, you can achieve a fresh look for your outdoor area. Whether you choose a bold new color or a classic style, your newly replaced deck boards will undoubtedly enhance your outdoor living experience for years to come.

