Tips for Installing WPC Wall Panel Corner for Seamless Finish
Tips for Installing WPC Wall Panel Corner for Seamless Finish In recent years, Wood Plastic Composite (WPC) wall panels have gained immense popularity in both residential and commercial construction. Their aesthetic appeal, durability, and low maintenance make them a favored choice for interior and exterior applications. However, to achieve a seamless finish when installing WPC…
Tips for Installing WPC Wall Panel Corner for Seamless Finish
In recent years, Wood Plastic Composite (WPC) wall panels have gained immense popularity in both residential and commercial construction. Their aesthetic appeal, durability, and low maintenance make them a favored choice for interior and exterior applications. However, to achieve a seamless finish when installing WPC wall panel corners, it’s essential to follow some best practices. This article provides an in-depth guide to ensure your installation is not only visually appealing but also structurally sound.
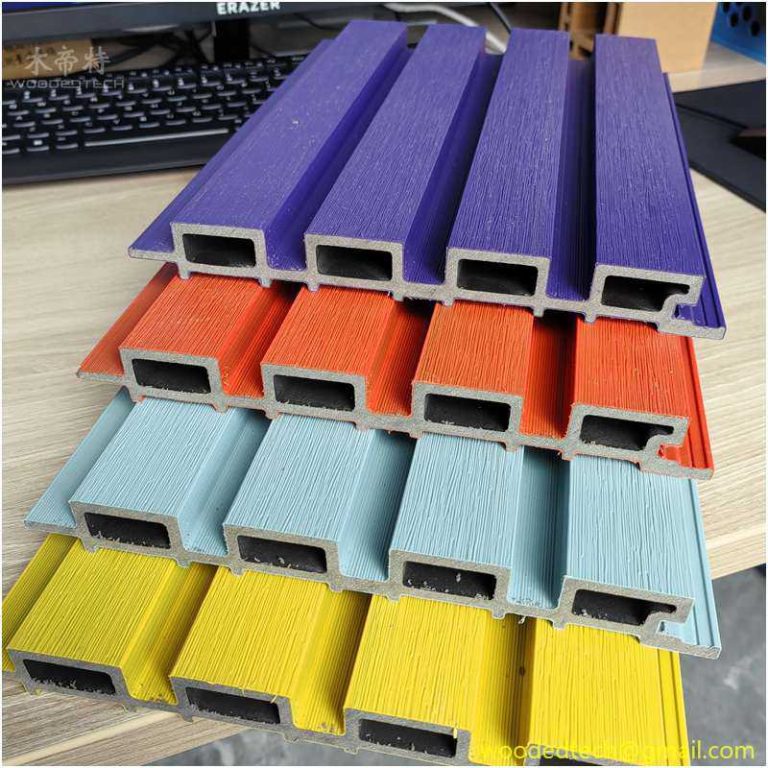
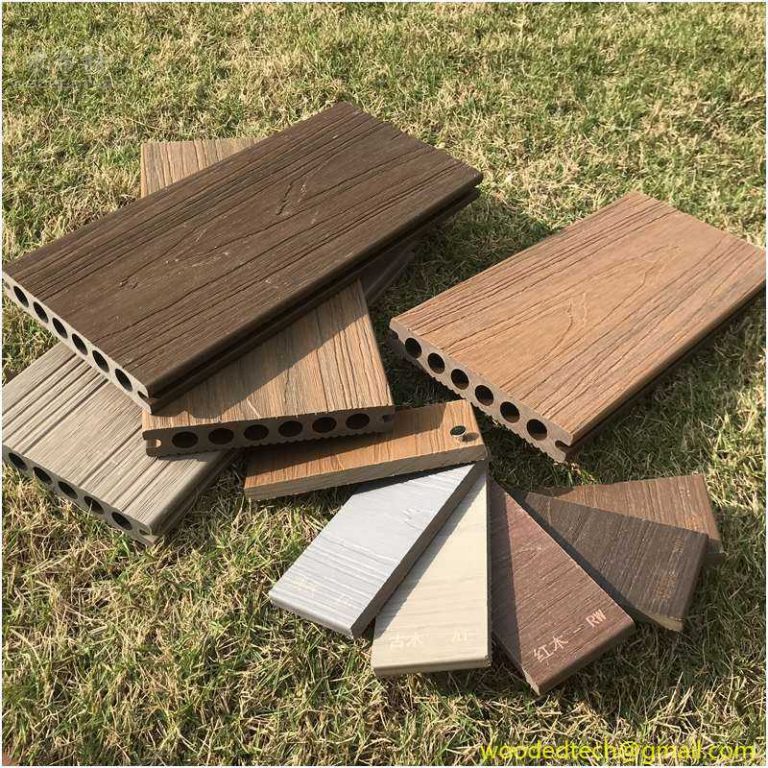
One of the primary reasons for the growing demand for WPC wall panels is their versatility in design and application. As global production capacity for WPC materials increases, homeowners and builders are presented with a wide array of colors, textures, and finishes. However, despite the advantages of WPC, achieving a flawless installation requires attention to detail, especially at the corners where two panels meet.
Before diving into installation tips, it’s crucial to understand the composition of WPC materials. WPC is a composite made from wood fibers and plastic, combining the best properties of both materials. This unique composition provides resistance to moisture, insects, and decay, making WPC an excellent choice for various environments. The lightweight nature of WPC also simplifies handling and installation, particularly when dealing with large wall surfaces.
Proper preparation is key to a successful installation. Begin by assessing the wall surface where the WPC panels will be installed. Ensure that the surface is clean, dry, and free of any debris. If the existing wall has imperfections, consider applying a leveling compound to create a smooth base. Additionally, measure the wall area accurately to determine how many panels are needed, reducing waste and ensuring a seamless look.
Before starting the installation, gather all the necessary tools and materials. Common tools required for WPC wall panel installation include a measuring tape, level, saw (preferably a miter saw for precise cuts), drill, screws, and a suitable adhesive or fasteners. Having all these tools at your disposal will streamline the installation process and minimize disruptions.
When it comes to cutting WPC panels, precision is paramount. Use a miter saw to achieve clean, straight cuts, particularly at the corners where two panels meet. Measure twice and cut once to avoid any miscalculations. For corner installations, consider using a 45-degree angle cut. This technique allows the panels to fit snugly against each other, creating a seamless appearance that enhances the overall aesthetic.
Start the installation from one corner of the wall, working your way across. Apply a suitable adhesive to the back of the panel or use screws to secure it to the wall. Ensure that the first panel is level, as this will set the standard for the rest of the installation. For corners, make sure that the edges of the panels are aligned perfectly to avoid gaps. If you encounter any unevenness in the wall, use shims to level the panels.
The corners are often the most challenging aspect of WPC panel installation. To achieve a seamless look, consider using corner trim or specially designed corner pieces. These pieces are manufactured to fit perfectly with the WPC panels and can help mask any imperfections at the joint. If you prefer a more integrated approach, continue the paneling around the corner using precise cuts that fit together without any visible seams.
Once all panels are installed, inspect the corners and seams for any gaps or misalignments. Touch up any visible areas with caulk or filler to ensure a polished finish. If your WPC panels have a specific grain or pattern, take care to align them properly to maintain a consistent look throughout the installation.
One of the significant advantages of WPC wall panels is their low maintenance requirements. However, regular cleaning is essential to keep them looking their best. Use a mild detergent and soft cloth to clean the surfaces periodically. Avoid abrasive materials that could scratch or damage the finish. Additionally, inspect the panels regularly for any signs of wear or damage, addressing issues promptly to extend the lifespan of your installation.
Installing WPC wall panel corners for a seamless finish requires careful planning, precision, and attention to detail. As global production capacities for WPC materials expand, builders and homeowners have access to diverse options that can enhance their spaces. By following the tips outlined in this guide, you can achieve a professional-looking installation that combines functionality with aesthetic appeal. Whether you are renovating your home or embarking on a new construction project, investing the time and effort into a proper installation will pay off in the long run, ensuring your WPC wall panels look stunning for years to come.

