How to Create with WPC Wall Panel Video Tutorials
How to Create with WPC Wall Panel Video Tutorials Creating with WPC wall panels has become increasingly popular in recent years due to their versatility, durability, and aesthetic appeal. WPC, or Wood Plastic Composite, combines the best aspects of wood and plastic to produce a material that is not only environmentally friendly but also highly…
How to Create with WPC Wall Panel Video Tutorials
Creating with WPC wall panels has become increasingly popular in recent years due to their versatility, durability, and aesthetic appeal. WPC, or Wood Plastic Composite, combines the best aspects of wood and plastic to produce a material that is not only environmentally friendly but also highly functional. This article will guide you through the process of creating with WPC wall panels, providing insights into video tutorials that can help you along the way.
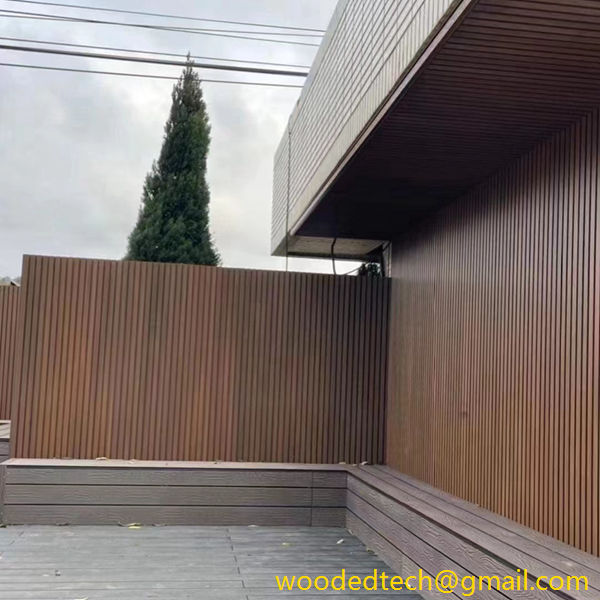
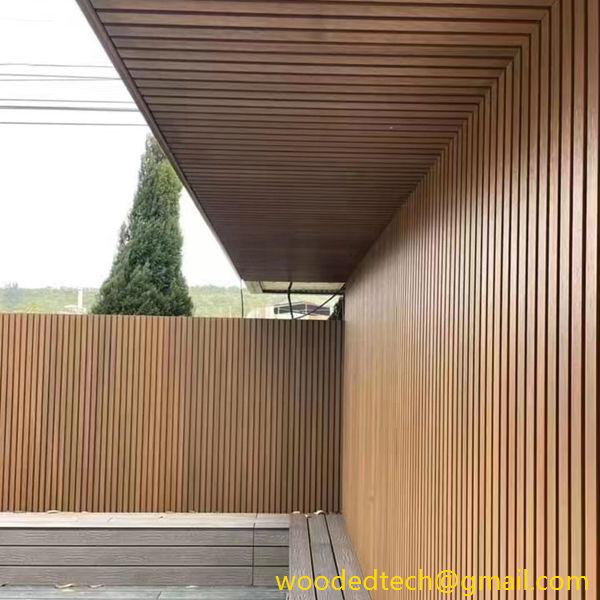
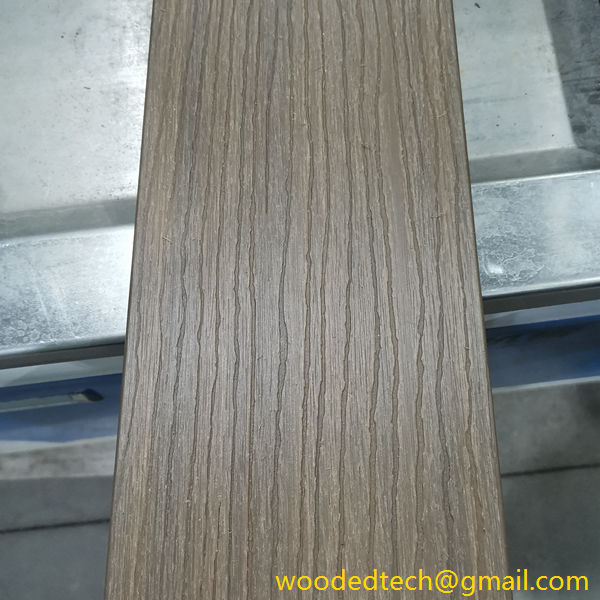
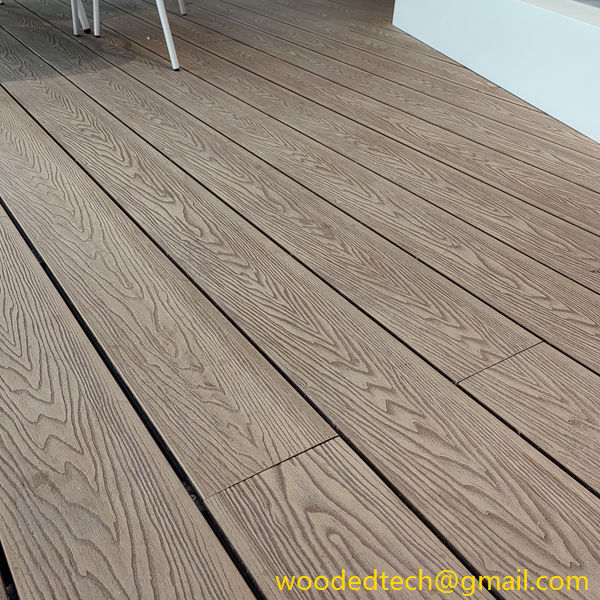
WPC wall panels come in various colors, textures, and finishes, allowing for a wide range of customization. Whether you wish to achieve a modern, rustic, or contemporary look, WPC panels can cater to your design preferences. The first step in your creative journey is to choose the right WPC wall panel that suits your vision. You can explore various styles, such as embossed textures that mimic natural wood grains or sleek, smooth finishes for a more modern appearance.
Once you have selected your WPC wall panels, it is essential to gather the necessary tools and materials for installation. Basic tools such as a measuring tape, level, saw, drill, and screws are typically required. Additionally, you may need adhesive and a safety kit, including gloves and goggles, to ensure a safe working environment. The specifics may vary depending on the complexity of your project, but having the right tools on hand will streamline the process.
Video tutorials can be an invaluable resource during this phase. They often provide step-by-step guidance on how to measure and cut the panels accurately. Many tutorials also demonstrate how to install the panels effectively, ensuring that they are level and securely attached to the wall. Watching these videos can help you visualize the process, making it easier to follow along and replicate the techniques demonstrated.
Before you begin installation, it is crucial to prepare the wall surface. Make sure the wall is clean, dry, and free of any debris or old paint. If necessary, patch any holes or imperfections to create a smooth surface for the WPC panels. This preparation will enhance the final result and ensure that the panels adhere properly.
Once your wall is ready, you can start the installation process. Many video tutorials emphasize the importance of planning your layout before you begin. This involves deciding on the orientation of the panels—whether you want them installed vertically or horizontally—and determining how many panels you will need. It can be beneficial to lay out the panels on the floor first to visualize the final design and make any necessary adjustments.
When cutting the panels, accuracy is key. Measure twice and cut once to avoid wasting materials. Most tutorials will recommend using a fine-toothed saw for clean cuts, as rough cuts can lead to splintering and an uneven appearance. If you are unsure about your cutting skills, consider practicing on scrap pieces before working on your actual panels.
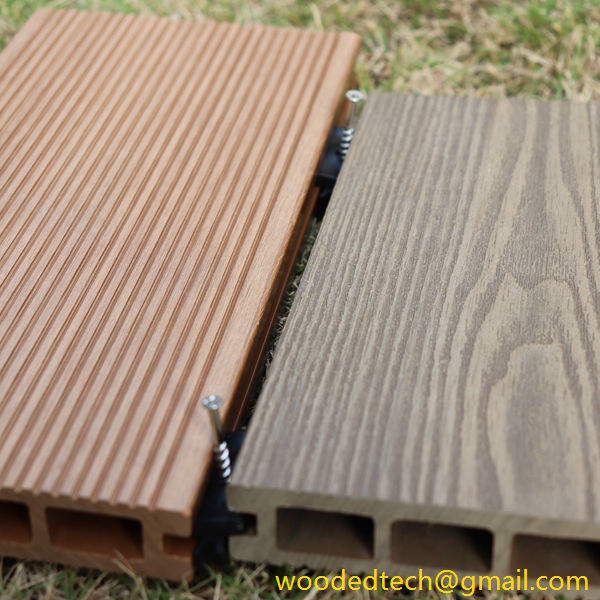
As you start attaching the panels to the wall, be sure to follow the instructions provided in the video tutorials. Many installers prefer using adhesive for a seamless look, while others may use screws for added security. If you choose to use screws, ensure they are countersunk to avoid protruding and creating an unsightly appearance. Additionally, it’s essential to leave a small gap between the panels to allow for expansion and contraction due to temperature changes.
Once the panels are installed, you can focus on finishing touches that enhance the overall look of your WPC wall. This could include adding trim or molding around the edges to create a polished appearance. Some tutorials also discuss how to incorporate lighting elements or decorative accessories to further elevate the design. The versatility of WPC allows for creative freedom, so don’t hesitate to experiment with different ideas to achieve the look you desire.
Another advantage of WPC wall panels is their maintenance. Unlike traditional wood, WPC is resistant to moisture, making it ideal for areas with high humidity or potential water exposure, such as bathrooms and kitchens. Cleaning is also straightforward—typically requiring just a damp cloth and mild detergent to keep your panels looking fresh and new.
For those who wish to take their creativity a step further, some video tutorials explore how to customize WPC wall panels through painting or staining. While the natural appearance of WPC is beautiful, personalizing your panels can add a unique touch that reflects your style. Before embarking on this process, ensure you use paints or stains that are compatible with composite materials for the best results.
In conclusion, creating with WPC wall panels offers endless possibilities for customization and design. From selecting the right panels to following video tutorials for installation and finishing touches, the entire process can be both enjoyable and rewarding. With careful planning, the right tools, and a bit of creativity, you can transform any space into a stunning showcase of your personal style using WPC wall panels. Whether you are a seasoned DIY enthusiast or a beginner, these panels provide an excellent medium for self-expression and home improvement. Embrace the versatility of WPC and let your imagination guide you in creating a beautifully designed environment that you can truly call your own.

