Güverte Kompozit Kurulumu için Adım Adım Kılavuz
Adım Adım Kompozit Güverte Kurulum Kılavuzu Kompozit bir güverte kurmak, dış mekanınızı rahatlama ve eğlence için güzel ve işlevsel bir alana dönüştürebilecek heyecan verici bir projedir. Kompozit zemin kaplaması dayanıklılığı, az bakım gerektirmesi ve estetik çekiciliği nedeniyle büyük bir popülerlik kazanmıştır. Bu adım adım kılavuz, kurulum süreci boyunca size yol gösterecek,...
Güverte Kompozit Kurulumu için Adım Adım Kılavuz
Installing a composite deck is an exciting project that can transform your outdoor space into a beautiful and functional area for relaxation and entertainment. Composite decking has gained immense popularity due to its durability, low maintenance, and aesthetic appeal. This step-by-step guide will walk you through the installation process, ensuring that you create a stunning deck that can be enjoyed for years to come.
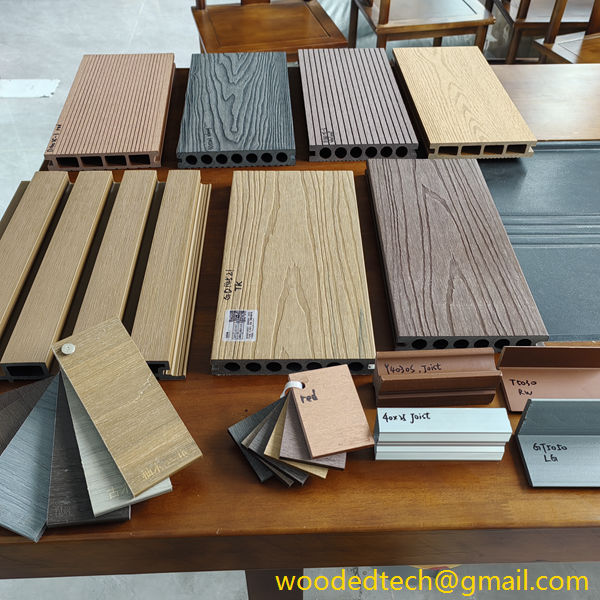
Before diving into the installation process, it’s essential to gather the necessary materials and tools. Composite decking boards, support beams, joists, fasteners, and a substructure are crucial components of your project. Additionally, you will need tools such as a circular saw, drill, measuring tape, level, and safety gear, including gloves and goggles. Planning is key, so take the time to outline your deck’s design, size, and layout. Consider factors such as the space available, desired shape, and any local building codes or regulations that may apply.
Once you have your materials and tools ready, the first step is to prepare the area where the deck will be installed. Begin by clearing the space of any debris, vegetation, or obstacles. If the ground is uneven, consider leveling it to create a stable foundation for your deck. You may also want to mark the corners of your deck using stakes and string to visualize the layout and ensure accurate measurements.
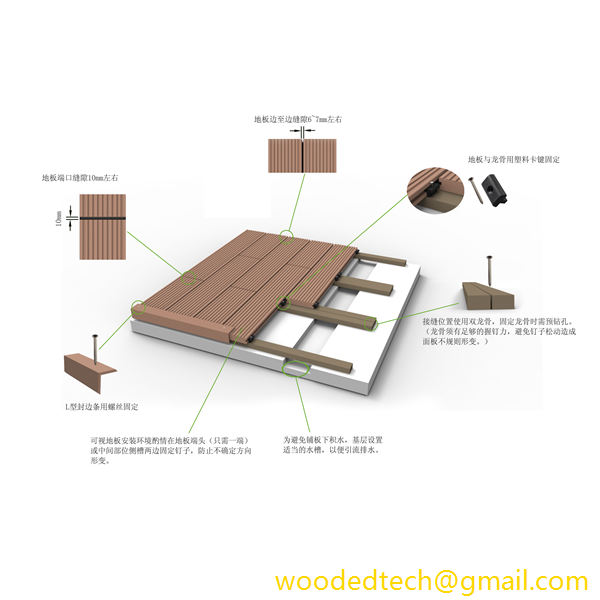
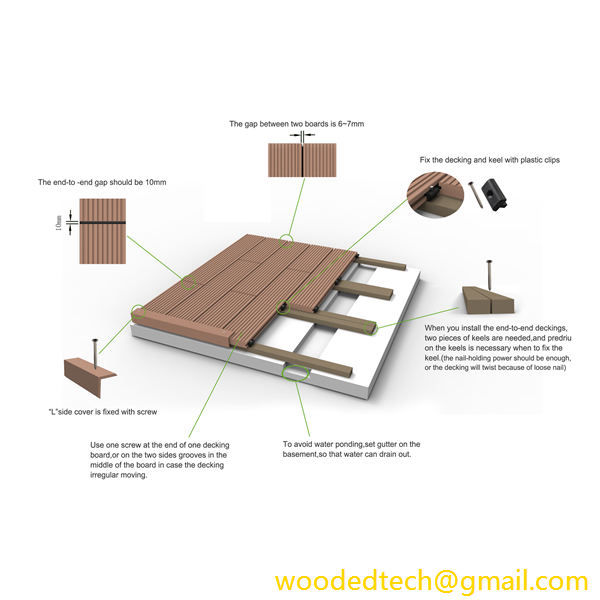
Next, you will need to install the frame of your deck, which will provide the necessary support for the composite decking boards. Start by setting up the main beams, typically using treated lumber or metal brackets. Ensure that they are level and securely anchored in the ground. Once the main beams are in place, you can install the joists, which are the horizontal supports that run perpendicular to the beams. Space the joists according to the manufacturer’s recommendations, usually around 16 inches apart for optimal support. Use a level to ensure that each joist is even, as this will affect the final appearance of your decking.
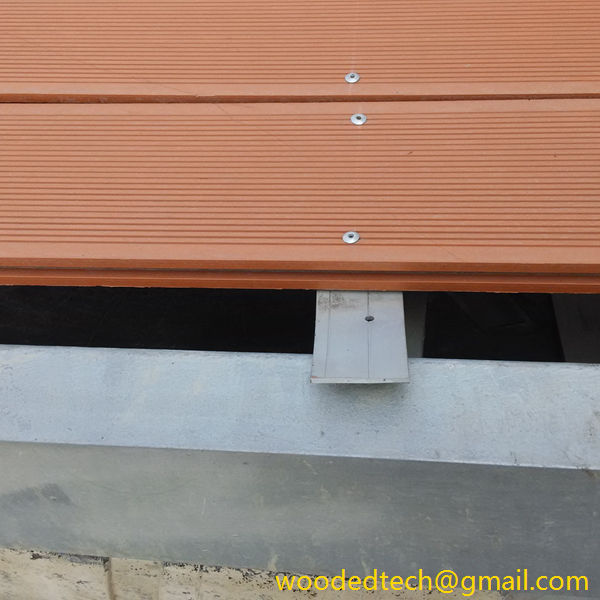
With the frame complete, it’s time to lay down the composite decking boards. Begin at one end of the deck and work your way across. Composite boards often come with tongue-and-groove edges that interlock, making installation easier and providing a seamless appearance. Use spacers to maintain consistent gaps between the boards for drainage and expansion purposes. Fasten the boards to the joists with the appropriate screws or clips recommended by the manufacturer. Make sure to pre-drill holes if necessary to prevent splitting.
As you continue laying the boards, periodically check for levelness and alignment. It’s crucial to maintain a consistent pattern and spacing throughout the installation process. If you encounter obstacles such as posts or railings, measure carefully and make precise cuts using a circular saw. Safety should be a top priority, so always wear protective gear when operating power tools.
Once all the decking boards are installed, it’s time to address the finishing touches. This includes installing railings, steps, and any other features you may want to incorporate into your deck design. Railings not only enhance the appearance of your deck but also provide safety, especially if the deck is elevated. Choose materials that complement your composite decking and ensure that they meet local building codes for height and spacing.
After the railings are in place, consider adding additional features such as built-in benches, planters, or lighting to elevate your outdoor space further. These elements can enhance the functionality of your deck and create a more inviting atmosphere for gatherings with family and friends.
Another critical step in the installation process is to clean the deck thoroughly once all components are installed. Remove any debris, sawdust, or leftover materials to ensure a clean and polished look. This is also a good time to apply any recommended protective coatings or sealants to your composite decking, which can help maintain its appearance and prolong its lifespan.
Finally, take a moment to inspect your work. Walk around the deck to check for any loose boards, uneven surfaces, or areas that may require additional attention. Address any issues before you start using your new outdoor space.
In summary, installing a composite deck can be a rewarding DIY project that enhances your home’s outdoor living area. By following this step-by-step guide, you can ensure a successful installation that not only meets your aesthetic and functional needs but also stands the test of time. The key to a successful deck installation lies in proper planning, careful execution, and attention to detail. With patience and dedication, your composite deck can become the perfect backdrop for countless memories with family and friends for years to come. Whether it’s hosting summer barbecues, enjoying quiet evenings under the stars, or simply relaxing with a good book, a well-constructed composite deck adds value and enjoyment to your home.

