Руководство по монтажу настилов из древесно-полимерного композита "сделай сам
Руководство по монтажу настила из древесно-полимерного композита Древесно-полимерный композит (ДПК) приобрел огромную популярность за последние годы как долговечная, не требующая особого ухода альтернатива традиционному деревянному настилу. Благодаря широкому выбору материалов, цветов и текстур, ДПК позволяет домовладельцам создавать на открытом воздухе пространство, которое соответствует их эстетике, обеспечивая при этом долговечность...
Руководство по монтажу настилов из древесно-полимерного композита "сделай сам
Wood plastic composite (WPC) decking has gained immense popularity over the years as a durable, low-maintenance alternative to traditional wood decking. With a wide range of customizable materials, colors, and textures, WPC allows homeowners to create an outdoor space that fits their aesthetic while providing the durability needed to withstand the elements. This guide will walk you through the installation process of WPC decking, ensuring you achieve a beautiful and functional outdoor area.
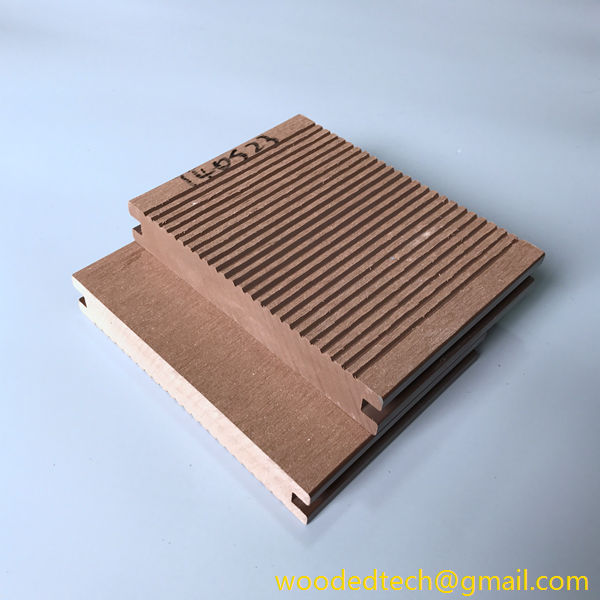
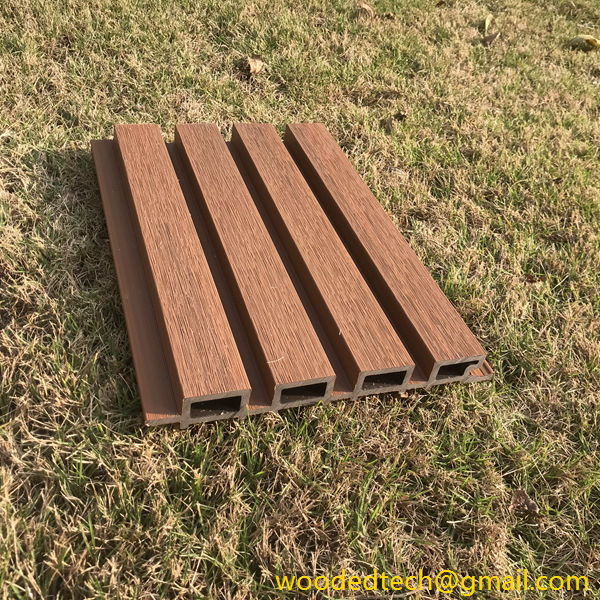
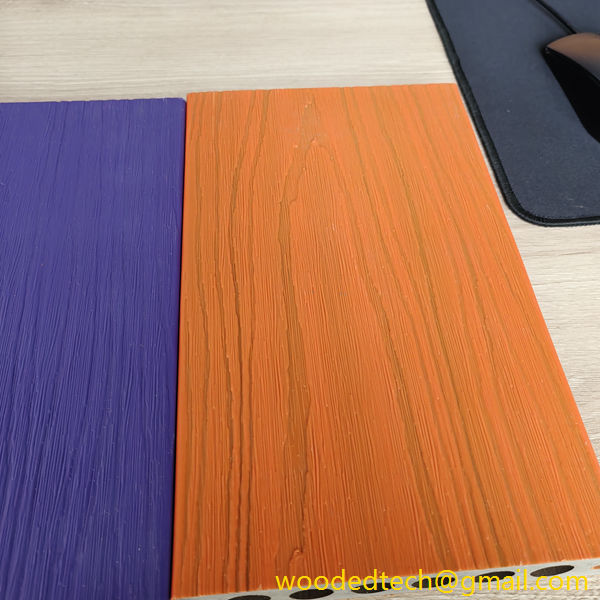
Before diving into the installation process, it’s essential to understand what wood plastic composite decking is. WPC is made from a blend of wood fibers, recycled plastics, and various additives that enhance its properties. This combination results in a material that mimics the look of natural wood while offering superior resistance to moisture, insects, and fading. Additionally, WPC is available in various colors and finishes, allowing for a high degree of customization.
Before starting your installation, gather all necessary materials and tools. For a typical deck installation, you will need:
– Wood plastic composite decking boards
- Композитные винты для палубы
– Joists (usually made of treated wood or composite material)
– Ledger board (if attaching to a house)
– Concrete footings or deck blocks (for support)
- Измерительная лента
- Уровень
– Circular saw
- Дрель
- Отвертка
- Защитные очки
– Work gloves
Having everything on hand before you begin will streamline the installation process and help avoid unnecessary trips to the hardware store.
Before installation, take time to plan your deck design. Consider the size and shape of the deck, keeping in mind your outdoor space and how you intend to use it. Sketch out your design, marking where the joists will go and how the decking boards will be laid out. Additionally, decide on the direction of the boards; running them parallel or perpendicular to the house can dramatically impact the final look of your deck.
Once your design is complete, the next step is to prepare the site. Clear the area of any debris, grass, or plants that may interfere with the installation. If you are building a new deck, it is essential to ensure that the ground is level. You may need to excavate some areas or add soil to create a level foundation for your deck.
The frame of your deck is critical for its structural integrity. Begin by installing the ledger board against the house if your deck will be attached to it. Make sure it is level, then secure it with appropriate lag screws. Next, install the joists perpendicular to the ledger board, spacing them about 16 inches apart. Use joist hangers for added stability, ensuring that each joist is level.
If your deck is freestanding, use concrete footings to secure the posts. Make sure the posts are set deep enough to provide stability, typically below the frost line in your region.
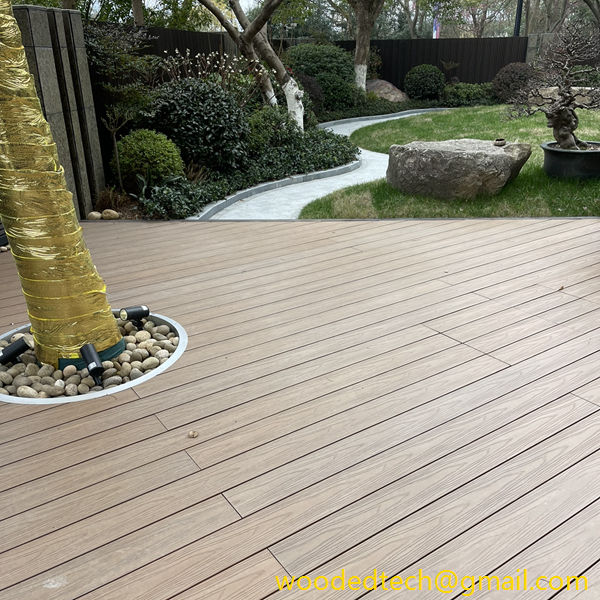
Once the frame is complete, it’s time to lay the decking boards. Start at one end of the deck and work your way across, laying each board parallel to the joists. Leave a small gap between each board to allow for expansion and drainage; typically, a gap of 1/8 inch is recommended.
As you lay each board, secure it to the joists using composite deck screws. Make sure to pre-drill the holes to prevent the boards from splitting. For a cleaner look, consider using hidden fasteners, which allow for a seamless appearance without visible screws on the surface.
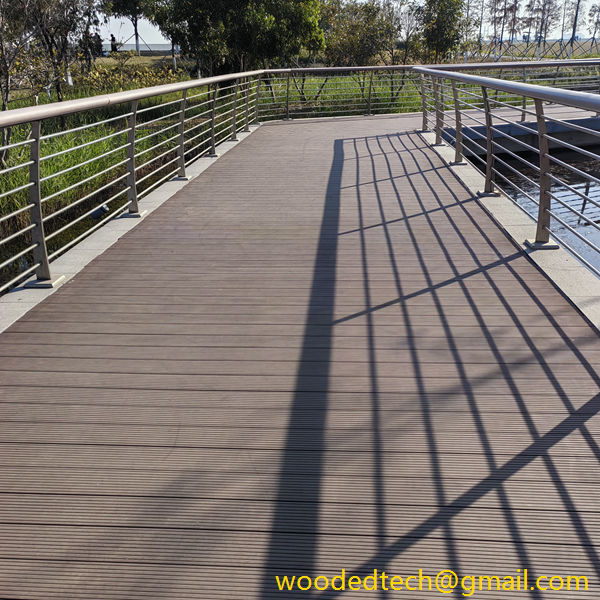
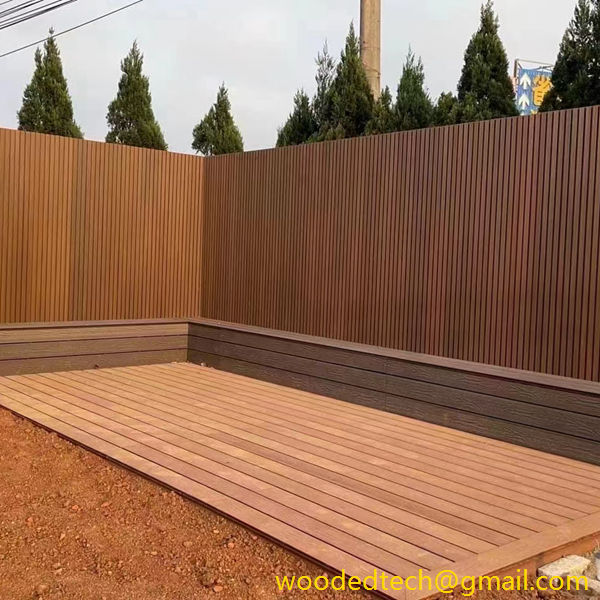
After all the decking boards are installed, it’s time to add the finishing touches. Consider adding railing to the edges of your deck for safety and aesthetics. WPC railing systems are available in various styles and colors, allowing you to match them with your decking.
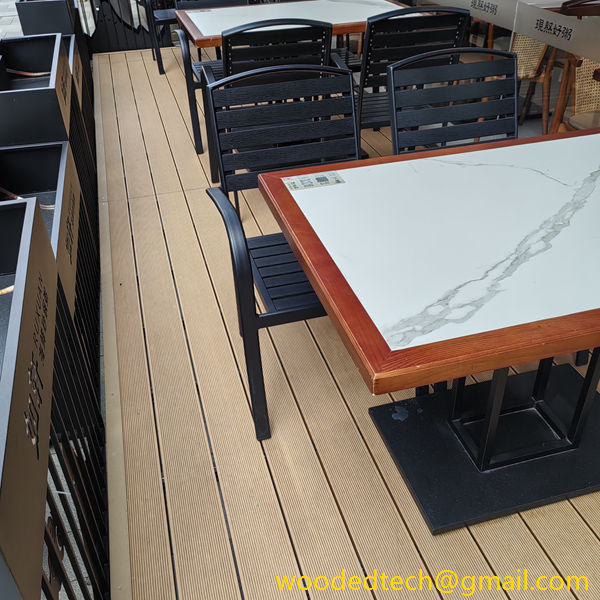
Additionally, you may want to consider adding built-in features like benches, planters, or steps, which can enhance both the functionality and appearance of your deck.
One of the significant advantages of WPC decking is its low maintenance requirements. Unlike traditional wood decks, WPC does not require regular staining or sealing. However, routine cleaning is still essential to keep your deck looking its best. Use a mild soap and water solution to clean the surface, and avoid harsh chemicals that may damage the composite material.
If you notice any stains, addressing them promptly will help prevent permanent marks. Regularly check for any loose screws or boards, tightening or replacing them as needed to maintain the structural integrity of your deck.
Installing wood plastic composite decking can be a rewarding DIY project that enhances your outdoor space while providing a durable and low-maintenance solution. With careful planning, preparation, and execution, you can create a beautiful deck that will serve as a gathering place for family and friends for years to come. By understanding the materials and following the steps outlined in this guide, you can confidently undertake your WPC decking installation and enjoy the benefits of a well-crafted outdoor space.

