How to Picture Frame a Composite Deck: Tips for Picture Framing Your Composite Deck
How to Picture Frame a Composite Deck: Tips for Picture Framing Your Composite Deck Picture framing a composite deck is an effective design technique that not only enhances the aesthetic appeal of the deck but also adds a layer of protection to the edges of the decking boards. This method involves creating a border around…
How to Picture Frame a Composite Deck: Tips for Picture Framing Your Composite Deck
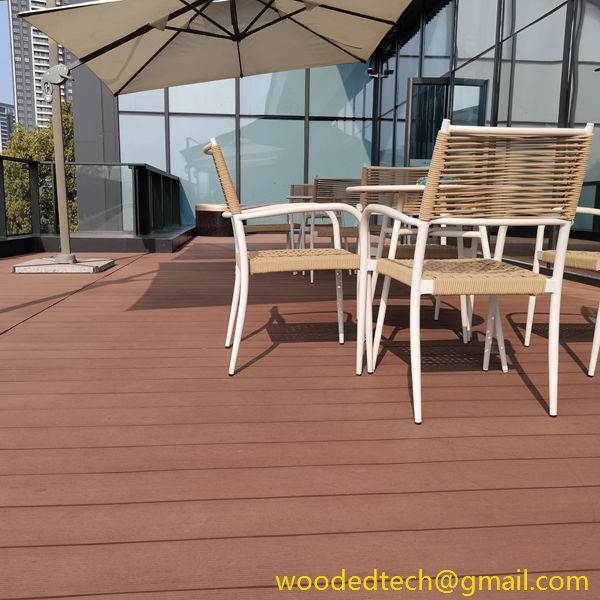
Picture framing a composite deck is an effective design technique that not only enhances the aesthetic appeal of the deck but also adds a layer of protection to the edges of the decking boards. This method involves creating a border around the deck using either different composite materials or the same material in a contrasting color. Here’s a comprehensive guide on how to picture frame a composite deck, along with some valuable tips to ensure that your project is successful and maintenance-free in the later stages.
Before starting the picture framing process, it is essential to gather the necessary materials and tools. You will need composite decking boards, which can be purchased in various colors and styles, framing boards, deck screws, a saw for cutting the boards, a drill, and measuring tape. Ensure that your chosen composite decking is suitable for outdoor use and has a long lifespan to minimize future maintenance.
One of the first steps in picture framing a composite deck is to plan your design. Consider the size of your deck and the layout of your outdoor space. A well-thought-out design will not only enhance the look of your deck but also ensure that it complements your home and surrounding landscape. Sketch out your design on paper, indicating the dimensions and the desired border width. This will help you visualize the final product and make necessary adjustments before proceeding.
Once you have your design in place, measure the perimeter of your deck carefully. Accurate measurements are crucial to ensure that your framing boards fit seamlessly around the deck. Use the measuring tape to mark where the framing boards will be installed. This will help you avoid mistakes during the cutting process.
Next, cut your framing boards to the appropriate lengths based on your measurements. It is vital to make precise cuts, as any discrepancies can lead to gaps or misalignments in the finished look of your deck. If you are using different colors for the framing boards, consider how they will contrast with the main decking. This contrast can create a striking visual effect, making your deck stand out.
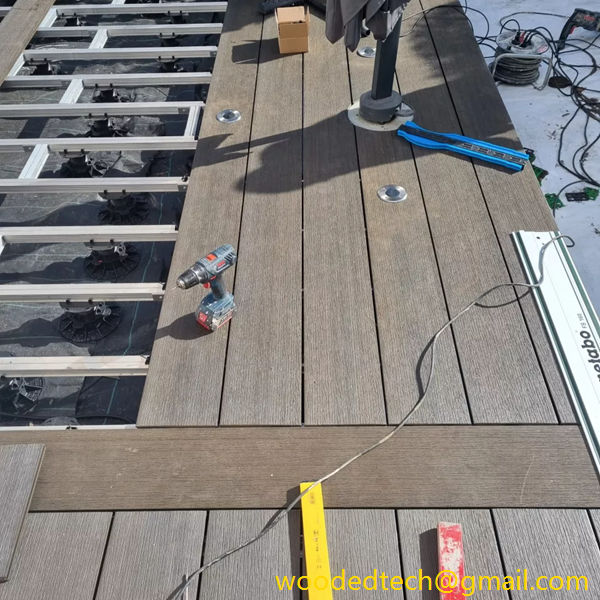
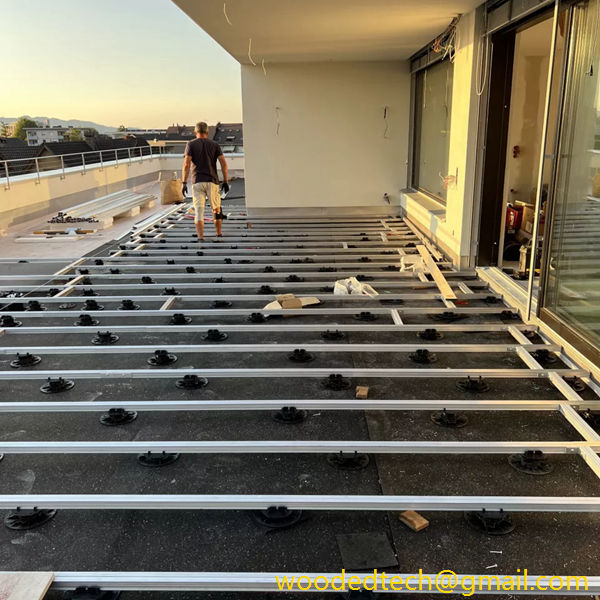
After cutting the boards, it’s time to install the picture frame. Start by positioning the framing boards along the edges of the deck according to your design. Ensure that the boards are flush with the edges of the decking to create a clean and polished appearance. Using the drill, secure the framing boards in place with deck screws. It’s advisable to pre-drill holes to prevent the boards from splitting, especially if you are using thicker composite materials.
As you attach the framing boards, take care to maintain a consistent gap between the boards and the deck. This gap is essential for proper drainage and ventilation, preventing moisture buildup that can lead to mold or rot over time. It is also crucial to follow the manufacturer’s guidelines regarding spacing, as different composite materials may have specific requirements.
Once the framing is in place, take a step back and evaluate your work. Ensure that all corners are aligned and that the framing is level. If you notice any imperfections, make adjustments as needed before proceeding to the next steps. This attention to detail will pay off in the long run, resulting in a visually appealing and durable deck.
After confirming that everything is aligned correctly, it’s time to finish your picture framing project. If desired, you can add a coat of composite decking protector or sealer to the framing boards. This will enhance their color and provide additional protection against the elements, ensuring that your deck remains beautiful for years to come. Composite materials are typically low-maintenance, but applying a sealer can help maintain their appearance and extend their lifespan.
Incorporating lighting into your picture frame design can also add a dramatic effect to your deck, especially in the evening. Consider installing LED strip lights along the edges of the framing boards to create a warm and inviting atmosphere. This not only enhances the aesthetic appeal but also provides safety by illuminating the deck area.
Regular maintenance of your composite deck is minimal compared to traditional wood decks. However, it is advisable to periodically check for any debris buildup in the gaps and clean the surface to prevent stains or discoloration. A simple wash with soap and water is usually sufficient to keep your deck looking its best.
In conclusion, picture framing a composite deck is a straightforward process that adds significant value and visual appeal to your outdoor space. By meticulously planning your design, accurately measuring and cutting your materials, and ensuring a proper installation, you can create a beautiful and functional deck that requires minimal maintenance in the long run. A well-executed picture frame not only enhances the overall look of the deck but also provides additional protection, allowing you to enjoy your outdoor space for years to come.

