How to Install WPC Fluted Panel: Step-by-Step Instructions for Installing WPC Fluted Panels
How to Install WPC Fluted Panel: Step-by-Step Instructions for Installing WPC Fluted Panels WPC fluted panels are becoming an increasingly popular choice for both interior and exterior applications due to their unique aesthetic appeal and durability. Made from wood-plastic composite materials, these panels combine the natural appearance of wood with the resilience and low maintenance…
How to Install WPC Fluted Panel: Step-by-Step Instructions for Installing WPC Fluted Panels
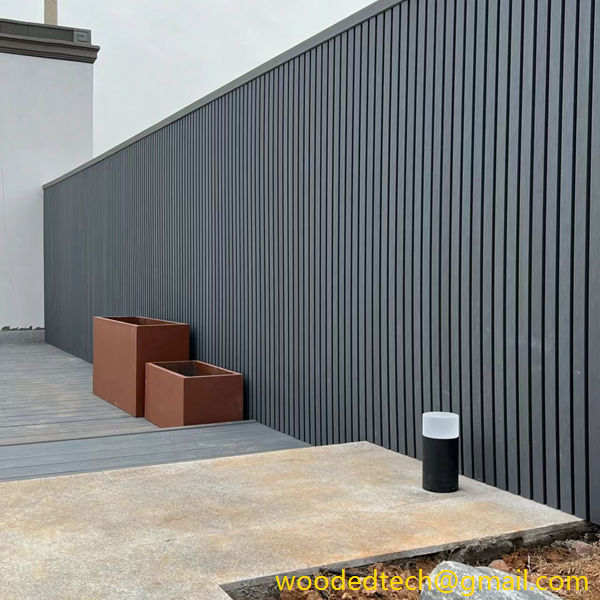
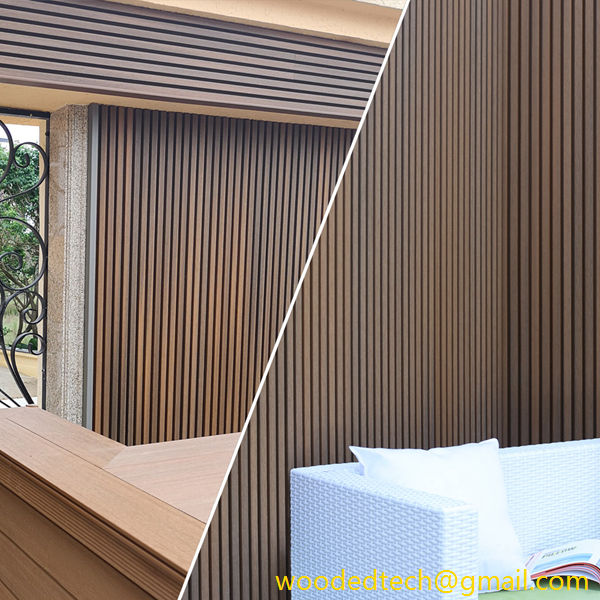
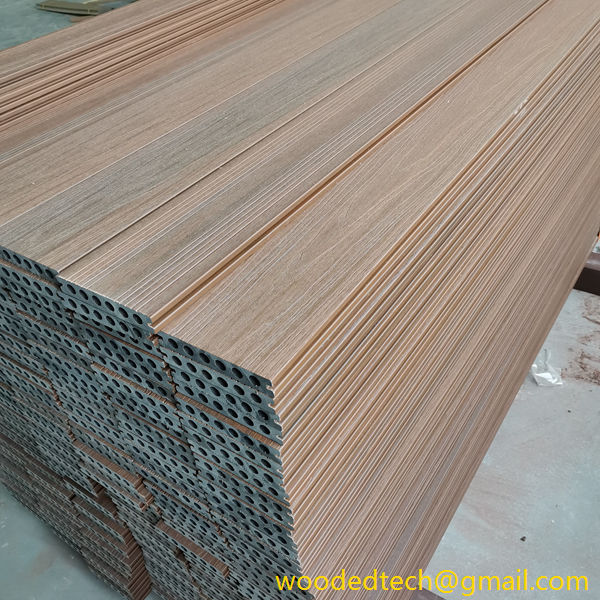
WPC fluted panels are becoming an increasingly popular choice for both interior and exterior applications due to their unique aesthetic appeal and durability. Made from wood-plastic composite materials, these panels combine the natural appearance of wood with the resilience and low maintenance characteristics of plastic. If you’re considering enhancing your space with WPC fluted panels, this guide will provide you with detailed step-by-step instructions to ensure a successful installation.
Preparing for Installation
Before diving into the installation process, it is essential to prepare adequately. Start by gathering all necessary tools and materials. You will need WPC fluted panels, a measuring tape, a level, a saw (preferably a circular or table saw), screws or clips for securing the panels, a drill, a screwdriver, and safety gear such as goggles and gloves. Ensure that the area where you will be installing the panels is clean and free from debris.
Next, measure the installation area carefully. Accurate measurements are crucial for cutting the panels to the correct size and ensuring a seamless fit. It’s advisable to create a detailed plan or sketch of your installation layout, which will serve as a guide during the process. Keep in mind that WPC panels can expand and contract with temperature changes, so leave a small gap—typically about 5mm—between the panels and any adjacent surfaces to accommodate this movement.
Cutting the Panels
Once you have your measurements and layout confirmed, it’s time to cut the panels. Using your saw, carefully cut the WPC fluted panels to the dimensions specified in your plan. When cutting, ensure you wear your safety equipment to protect your eyes and hands. Take your time during this step, as precision is key to achieving a clean and professional look. If you are not comfortable doing this yourself, consider hiring a professional to ensure the cuts are made correctly.
Installing the Panels
With your panels cut to size, it’s time to move on to the installation process. Begin by attaching furring strips or a suitable framework to the wall or surface where the panels will be installed. This framework provides a solid base for the panels. Ensure that the furring strips are installed level and spaced according to the requirements of your fluted panels. Typically, the furring strips should be spaced between 16 to 24 inches apart, depending on the panel size and local building codes.
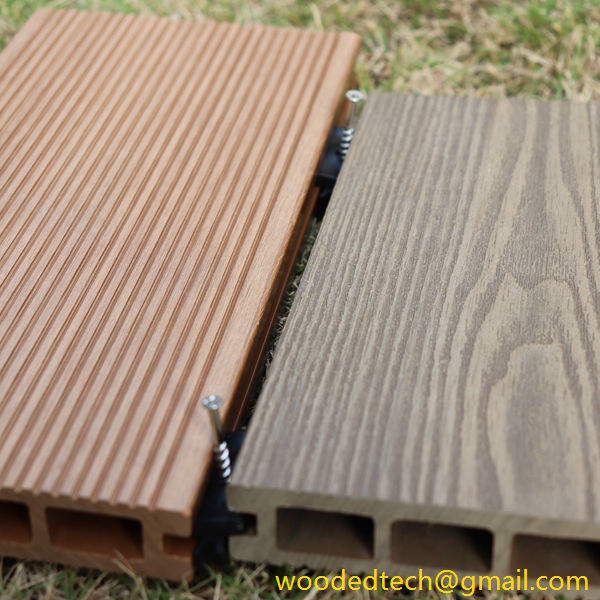
Now, start installing your WPC fluted panels from one corner of the wall or surface. Align the first panel with the top of the furring strip, ensuring it is level. Use screws or clips to secure the panel in place. If you are using screws, drill pilot holes to prevent the material from splitting. Ensure that each panel is snug against the previous one, maintaining a consistent gap for expansion.
Continue this process, working your way across the wall or surface. Regularly check to ensure that each panel is level and aligned with the others. This attention to detail will pay off in achieving a polished final look. If you encounter any obstacles or irregularities in the wall, you may need to trim the panels further to accommodate these issues.
Finishing Touches
Once all the panels are installed, it’s time to add the finishing touches. Inspect the installation for any gaps or inconsistencies, and make adjustments as necessary. You can fill small gaps with a suitable caulk or sealant to create a seamless appearance. Additionally, consider adding trim or molding around the edges of the panels for a more refined look. This not only enhances the aesthetic appeal but also helps to conceal any imperfections in the installation.
Cleaning and Maintenance
One of the significant advantages of WPC fluted panels is their low maintenance requirements. Unlike traditional wood, WPC panels do not require staining or sealing. However, regular cleaning is essential to maintain their appearance. Use a mild detergent and water solution along with a soft cloth or sponge to clean the panels as needed. Avoid using abrasive cleaners or tools, as these can scratch the surface.
In terms of long-term maintenance, inspect the panels periodically for any signs of wear or damage. Address any issues promptly to ensure the longevity of your installation. If any panels become damaged, they can usually be replaced without having to redo the entire installation, which is another benefit of using WPC materials.
Conclusion
Installing WPC fluted panels can transform your space, adding texture and a modern aesthetic while providing durability and ease of maintenance. By following these step-by-step instructions, you can achieve a professional-looking installation that enhances your home or office environment. With careful planning, precise execution, and attention to detail, your WPC fluted panels will not only beautify your space but also stand the test of time, providing you with lasting satisfaction and enjoyment.

